Location: Copenhagen
Photo by Sebastian / Jesuissebastian.com
Photos taken with Canon 7D mark II
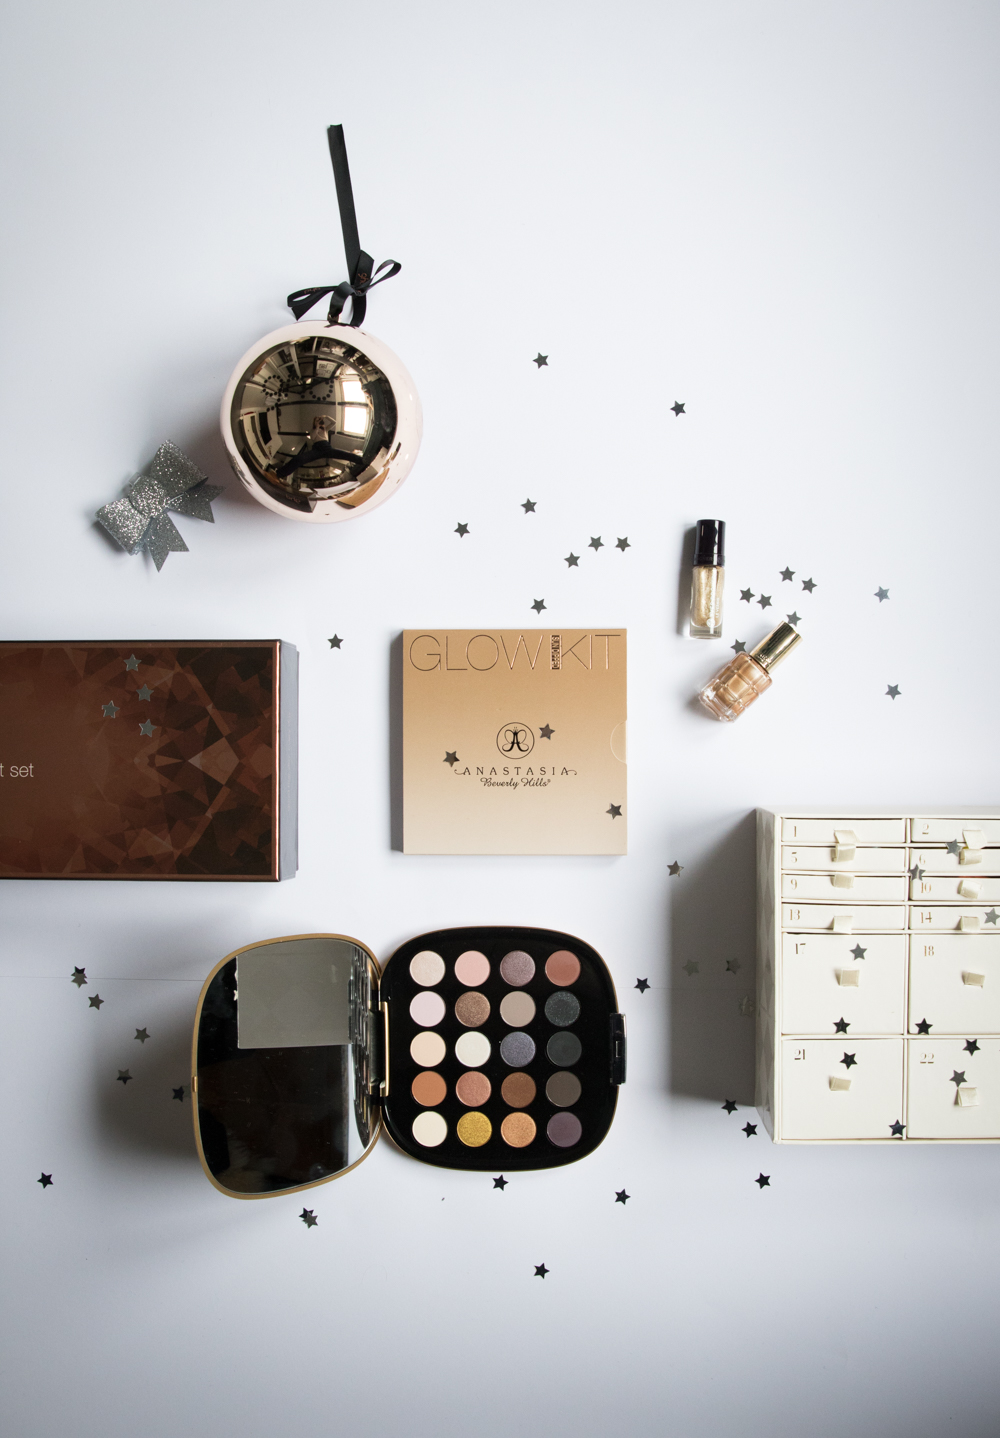
Here’s what you need
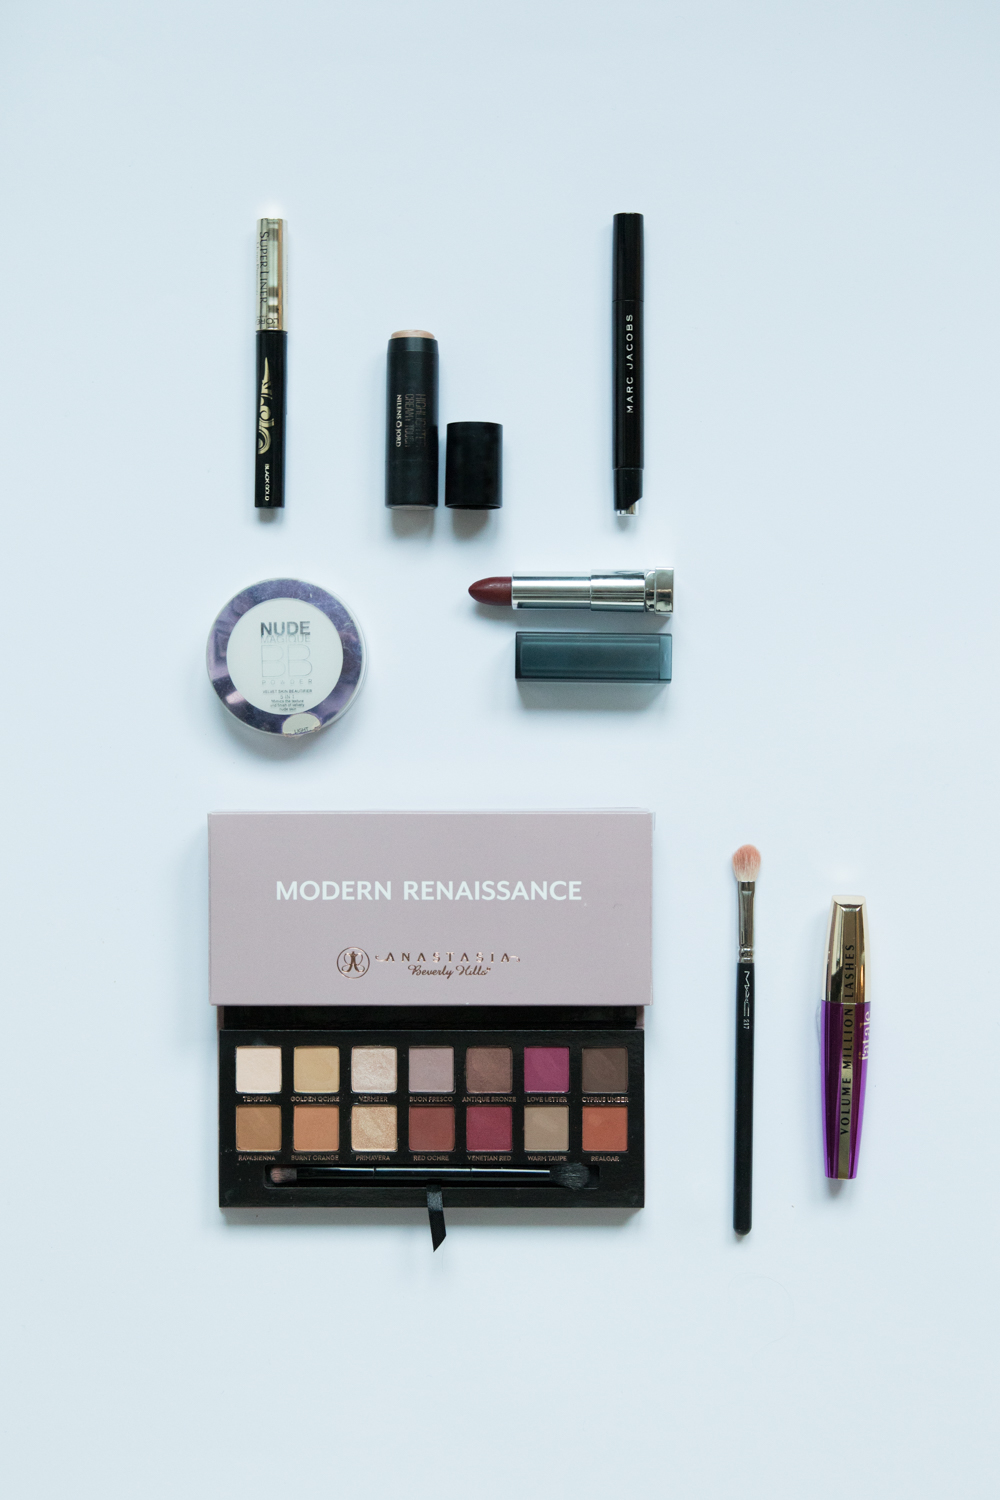
Som i kan se har jeg allerede lagt min foundation og lavet mine bryn, hvis disse steps er interessante for jer klik her. Til det her look skal i bruge produkterne på billedet, selvfølgelig kan man bruge nogle af de ting man allerede har i brug derhjemme men dette er ihvertfald de ting jeg har brugt. Hvert produkt kan shoppes under de forskellige steps nedenfor – god fornøjelse!
english: So as you can see I already applied foundation and done my eyebrows, if you would like to see how I do this – take a look here. For this look you will need all the products in the photo above, of course you can use whatever you have at home – but this is what I have used to achieve this Christmas look. There is links for everything underneath every step – enjoy!
Step 1
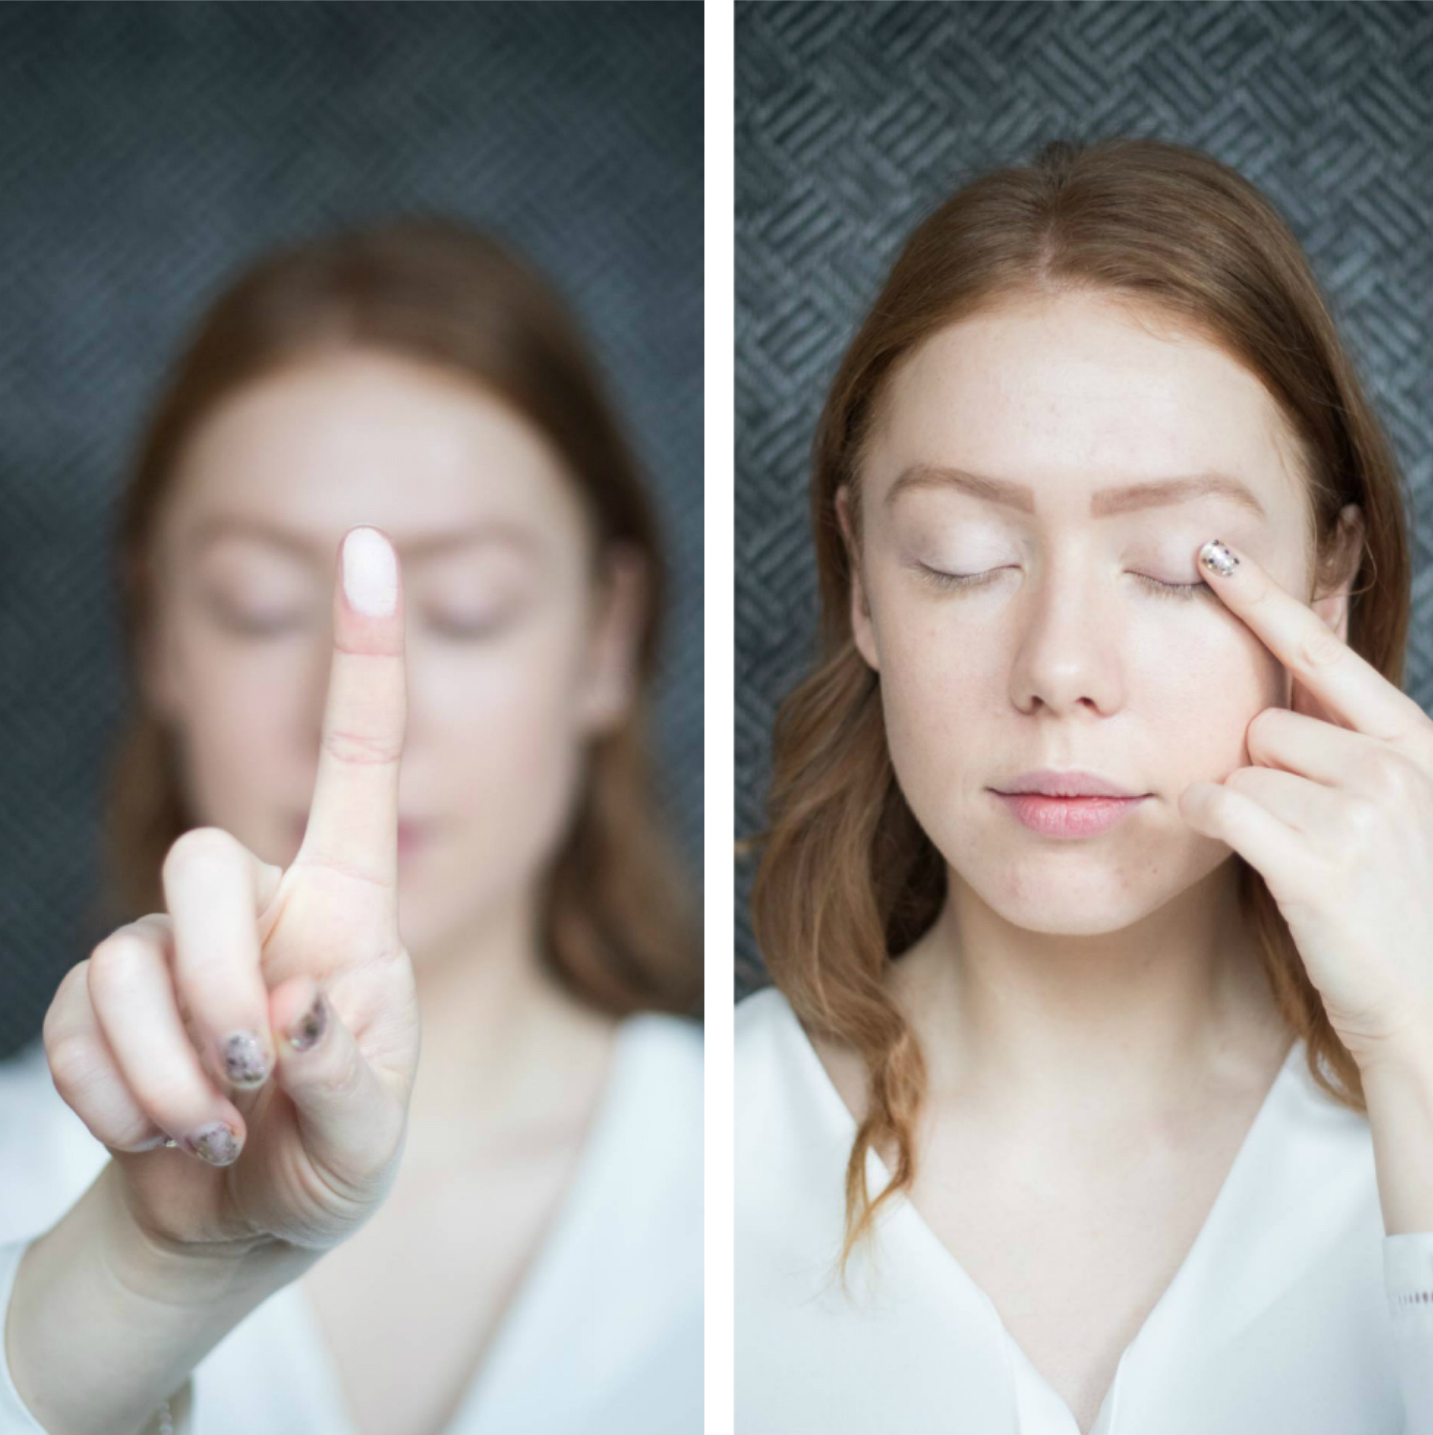
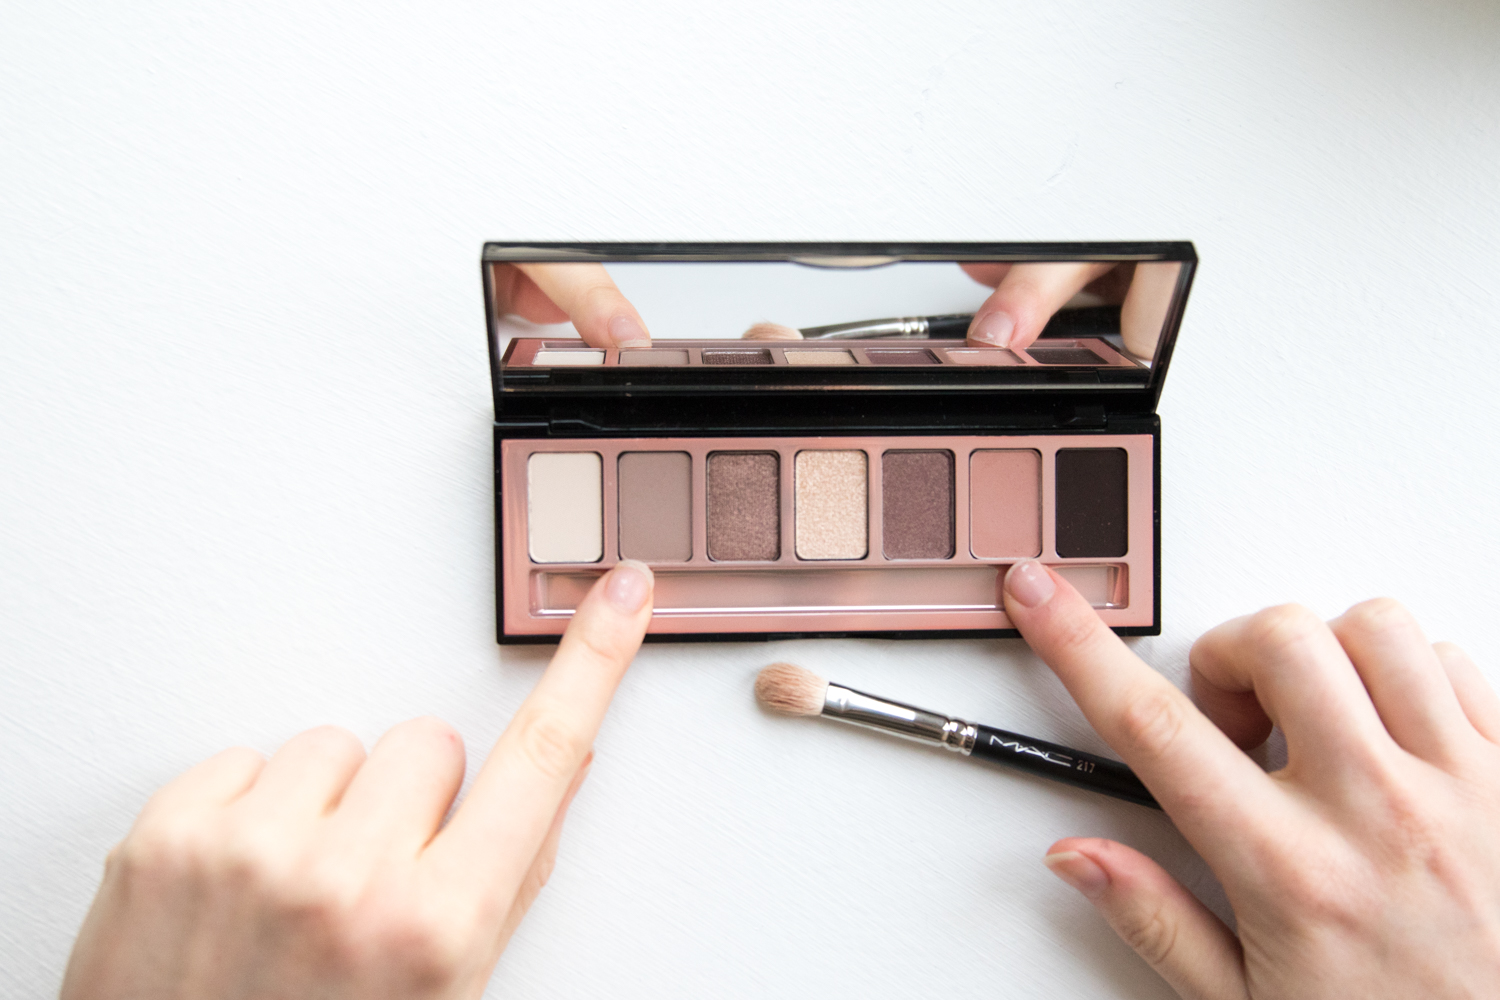
When I apply eyeshadow I like to have a white or flesh toned base so the other colors have a even colored surface to rest on. For this look, all the eyeshadows will be from the Modern Renaissance pallet by Anastasia Beverly Hills and the color I am using as my base is the flesh toned color “tempera”. I like to apply this step with my fingers cause then I can really melt it into my eyelid with the warmth from my hand to create the best possible base.
Here using:
Eyeshadow pallet / Modern Renaissance by Anastasia Beverly Hills (shop here)
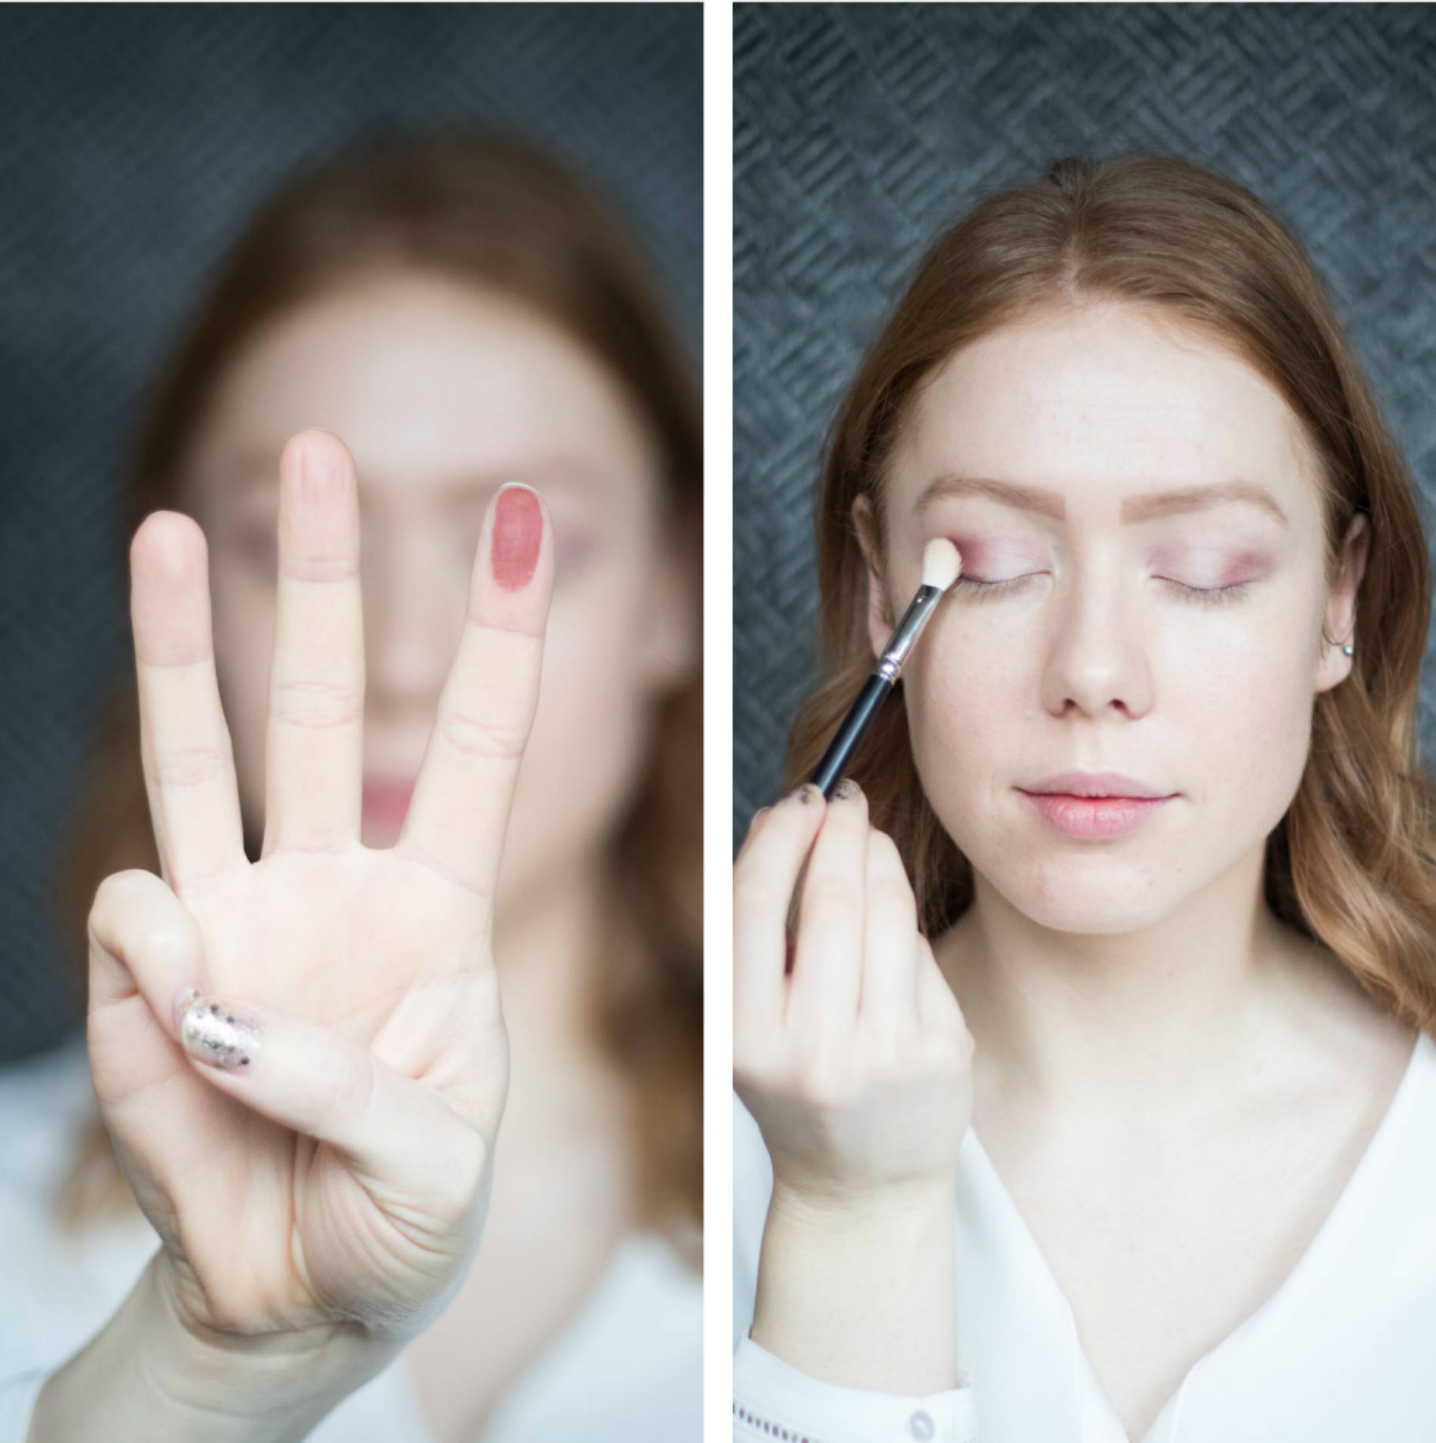
Step 2
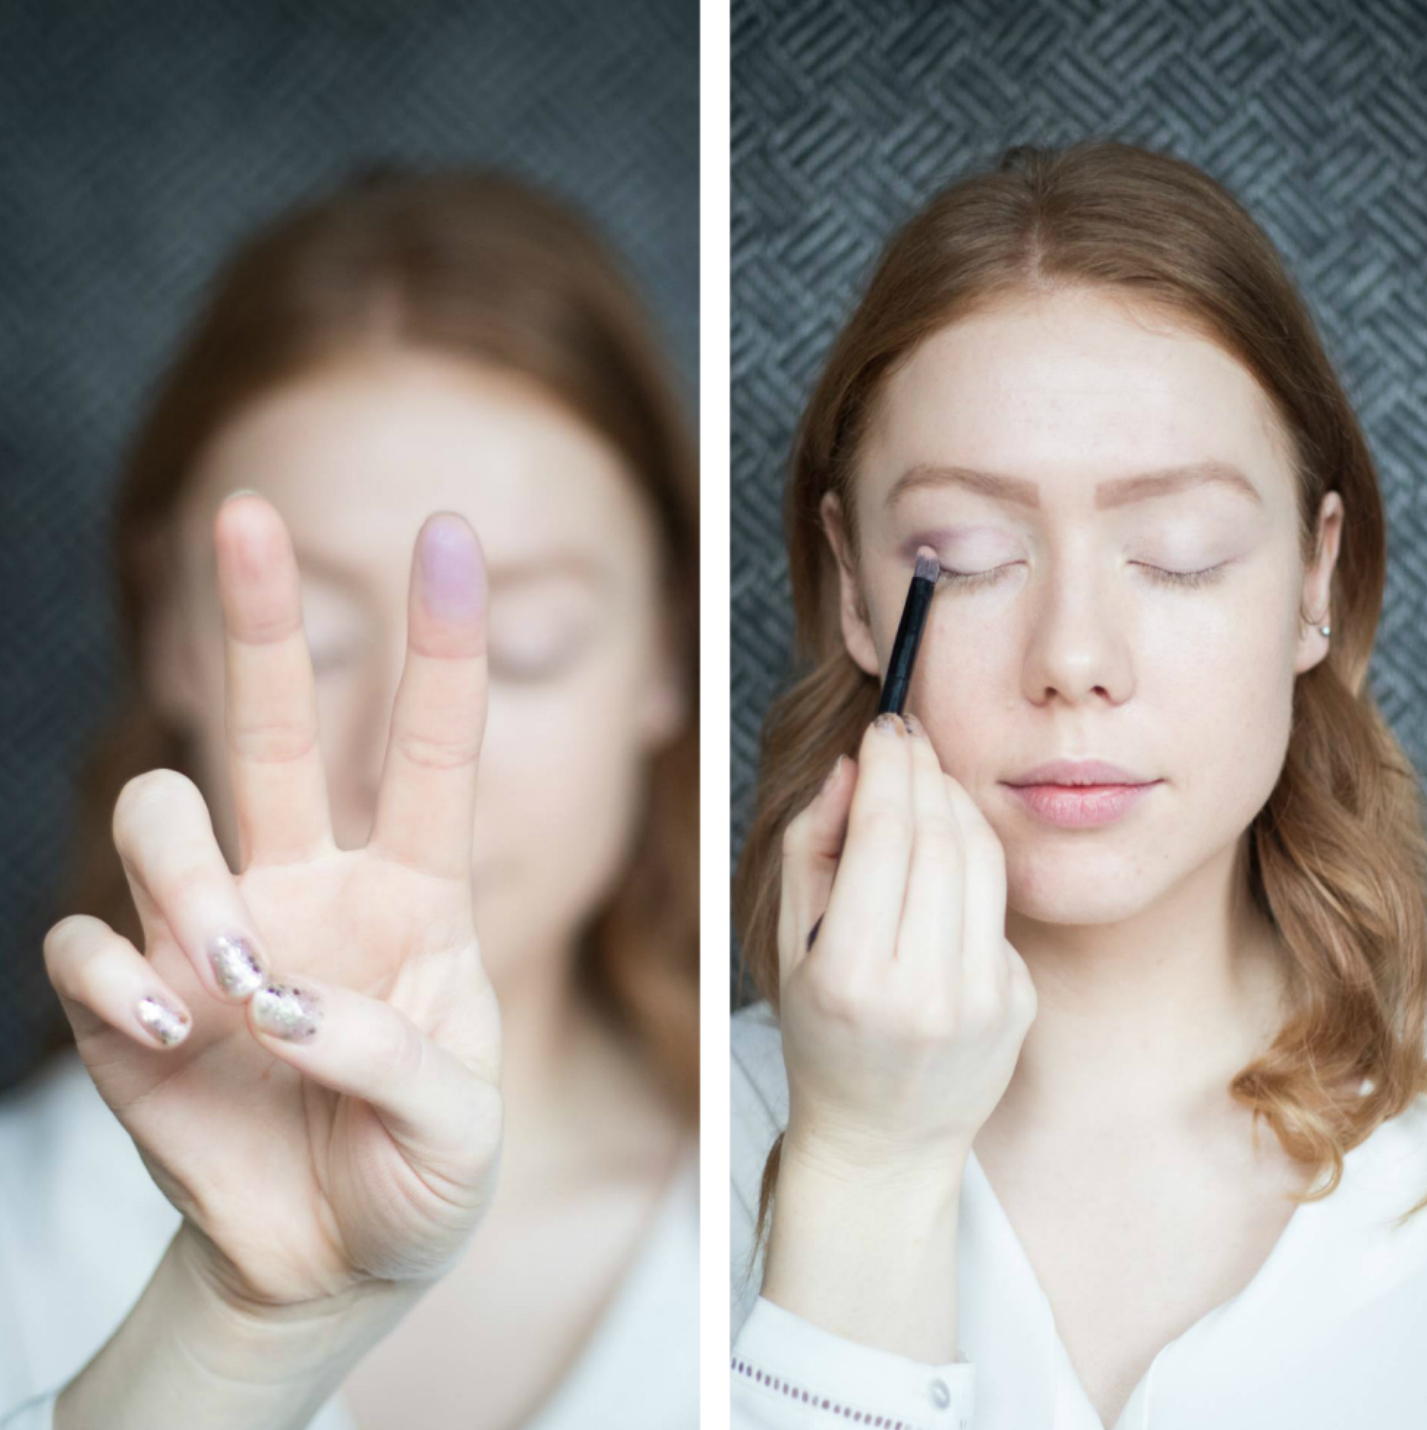
Going into my crease with the color “buon fresco”, a warm lilac with undertones of taupe. This will be our transition color as our next step is a bit more of a bold color, we need something like “buon fresco” to compliment it but also to be our “blender”.
Here using:
Eyeshadow pallet / Modern Renaissance by Anastasia Beverly Hills, brush included (shop here)
Step 3
Our bold Christmas red “red ochre” is going to be our statement color on the lid. Here you will be happy that you blended well in step 2 as these two colors will need to come together as one. I like to use a fluffy blending brush for this, try Mac 217, it’s iconic! Use “red ochre” only on the outer corner of the eyes.
Here using:
Eyeshadow pallet / Modern Renaissance by Anastasia Beverly Hills (shop here), Brush / Mac 217 blending brush (shop here)
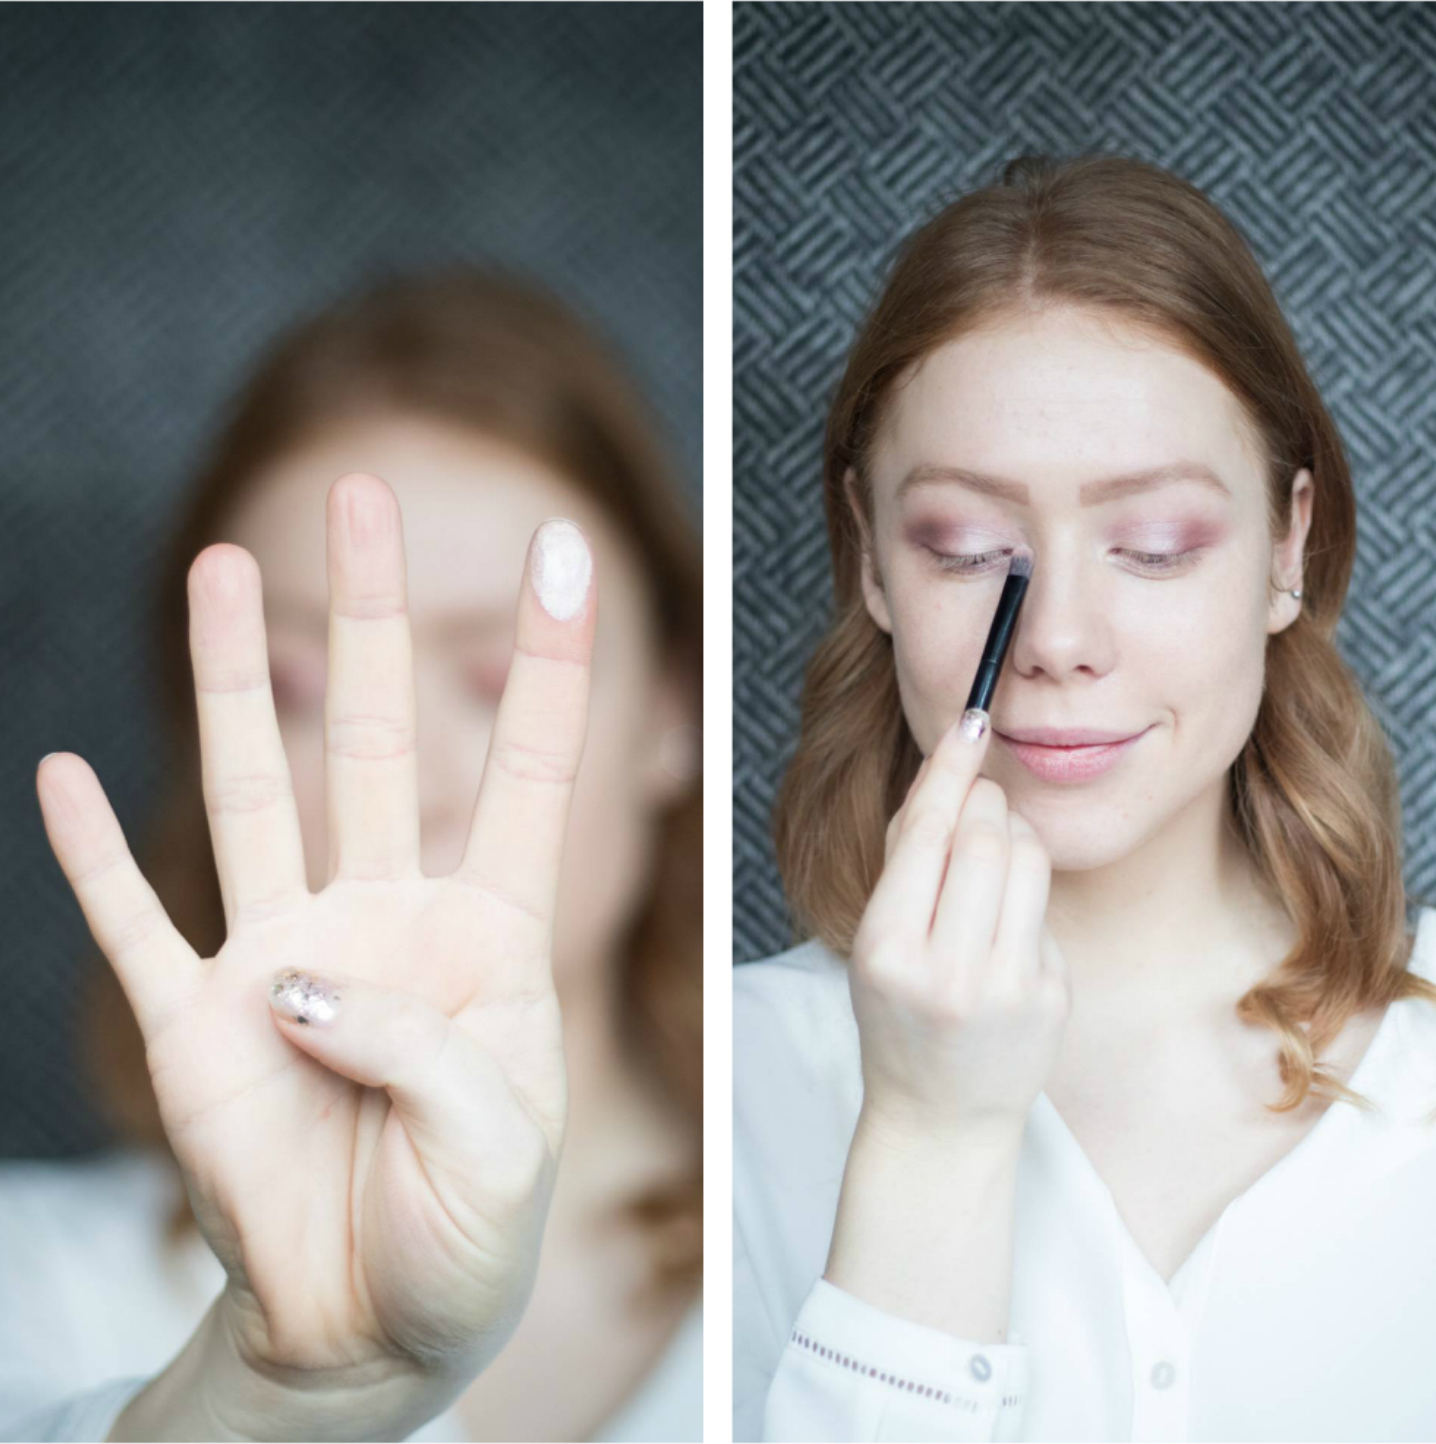
Step 4
Now to brighten up the eyes, grab the beautiful highlight color “vermeer” and place it on the center of the lid. Work your way into the corner of the eye and don’t be afraid to place a little under the corner of the eye as well. The brighter the better. Blend until you are happy with the way it looks.
Here using:
Eyeshadow pallet / Modern Renaissance by Anastasia Beverly Hills, brush included (shop here)
Step 5
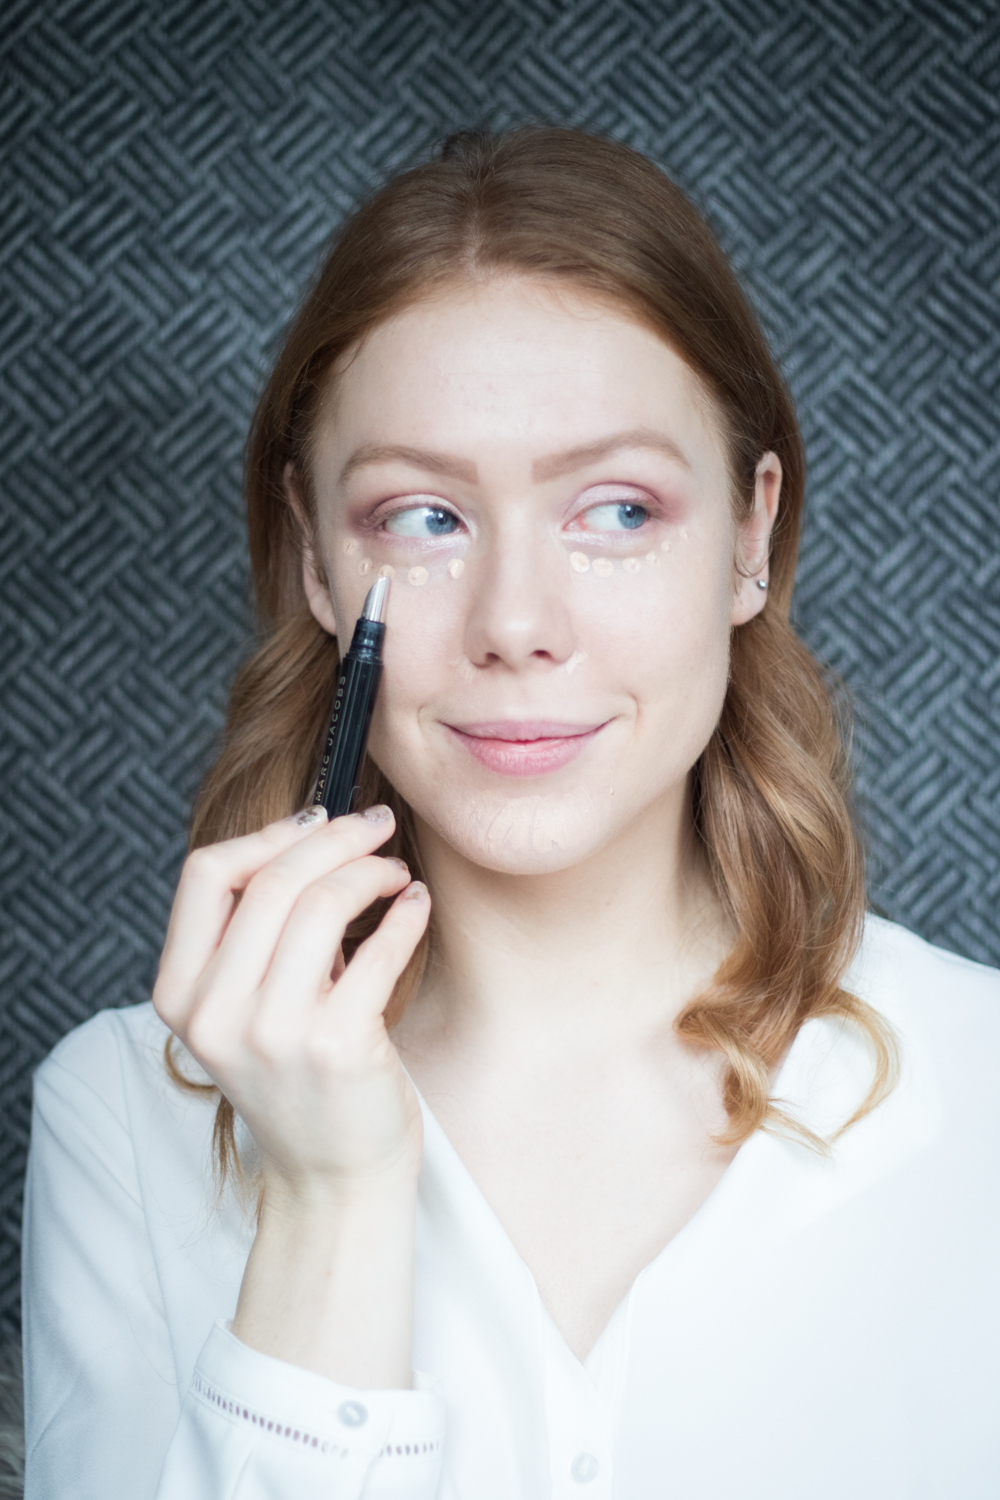
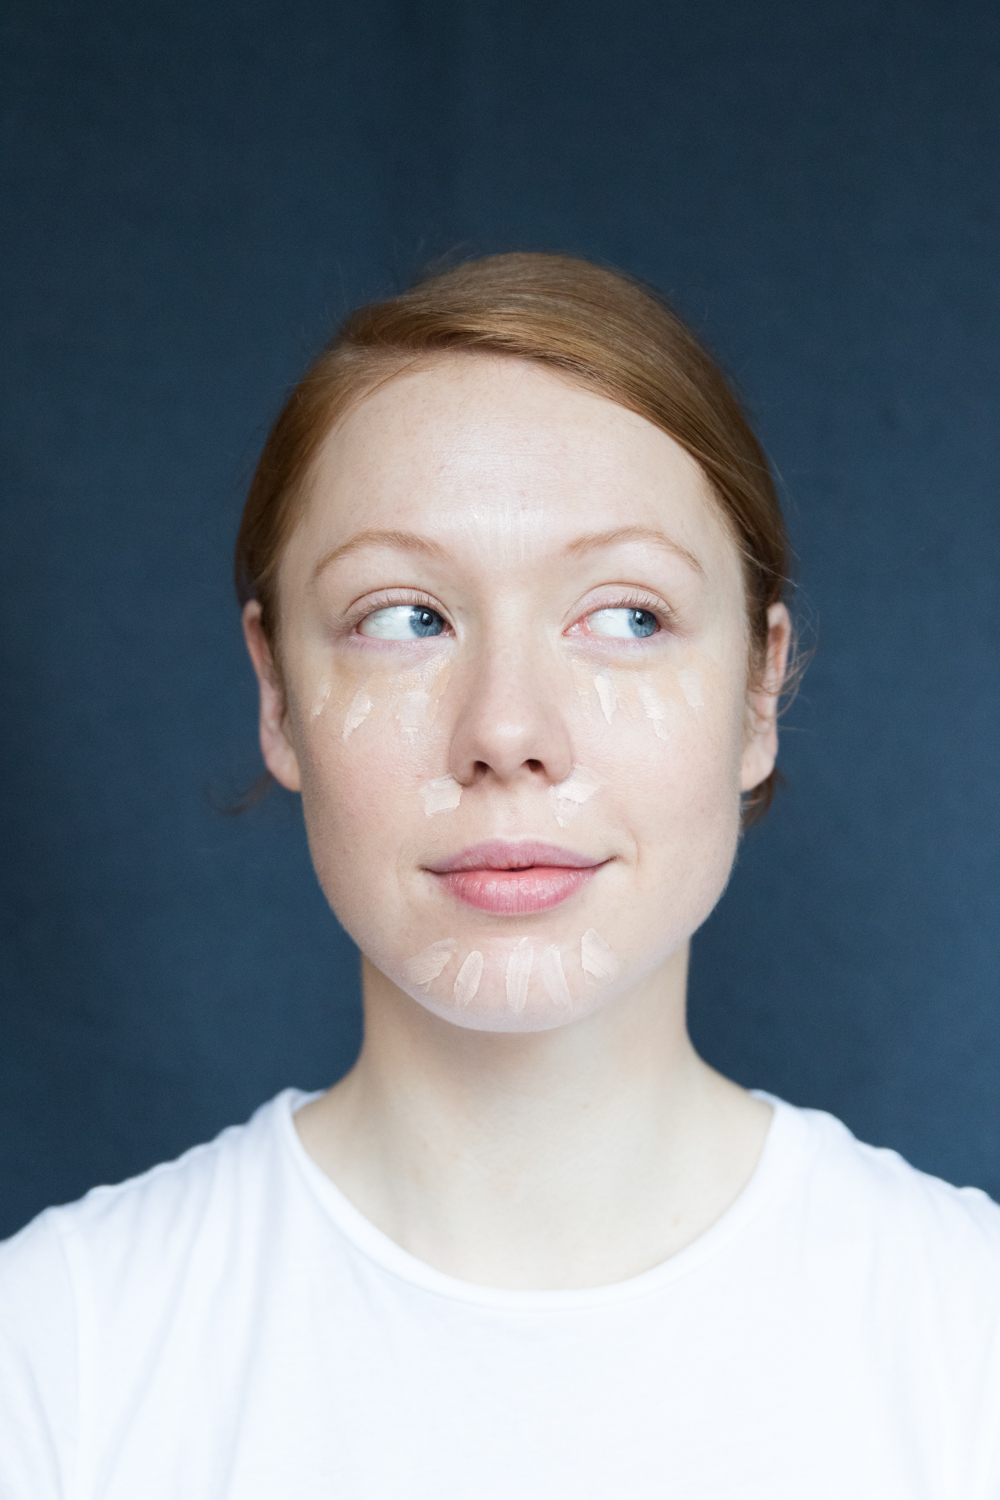
I like to apply my concealer after I am done playing with my eyeshadows so I can clean up any fall outs. I am quite messy when applying makeup – am I the only one? Dot along the eyes, around the nose and if you need it – apply some to the chin.
Here using:
Concealer / Remedy pen in “wake up call” by Marc Jacobs (shop here)
Step 6
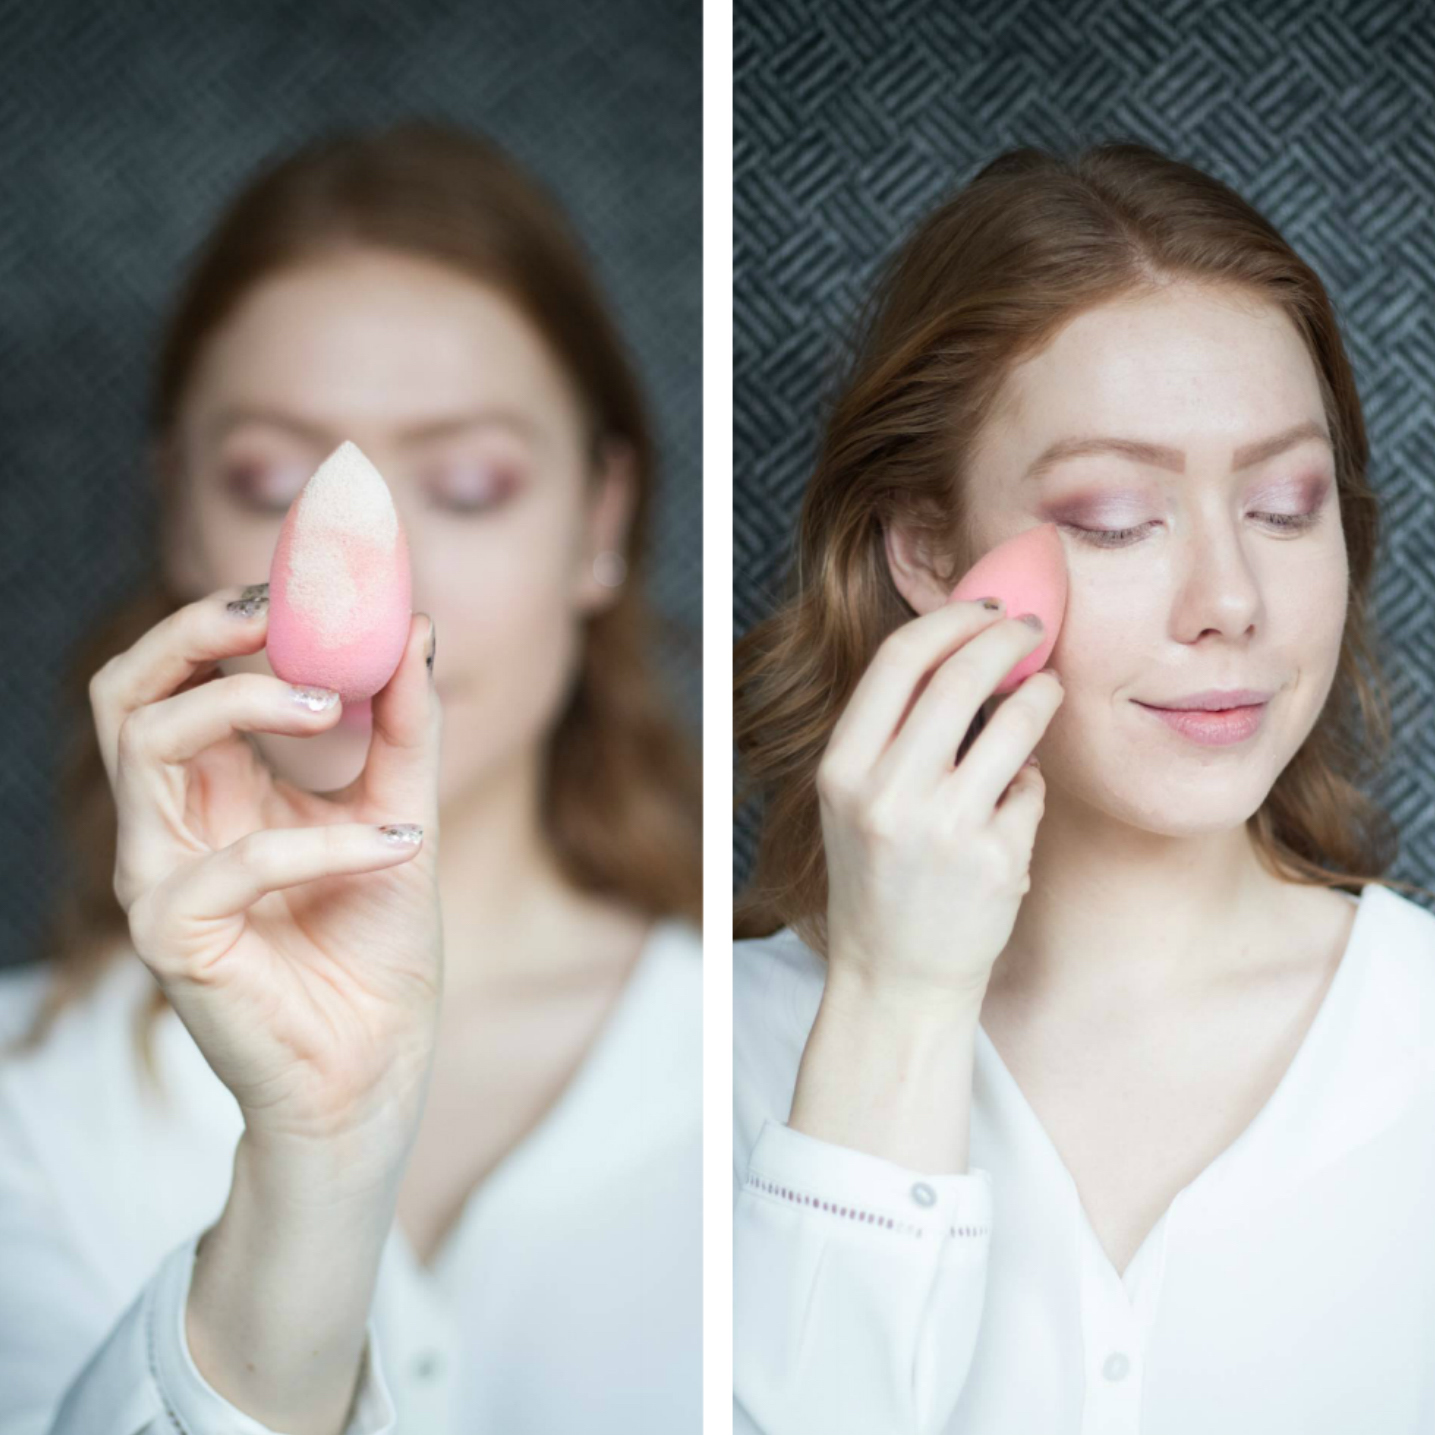
Setting my concealer with BB powder from L‘oréal Paris, I love to roughly smear out my concealer and then blending it, together with the powder, with the beauty blender. It’s kinda like fast baking!
Here using:
Powder / BB powder in “light” by L’oréal Paris (shop here)
Step 7
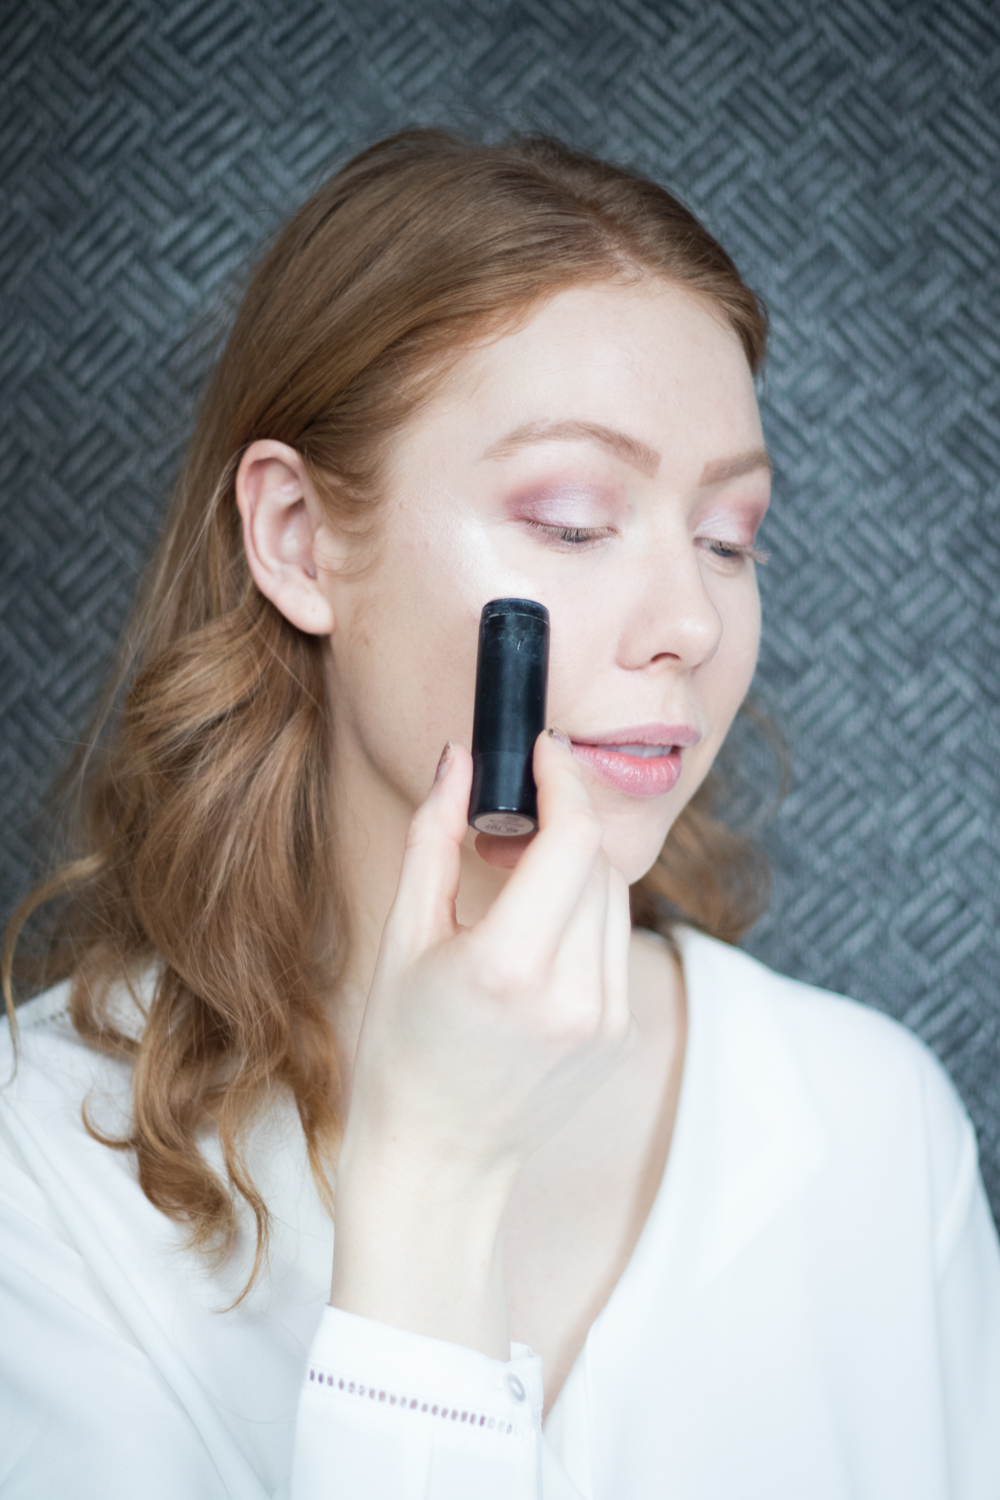
This highlighter is just YUM! Use it on the top of your cheek bones and if you can’t get enough, just a little on the bridge of your nose and on your cupids bow. I only used it as shown in the photo because there is so much going on all ready and I didn’t want to over do it. But usually I am for highlighter allllll over!
Here using:
Highlighter / Creamy touch in “707” by Nilens Jord (shop here)
Step 8
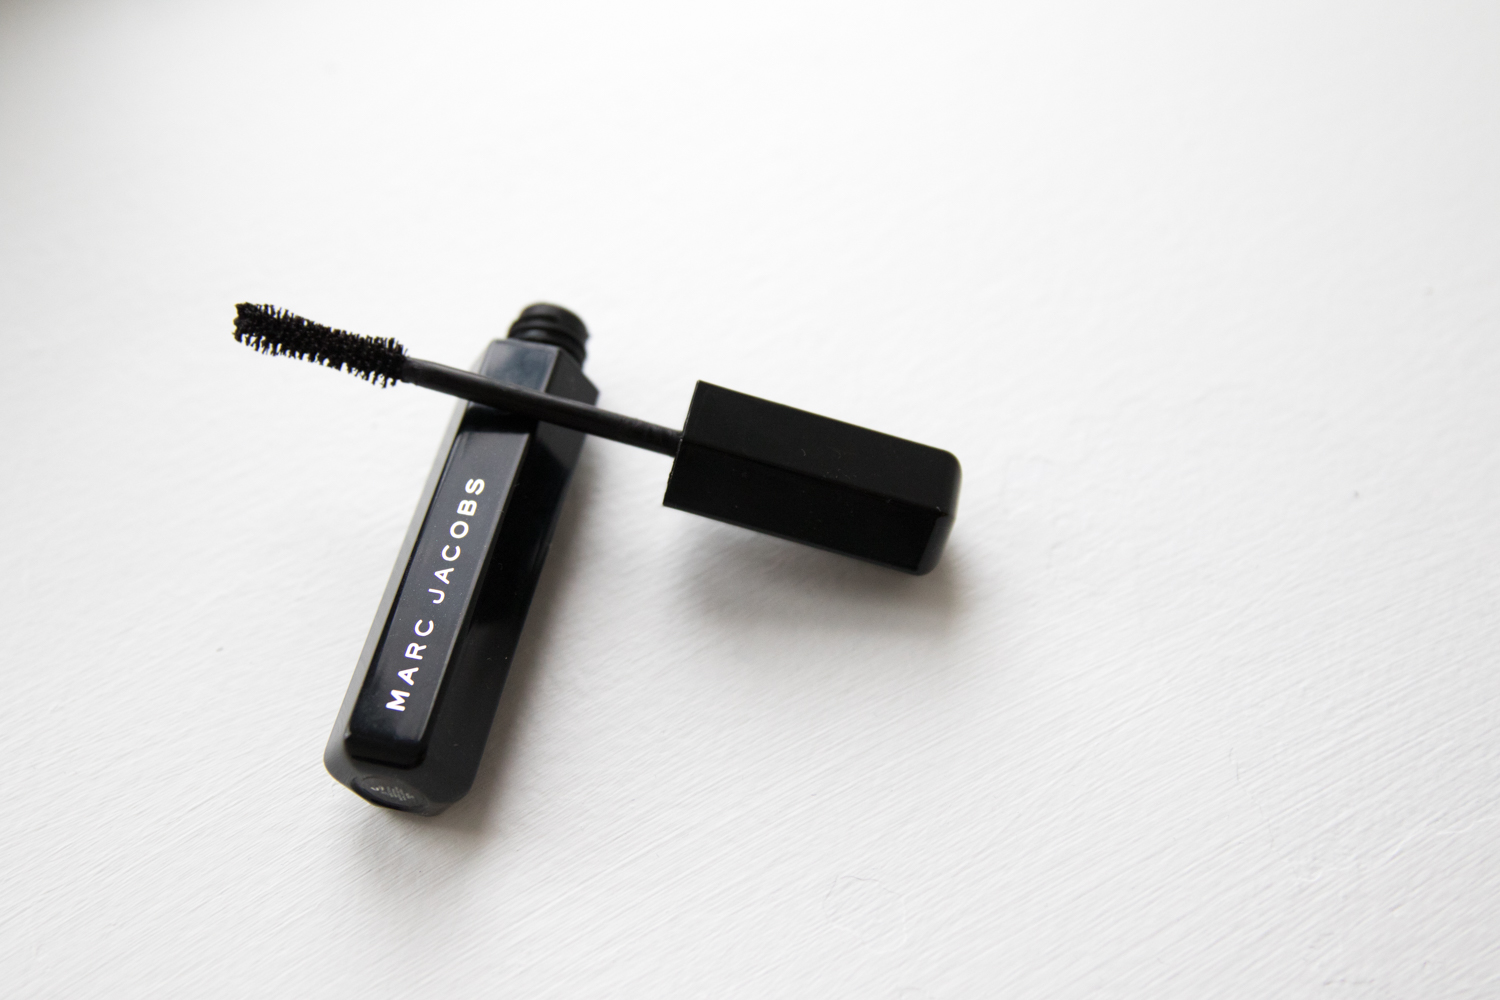
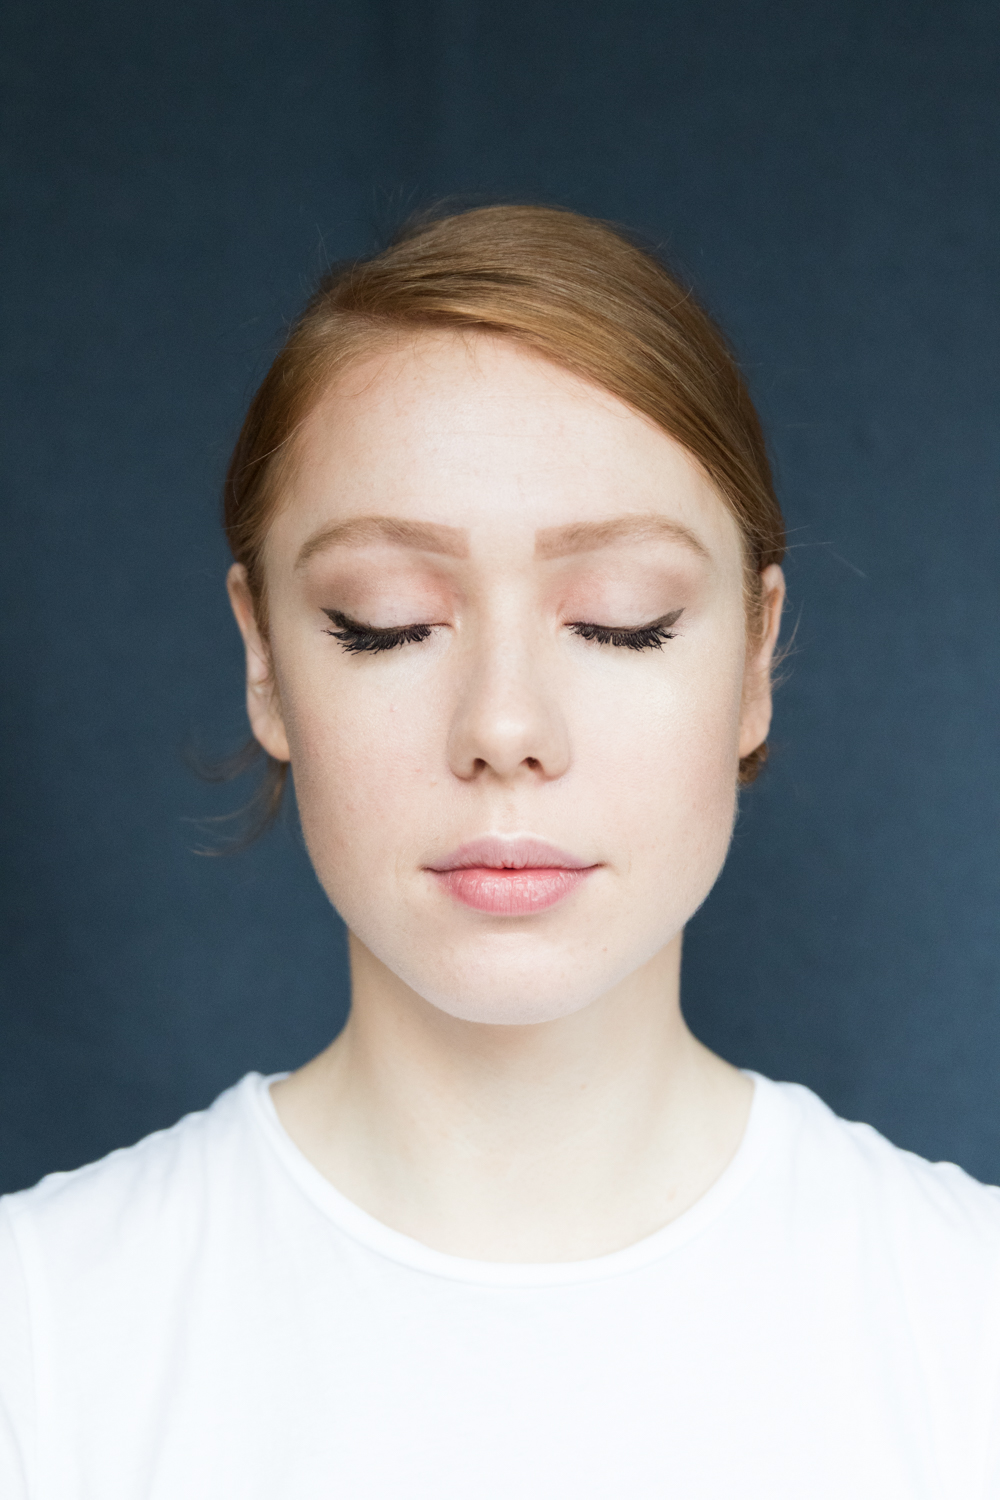
Catliner is essential for a holiday look, I used a liquid liner from L’oréal Paris with just a touch of gold – it’s perfect for any party makeup. Apply mascara, and don’t worry if you make a mess, just clean it up and blend your shadow over it. Problem solved!
Here using:
Liquid liner / Ultra precision super liner in “black gold” by L’oréal Paris (available in Matas), Mascara / Volume million lashes fatale by L’oréal Paris (shop here)
Step 9
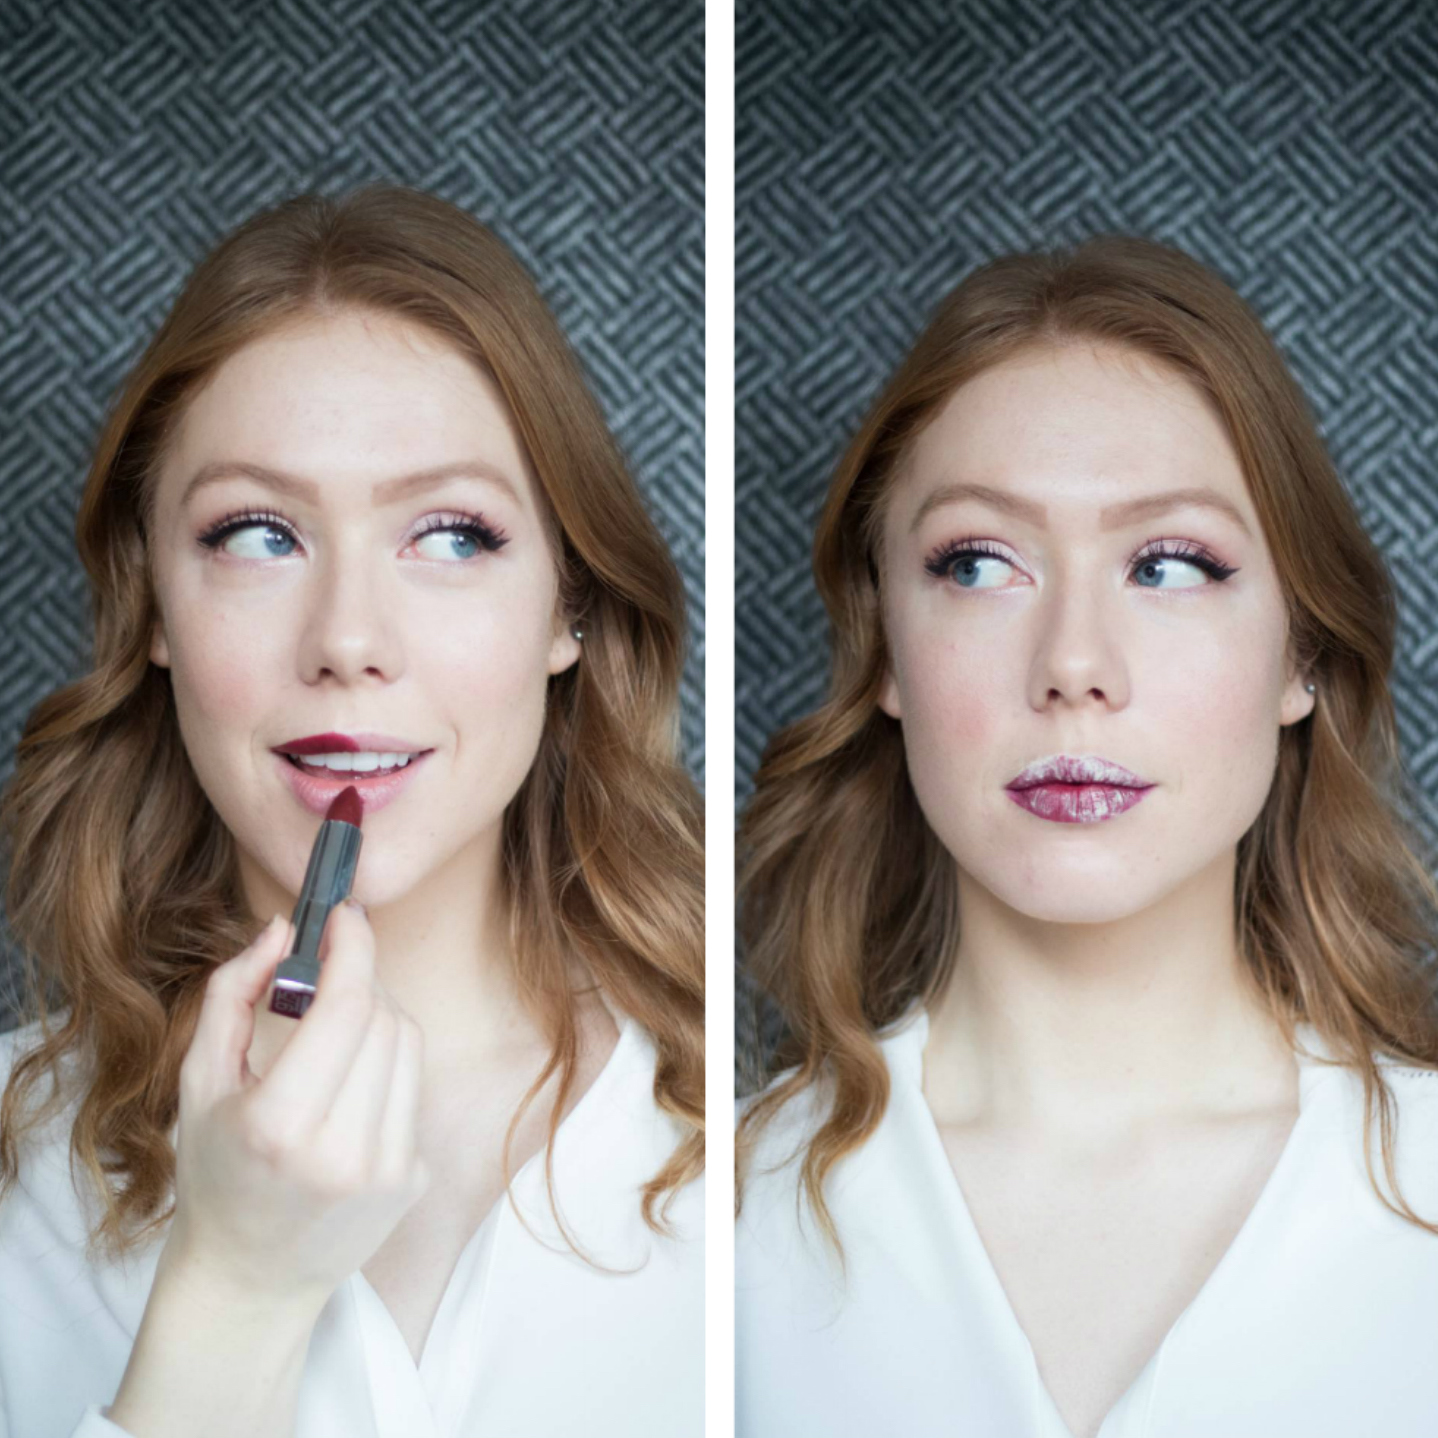
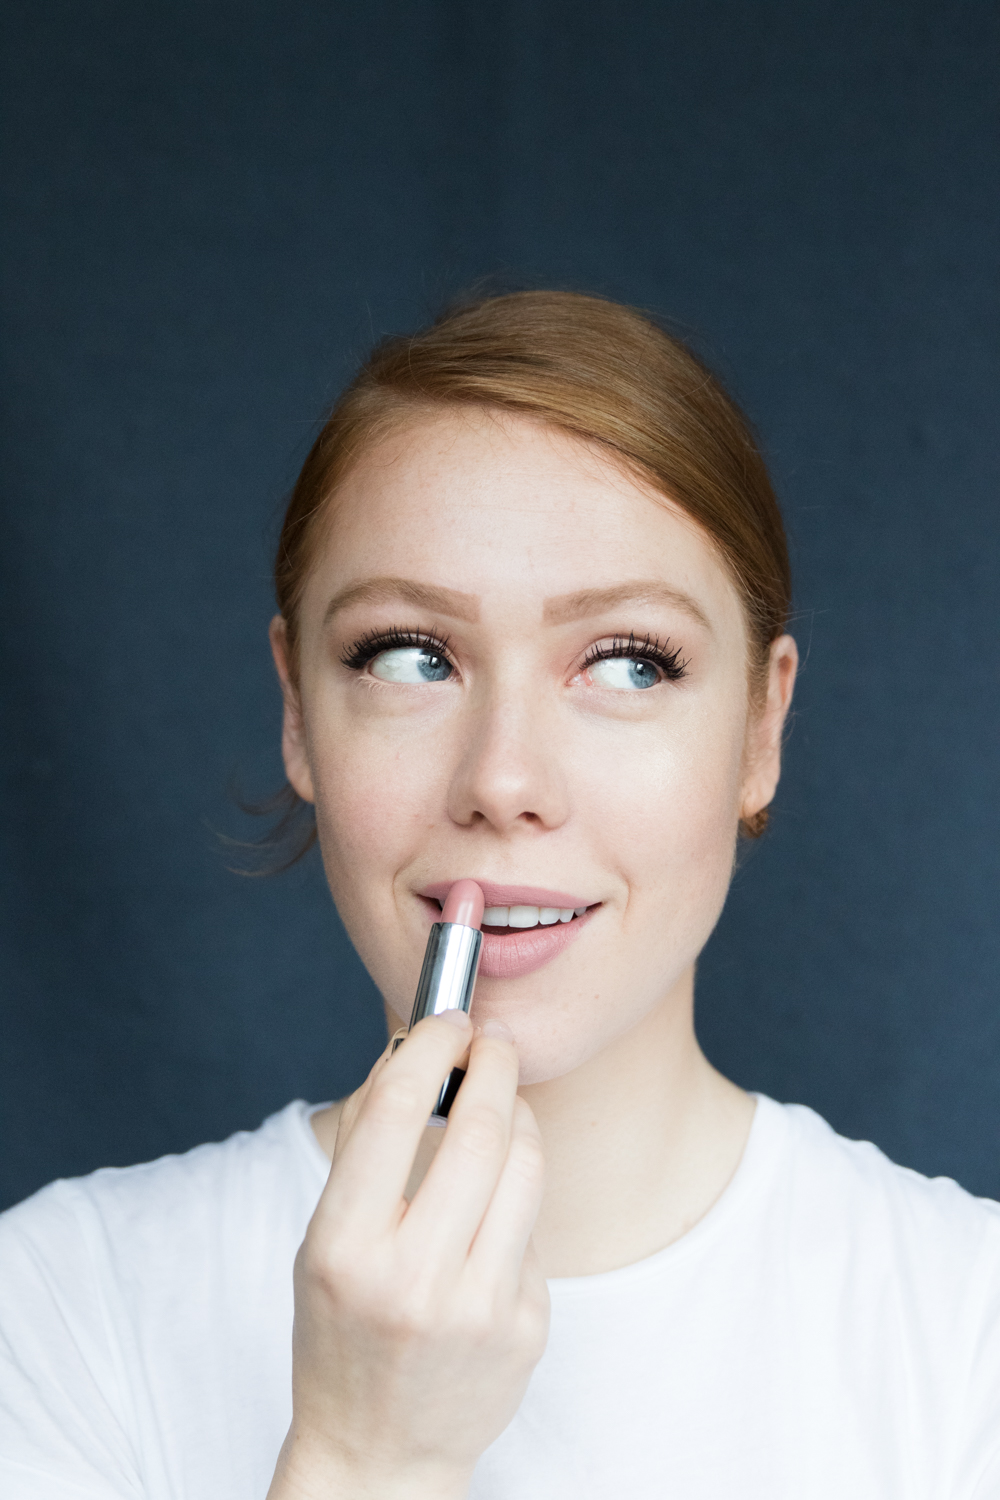
Haha it looks like I ate a big sugar donut in the second photo, but don’t worry it’s just powder. For this look I choose a deep red with blue undertones for a colder look. I love the warm Christmas red, it’s a beautiful lip color but this colder red compliments the eyeshadow combination perfectly. I set the lipstick with the same powder I used under my eyes, if you want a mat finish just brush the powder off and voila! But if you want it more creamy look to your lips just apply another layer of lipstick after setting it with powder. Lasts for hours.
Here using:
Lipstick / Color sensational in “divine wine 975” by Maybelline (shop here), Powder / BB powder in “light” by L’oréal Paris (shop here)
Step 10
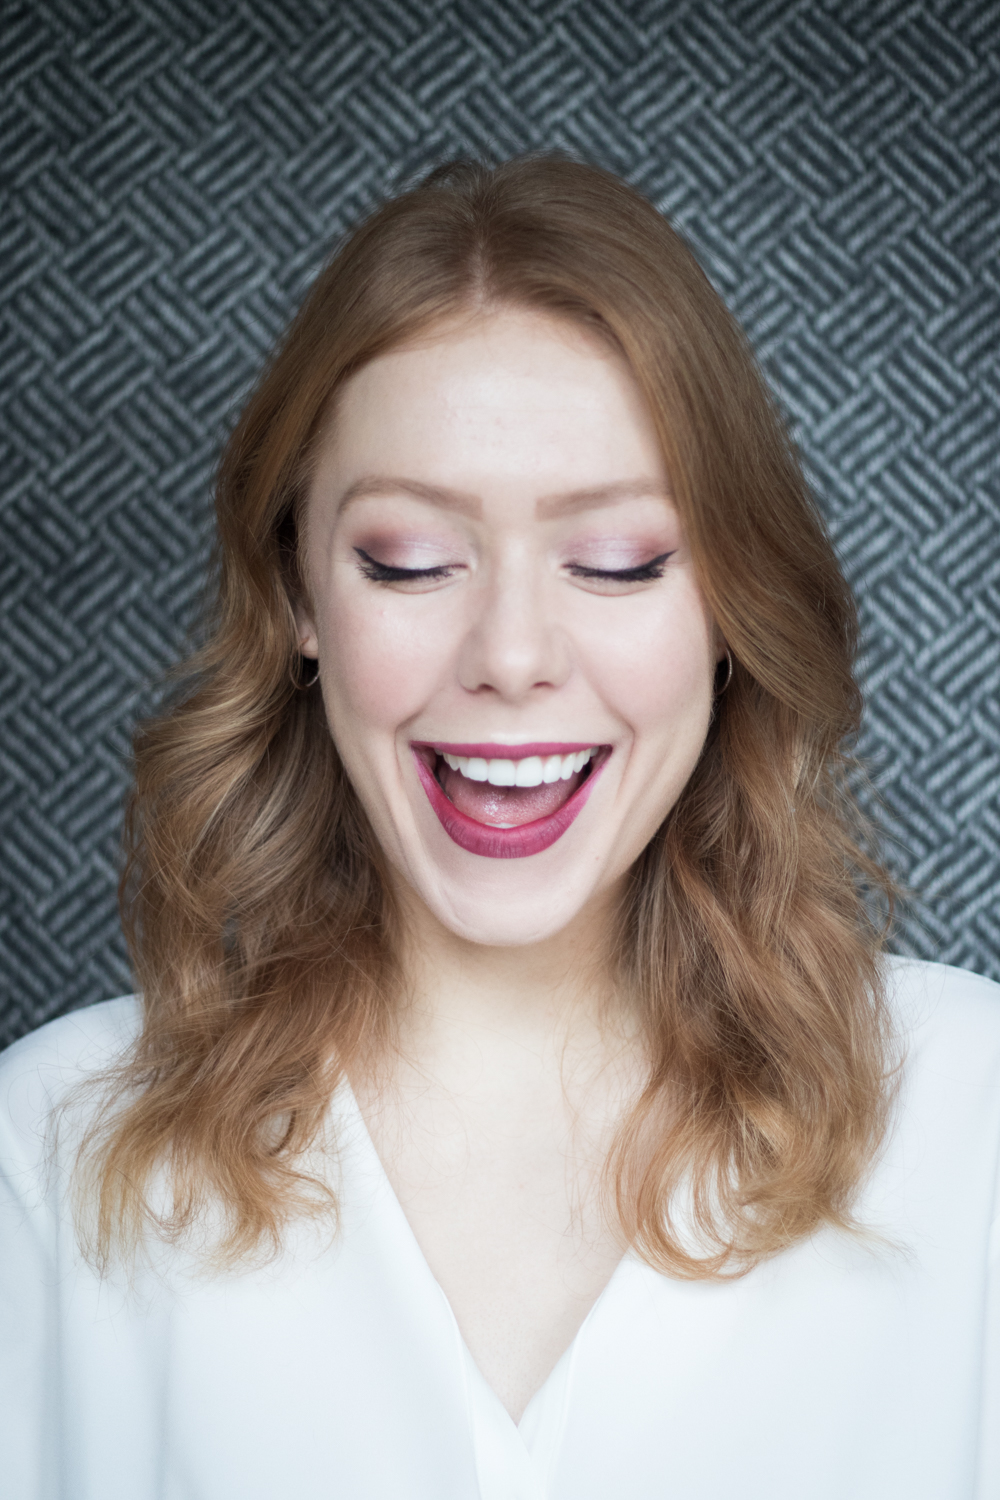
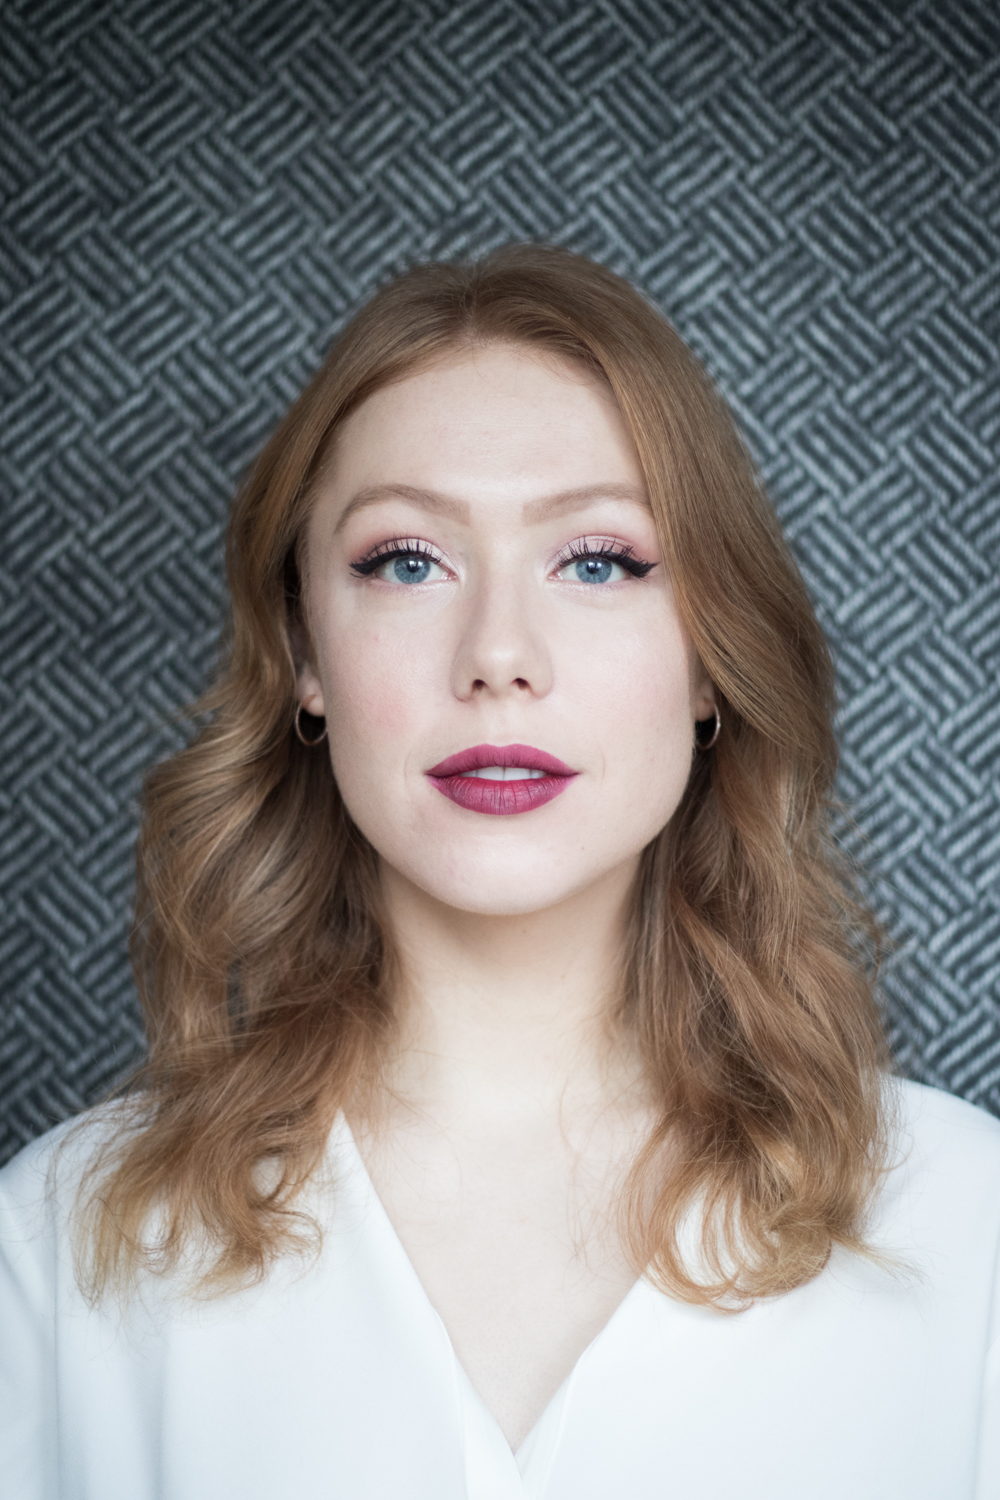
Last but not least put a smile on your face and voila! I hope you enjoyed this holiday look and that you will have fun creating your own!
X M
This content is sponsored



0 Comments