LOOK OF AUTUMN – MAKEUP TUTORIAL

Location: Copenhagen
Photo by Sebastian / Jesuissebastian.com
Photos taken with Canon 7D mark II
Min første tutorial i laang tid, jeg følte det var på tide! Jeg elsker at lave step by step makeup guides men det er enormt tidskrævende og ofte noget jeg udsætter MEN nu skulle det være. Her er mit efterårs makeup look som jeg har glædet mig til at vise jer, der vil være links under hvert produkt billede så i kan finde produkterne direkte. Teksten er skrevet på engelsk så alle kan være med! God fornøjelse!
english: my first makeup tutorial in a long time, I felt it was time! I love doing step by step guides but it’s really time consuming and often something postpone BUT here it is. My go-to makeup look for fall and I have been so excited to share it with you! There is links under every shot so you can find the products directly. Enjoy!

Step 1
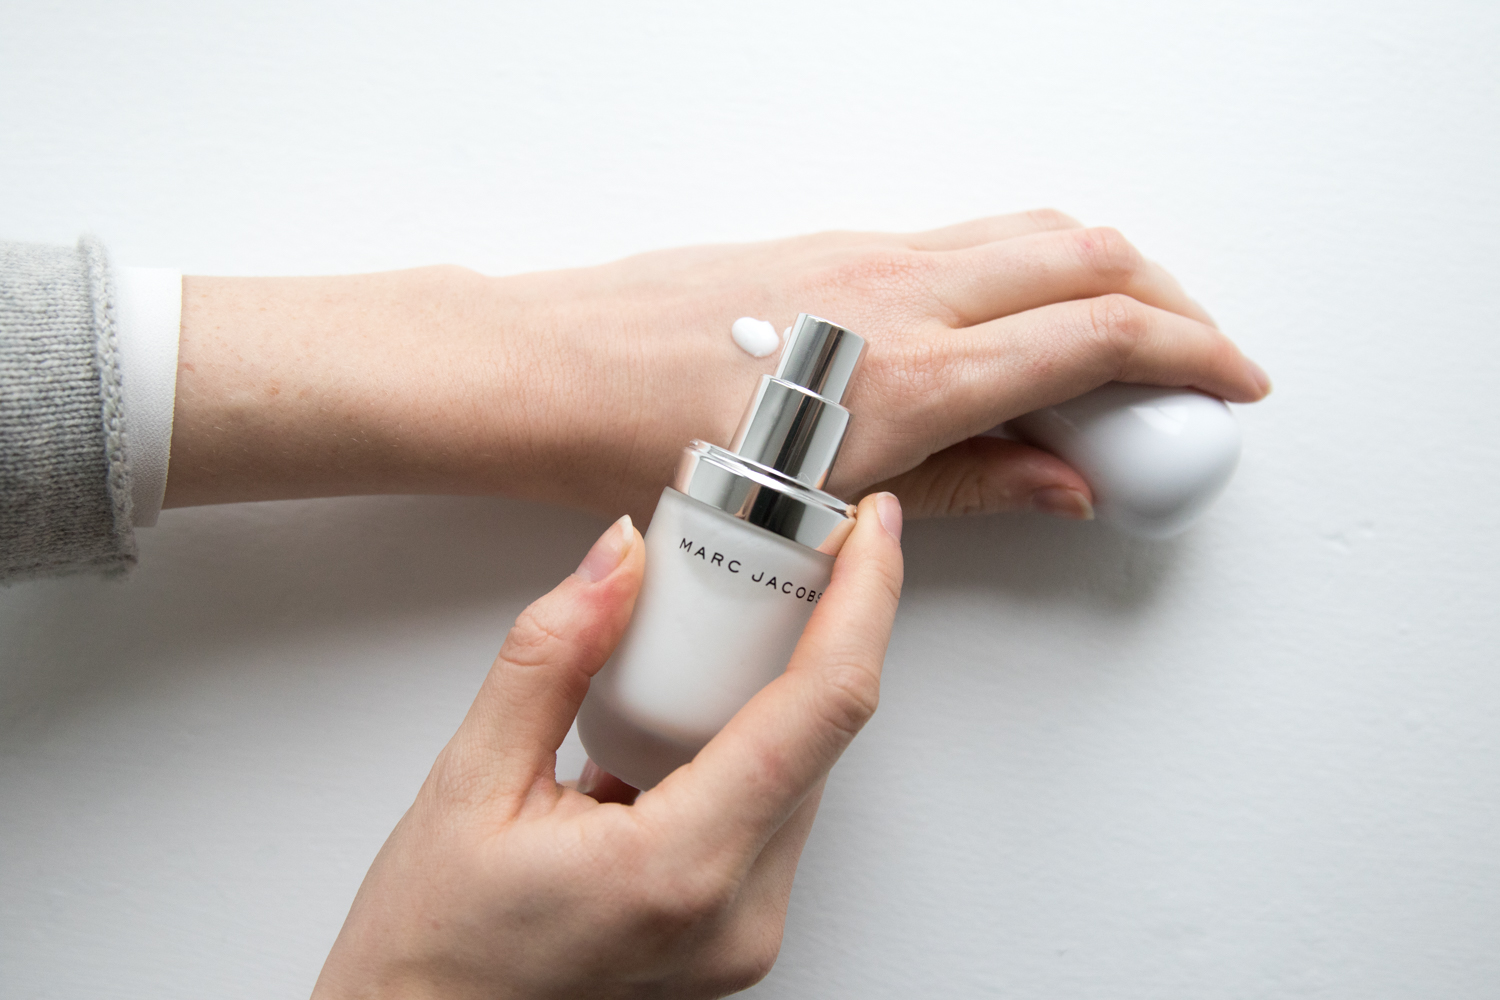
Here using: Under(cover) Perfecting Coconut Face Primer by Marc Jacobs beauty (shop here)
Start with a clean face, however you rinse or cleanse this should be done already. Prep the face by using a primer. I use the under(cover) coconut primer by Marc Jacobs beauty, it’s light, smells wonderful and really makes the foundation blend in with the skin.


Step 2
Here using: Re(marc)able Full Cover Foundation Concentrate by Marc Jacobs beauty (shop here)
Born to glow highlighter by NYX cosmetics (shop here)
The people behind Marc Jacobs beauty says that one dot of foundation should be enough to cover your whole face. I agree with that statement very much, this is very high coverage so be aware not to fill your palm and just smear it on. I always mix my foundation / CC cream / BB cream (or whatever) with just a little bit of liquid highlighter – it gives a very natural glow to the face! I love to use my hands when applying my base, this is optional of course. My shade is ivory 12.
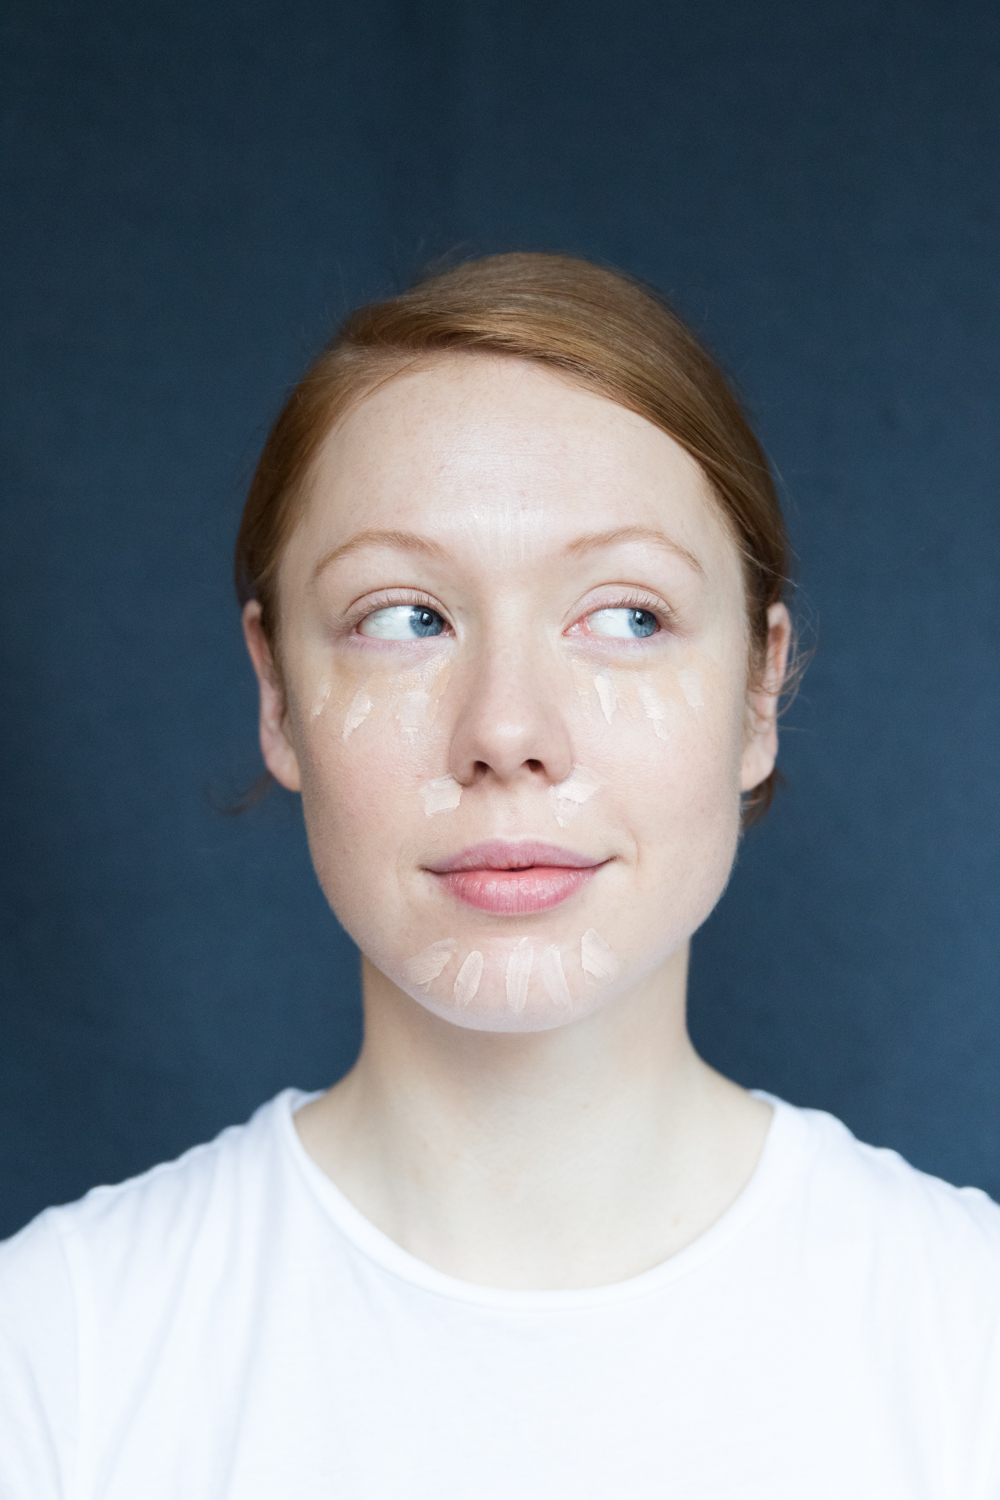
Step 3
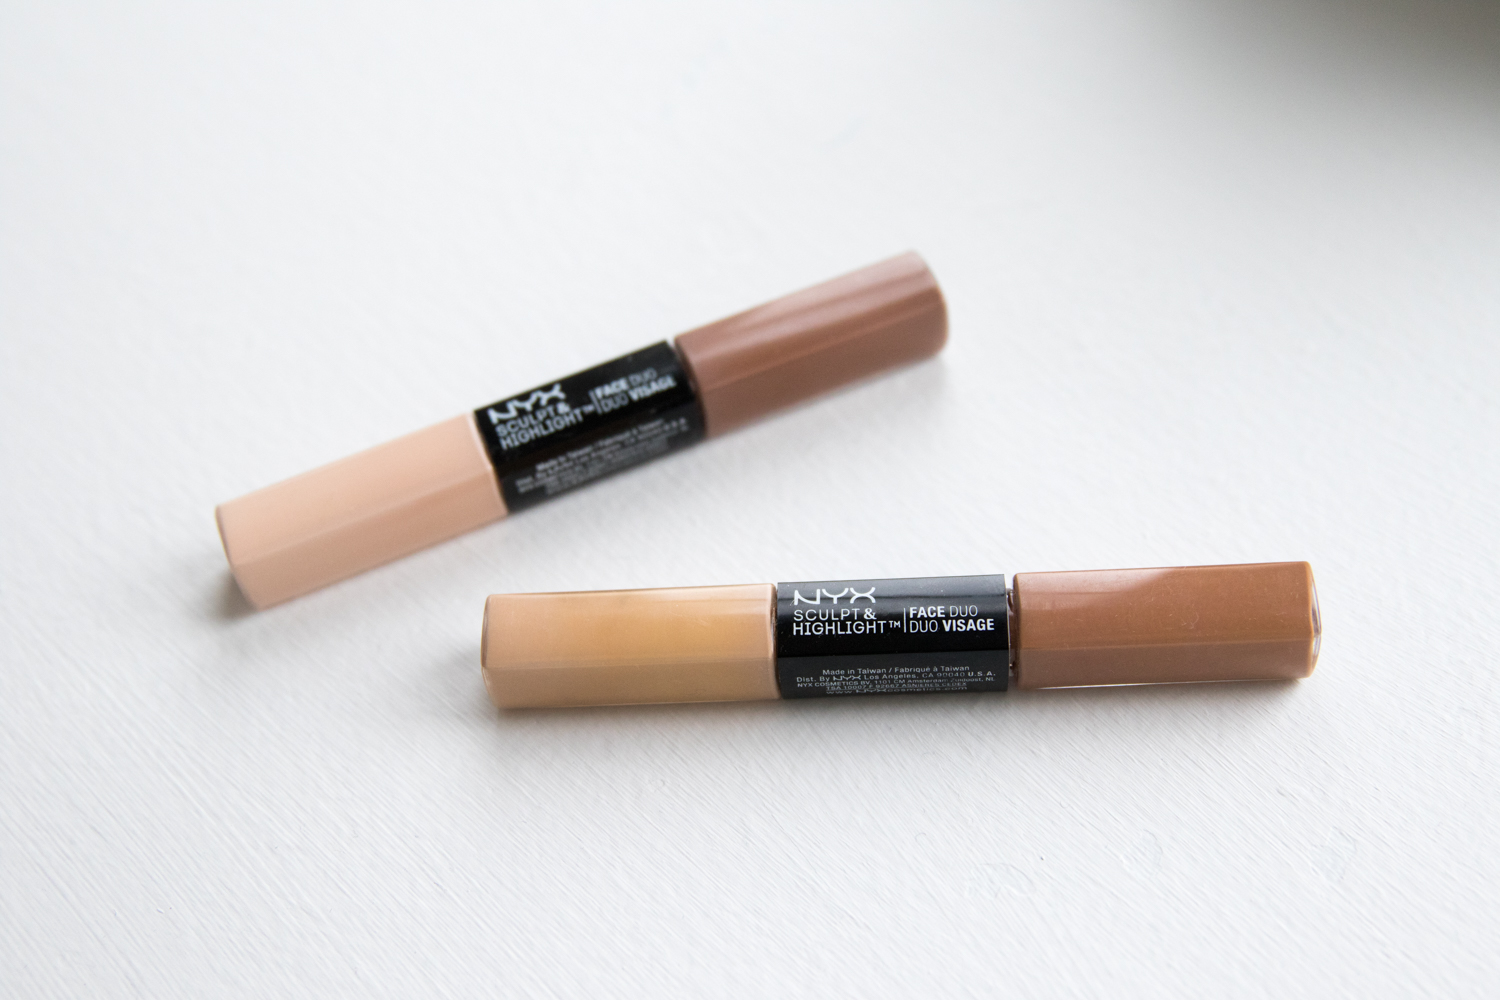
Here using: Sculpt and highlight face duo by NYX cosmetics (shop here)
“Two different concealers you say?” No not at all, it’s totally optional, I just like using a lighter and a darker shade to add more definition to my face. Any concealer you know and love is totally fine!
Step 4
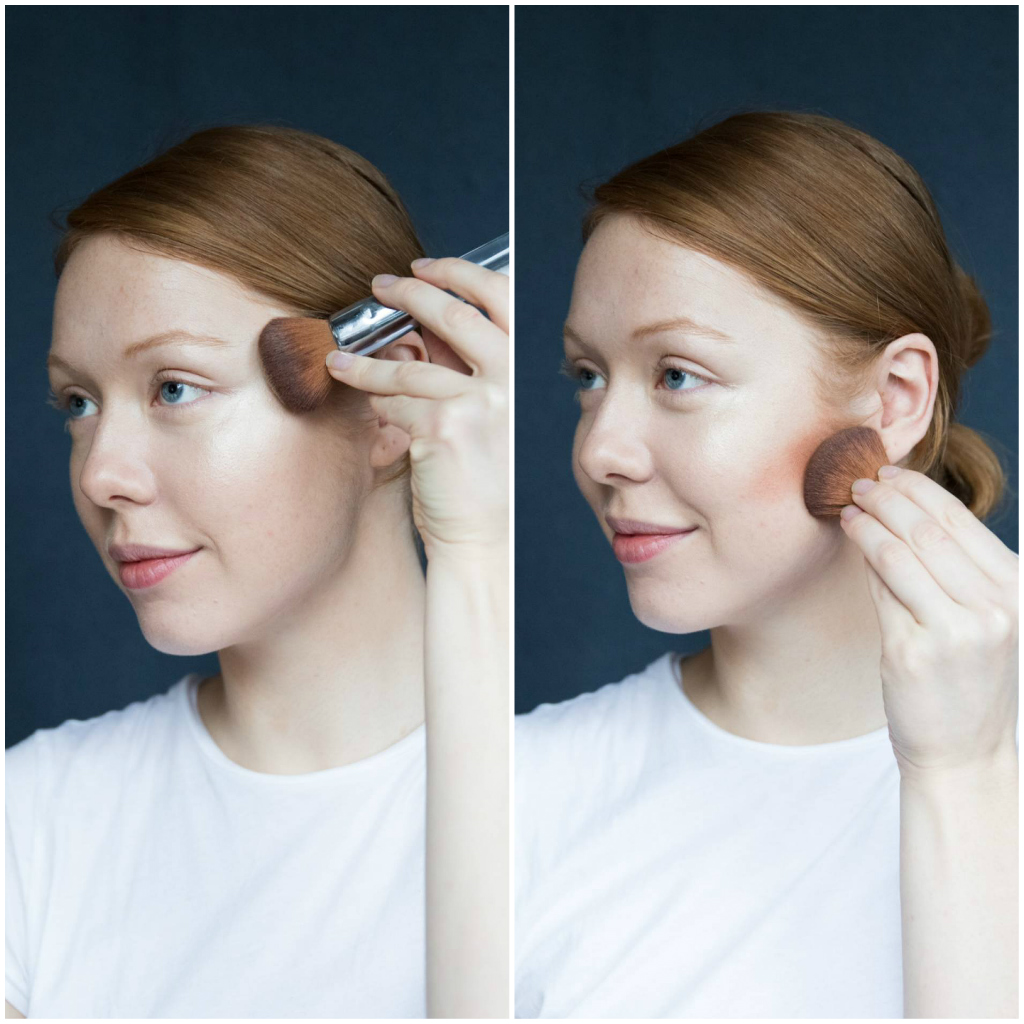
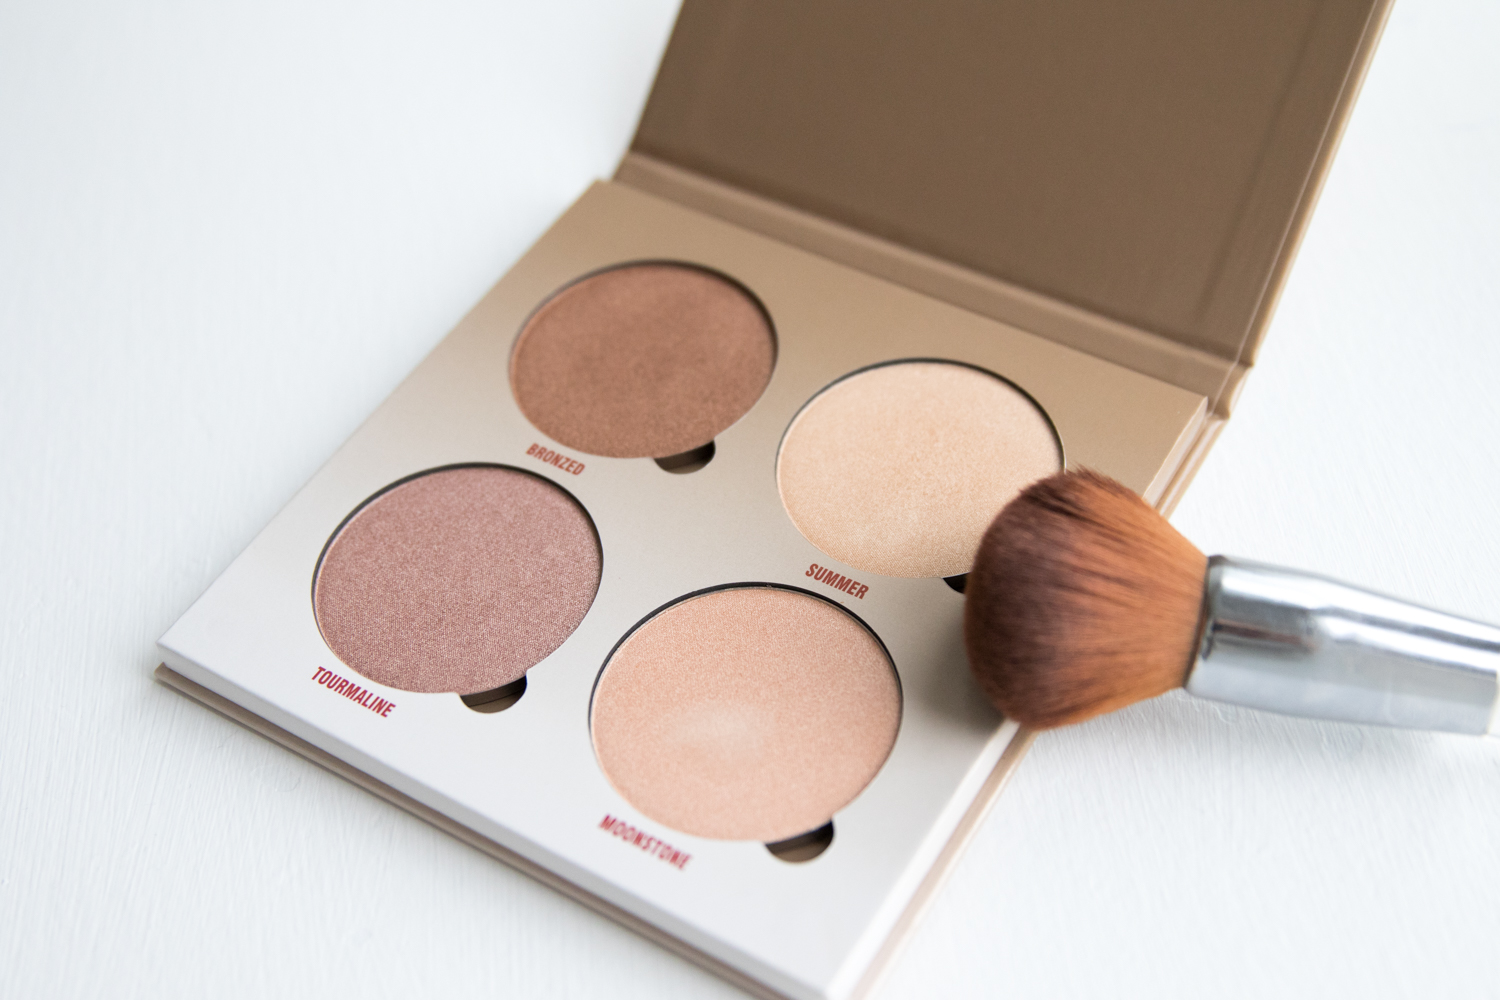
Here using: Glow kit in sun dipped by Anastasia Beverly Hills (shop here)
Contour and highlight, some say this is the most important step of all. I love a good contour and highlight although I am probably doing it a little differently than others. I like to use a shiny contour instead of a matte one. Others tend to do it the other way around as the mat contour will then make the highlight pop even more but I love how the two highlighters (although different shades) lift each other up and creates a shiny, dewy and beautiful finish to the face. I used “summer” for my highlight and “bronzed” for the contour.
Step 5
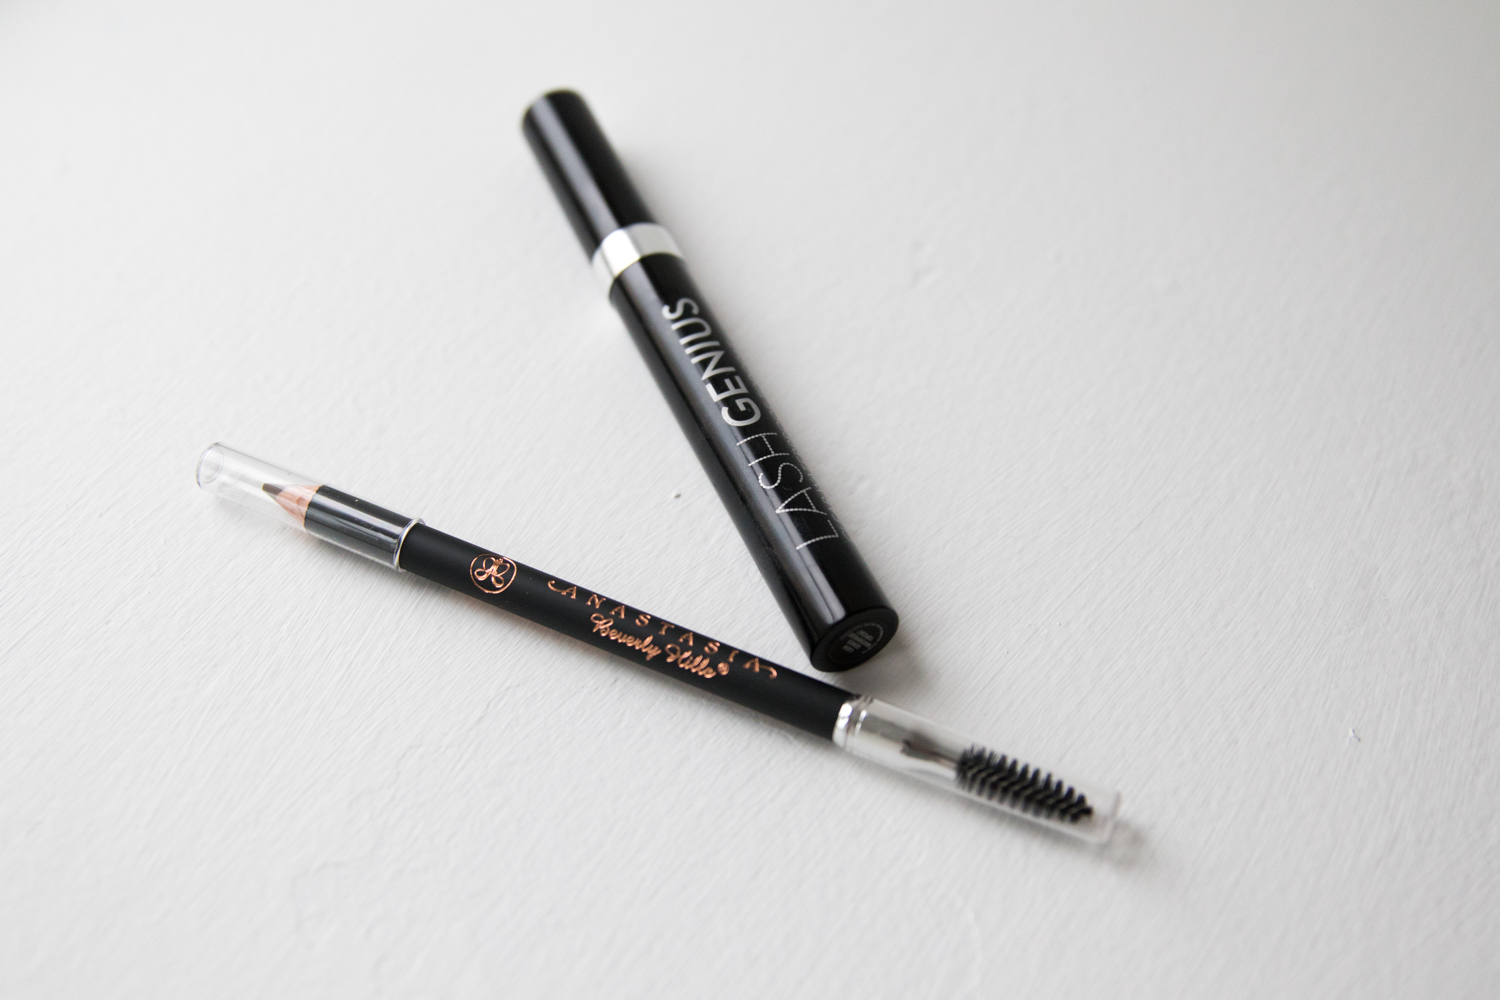
Here using: Brow pencil in taupe by Anastasia Beverly Hills (shop here)
Lash genius by Anastasia Beverly Hills (shop here)
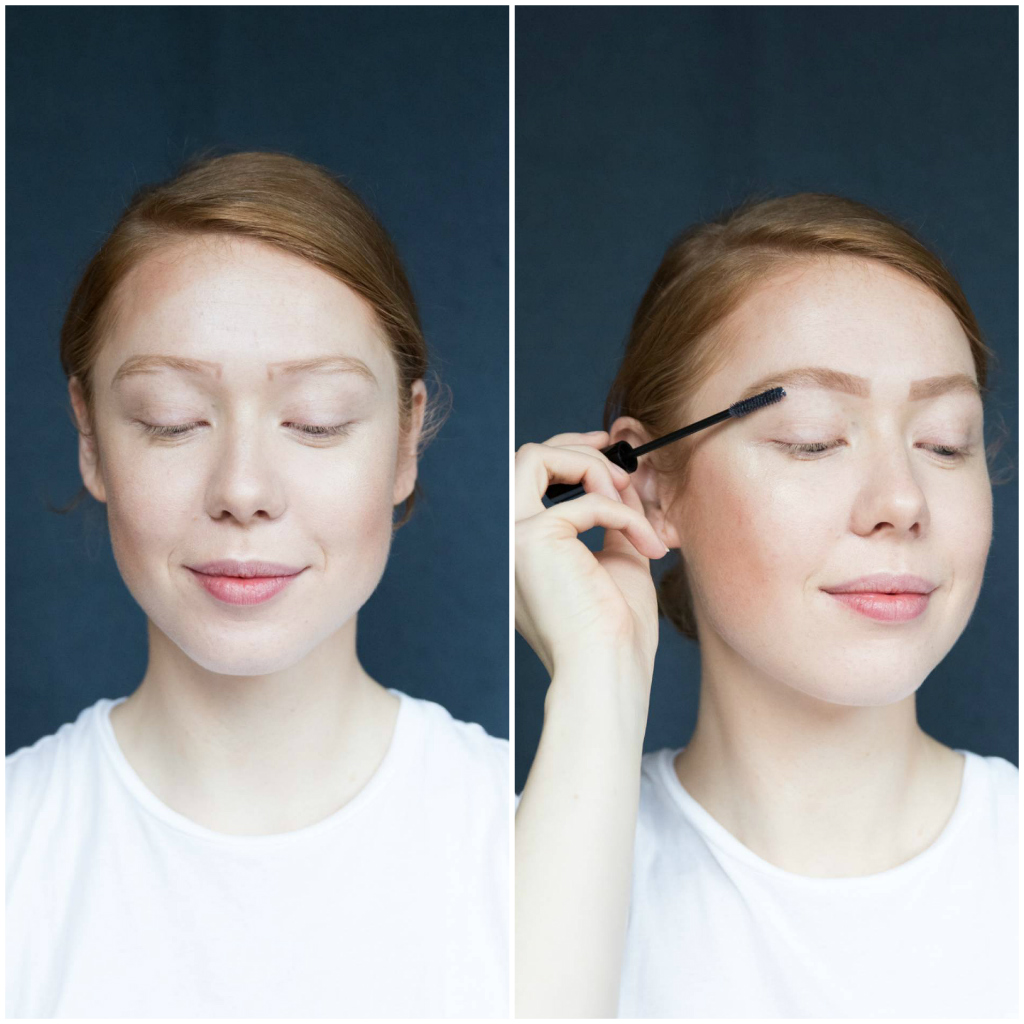
The step that makes the face! In my opinion. Before I knew how to do my brows I knew nothing at all (very dramatic by true!). I usually out draw the lines of the shape of brow I want that day and then I coat them with clear gel. The lash genius by Anastasia Beverly Hills is actually not even for the brows, it’s for your lashes, to make your mascara stay in place. But you see, I didn’t know that the first time I used it so I put it on my brows and went on with my day. I was outside and it started raining but my brows didn’t go anywhere because this baby is waterproof! Wuhu! Never wearing anything else.
Step 6
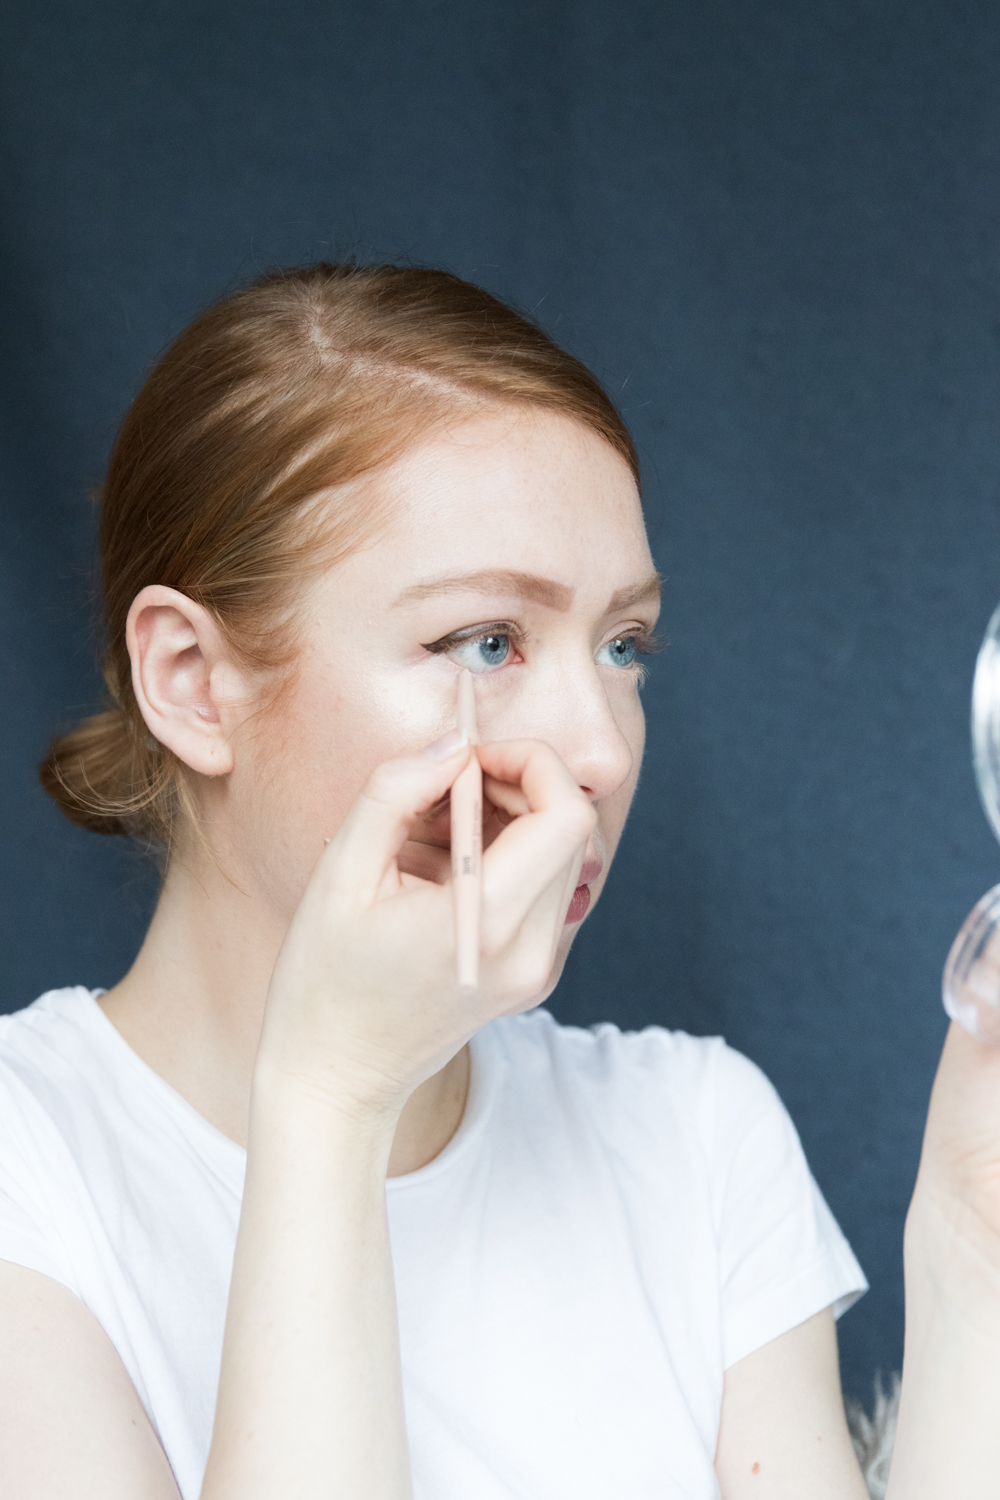
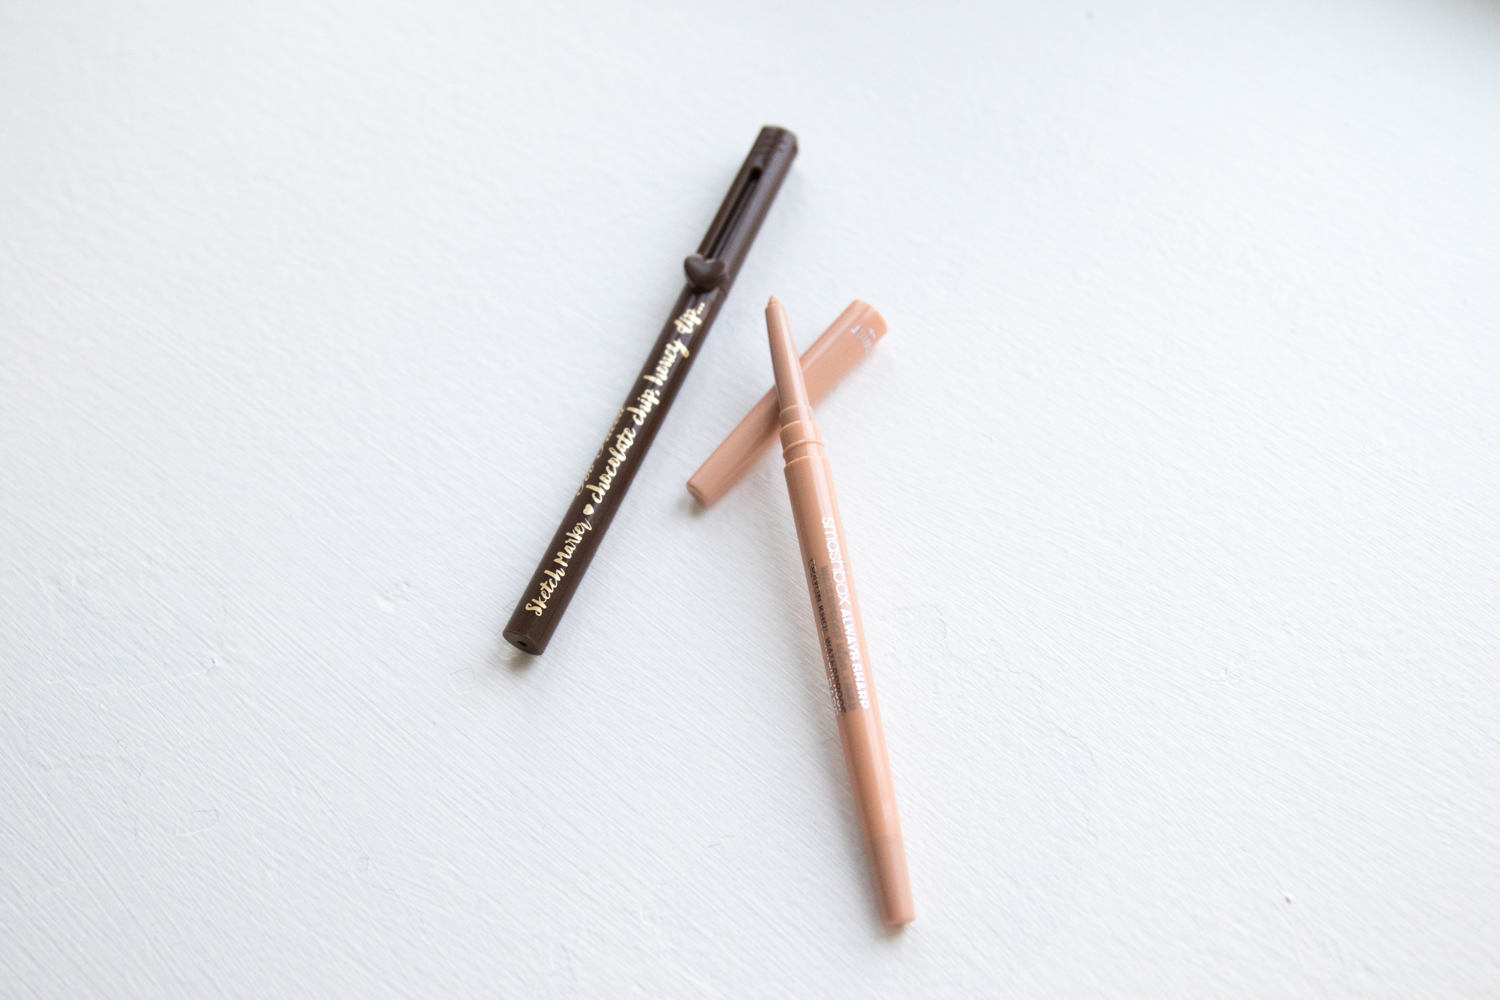
Here using: Sketch marker liquid art eyeliner in espresso by Too faced (shop here)
Always sharp waterproof kohl liner in nude by Smashbox (shop here)
I like to use a brown liquid liner for my winged eyeliner as it softens the look, especially when being very light like me it can be very harsh to wear all black. I line my waterline, for bigger and brighter eyes, with my favorite kohl liner in nude.
Step 7
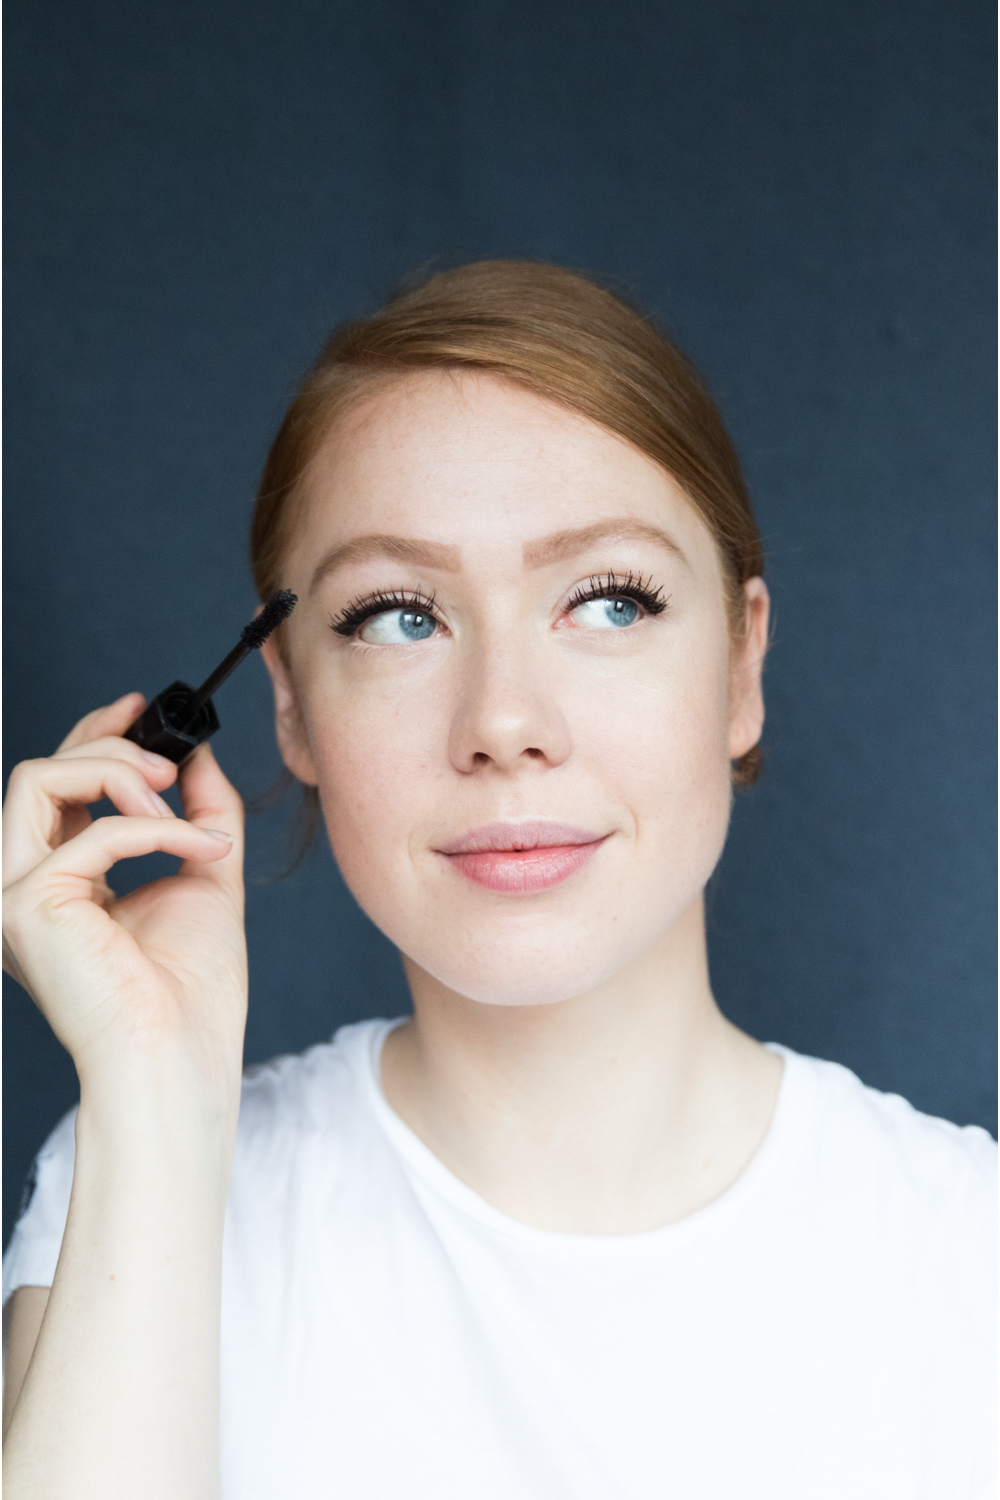
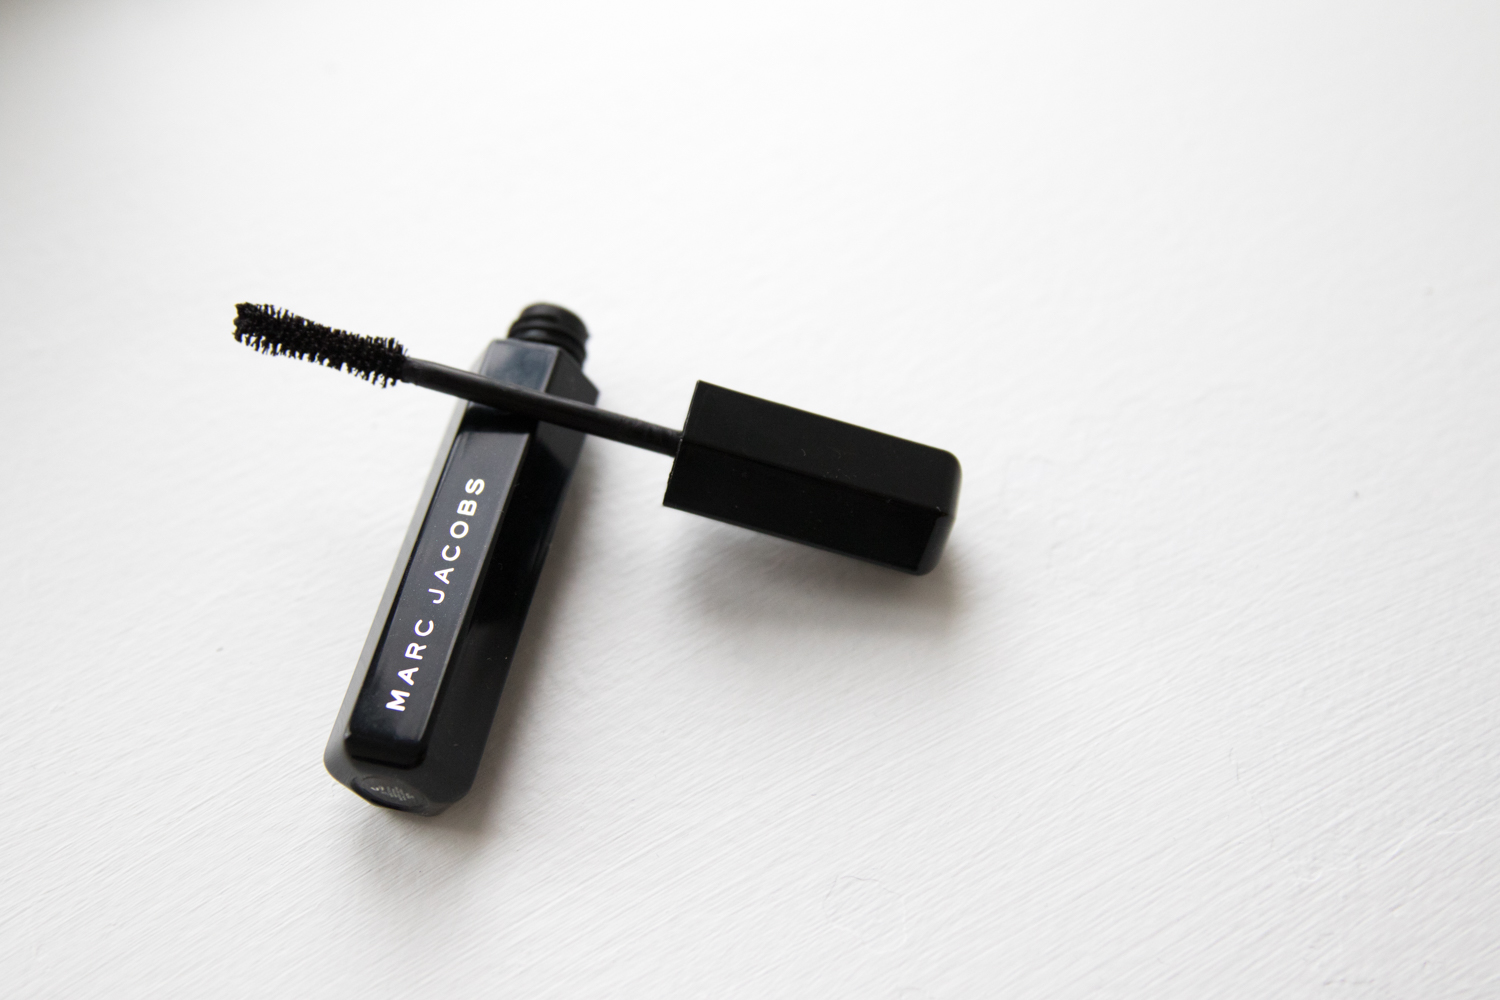
Here using: Velvet noir volume mascara by Marc Jacobs beauty (shop here)
One of the best mascaras I have ever tired, by far! Easy to work with, easy to apply (and it applies a lot, which I love!).
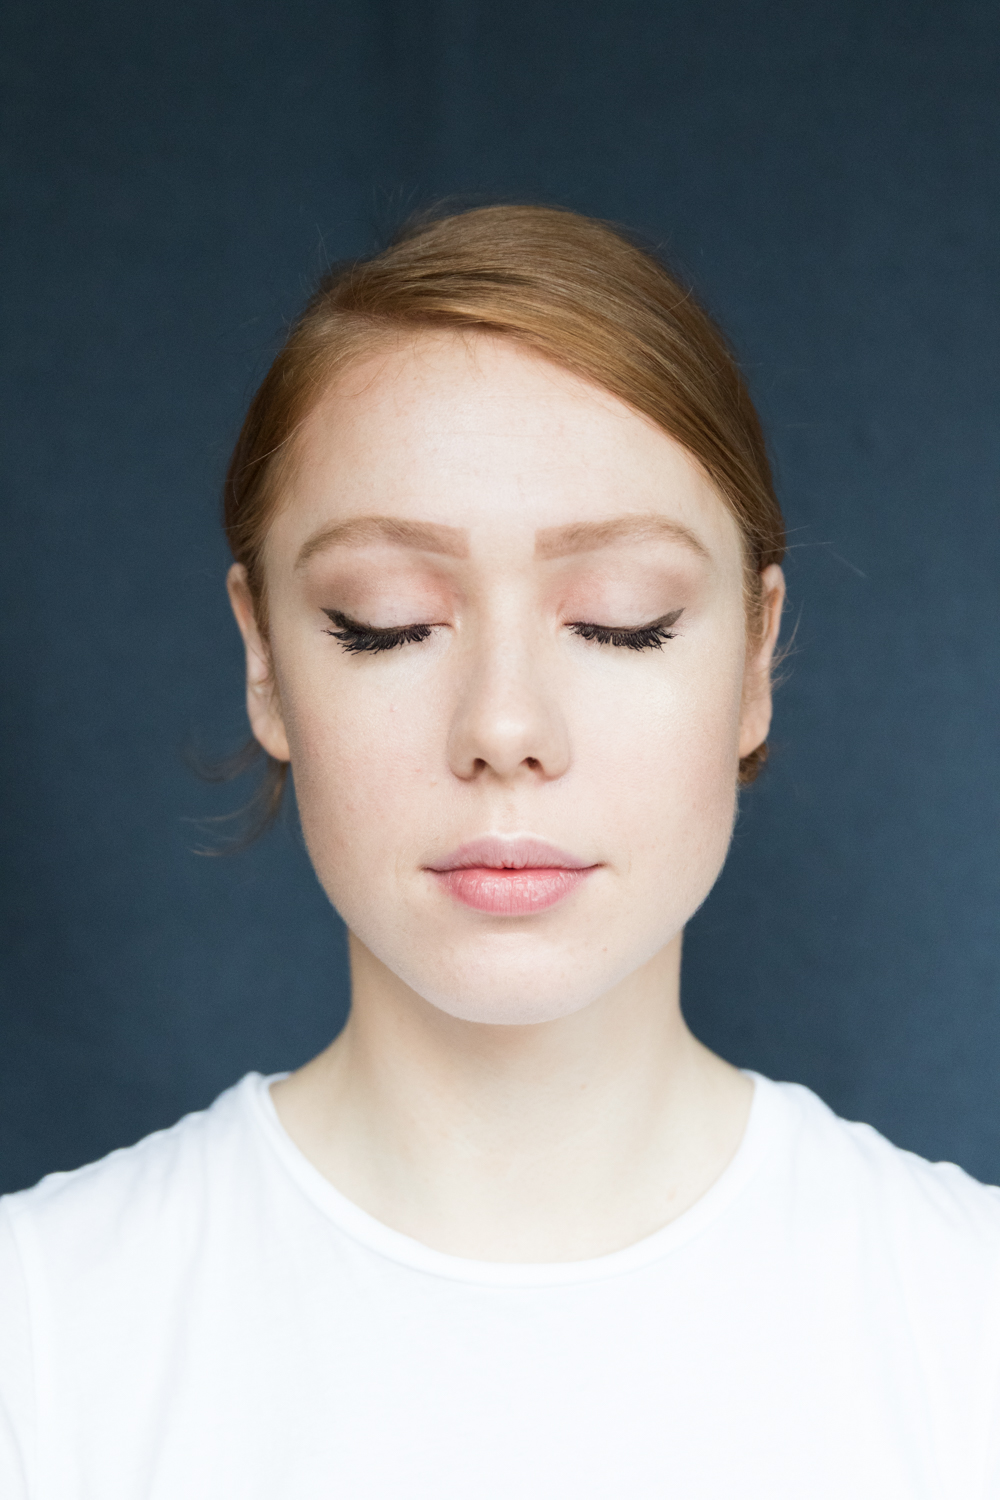
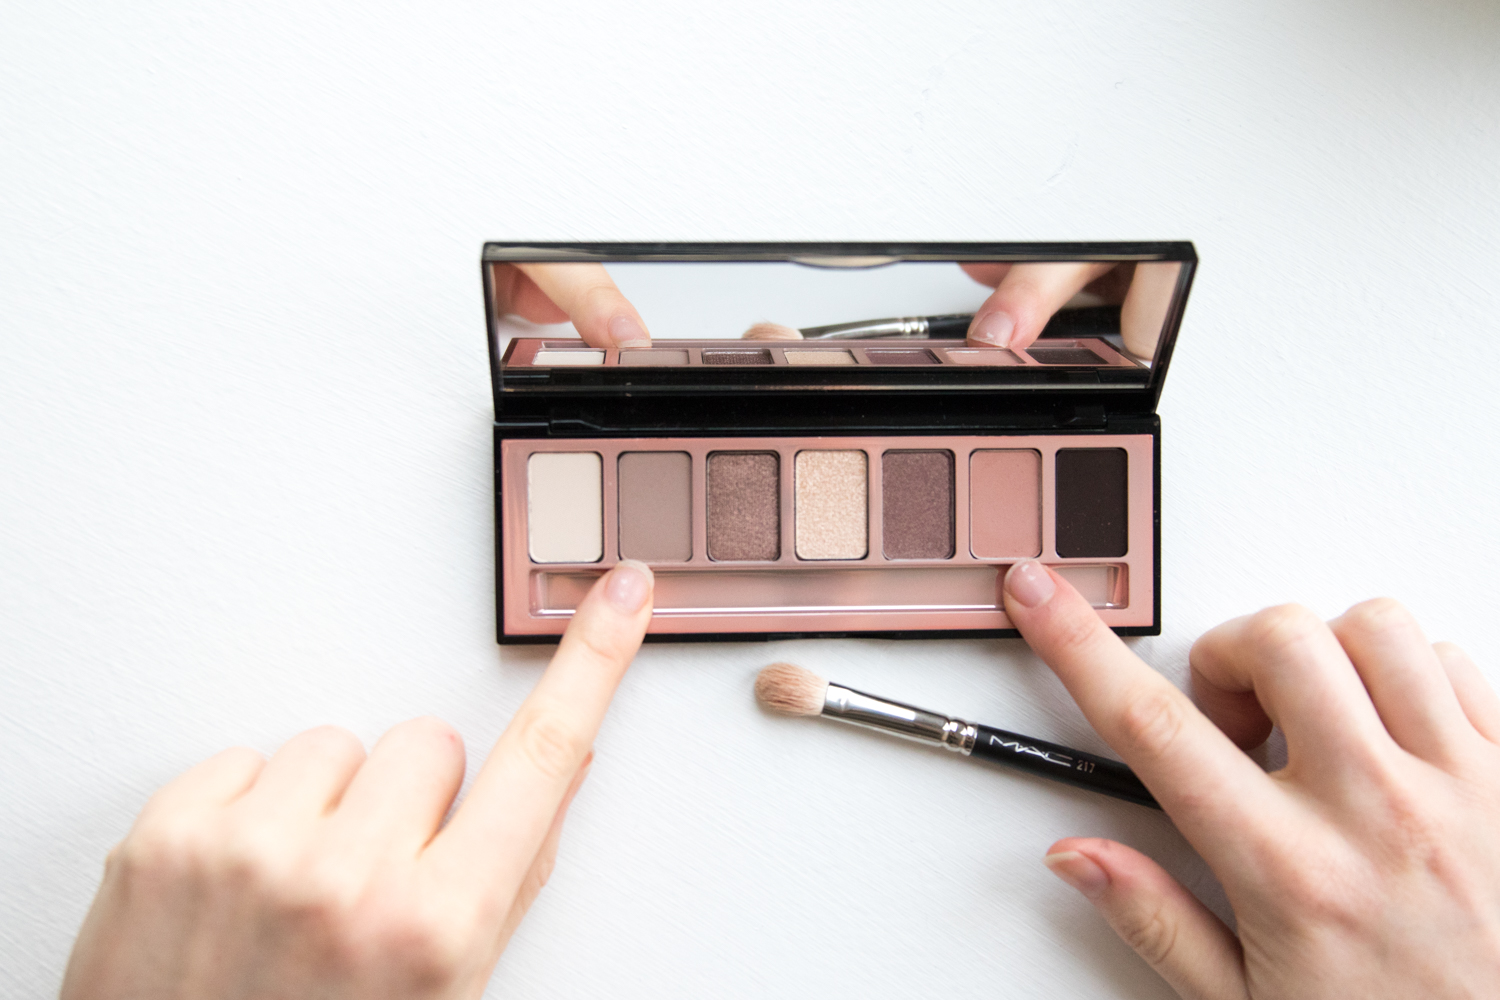
Step 8
Here using: Eyeshadow pallet by Bobbi Brown (shop similar here)
I always apply my eyeshadow after applying my mascara because I always make a horrified mess. For this look I wanted the lids to be warm and smokey. I used the pink shade in the inner corners of my eyes and the taupe color for my crease and outer corners of my eyes. It’s subtle, everyday friendly but still add’s some sass to this otherwise classic look.
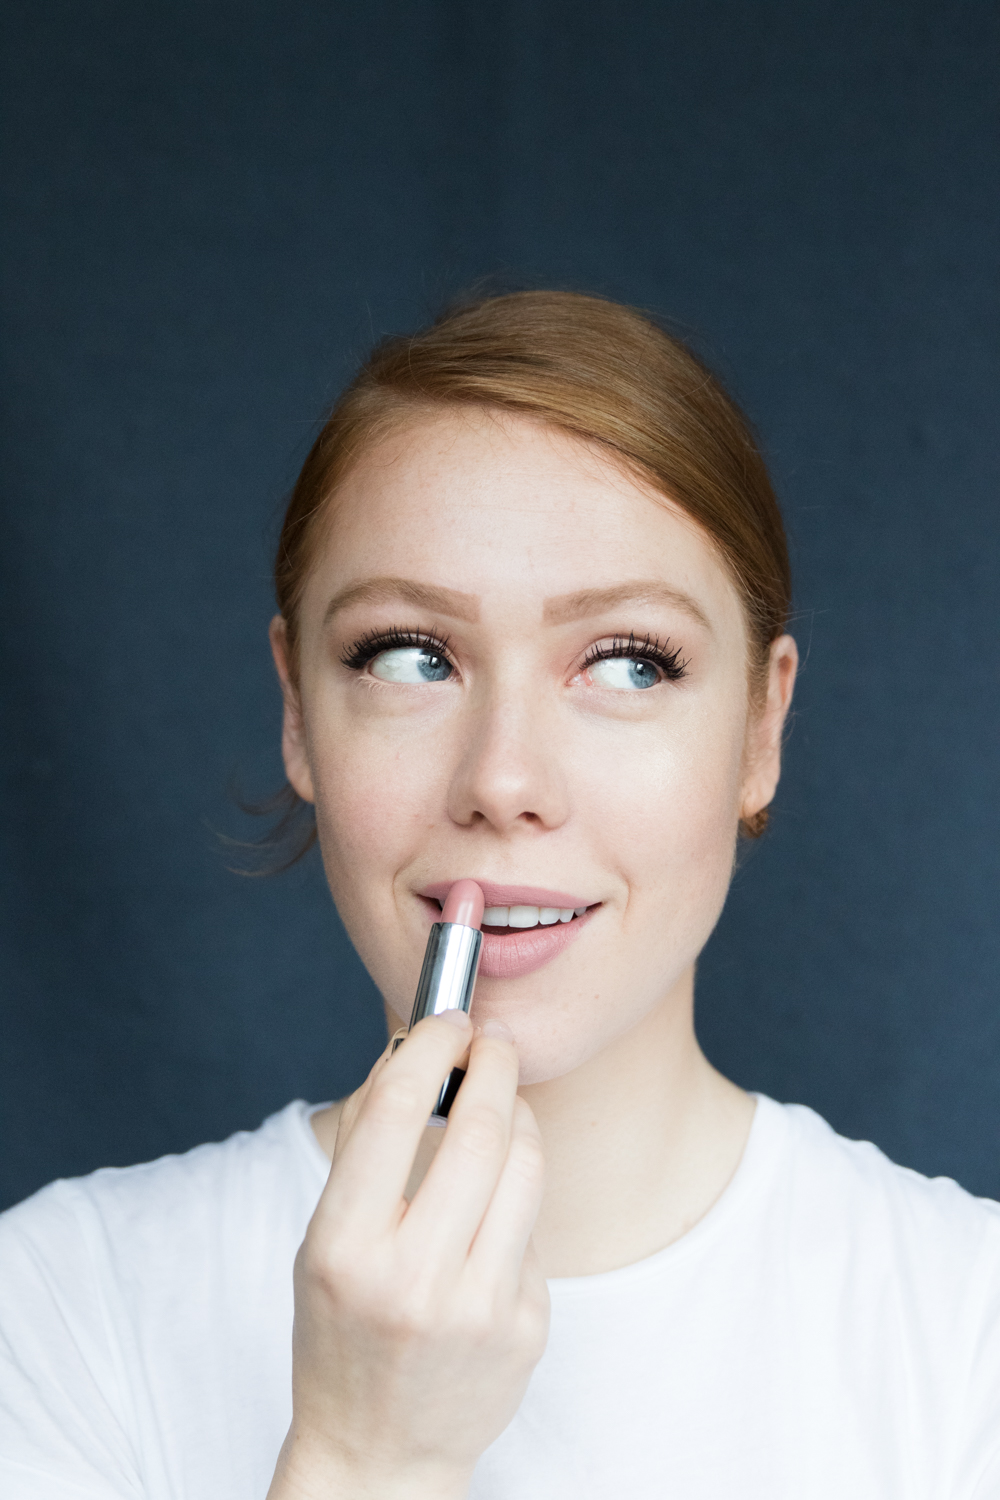
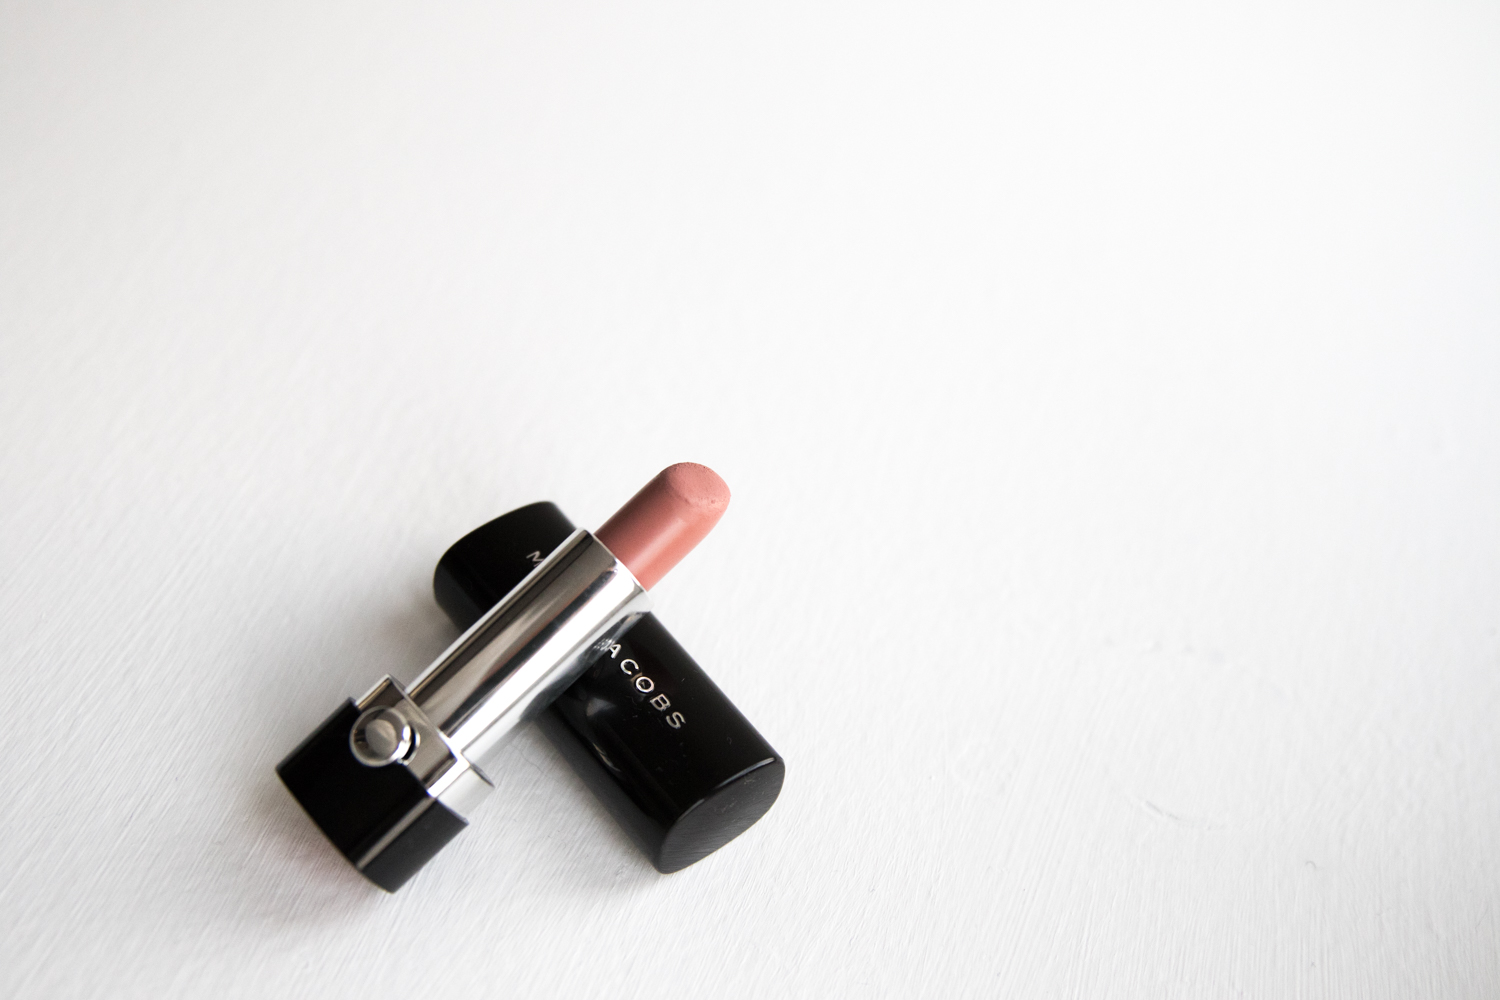
Step 9
Here using: Le Marc lip crème lipstick in sonic truth by Marc Jacobs beauty (shop here)
I have to hand it too him, the Marc guy sure makes a lot of mesmerizing nude lipsticks. Besides carrying an amazing color range, the lipstick it self is beyond yummy! It’s creamy, light textured but super pigmented, LOVE! Sonic truth which I’m wearing here, is only one of my favorites from his collection, you should also check out Slow burn (here), No angel (here) and J’ adore (here). You’re welcome.
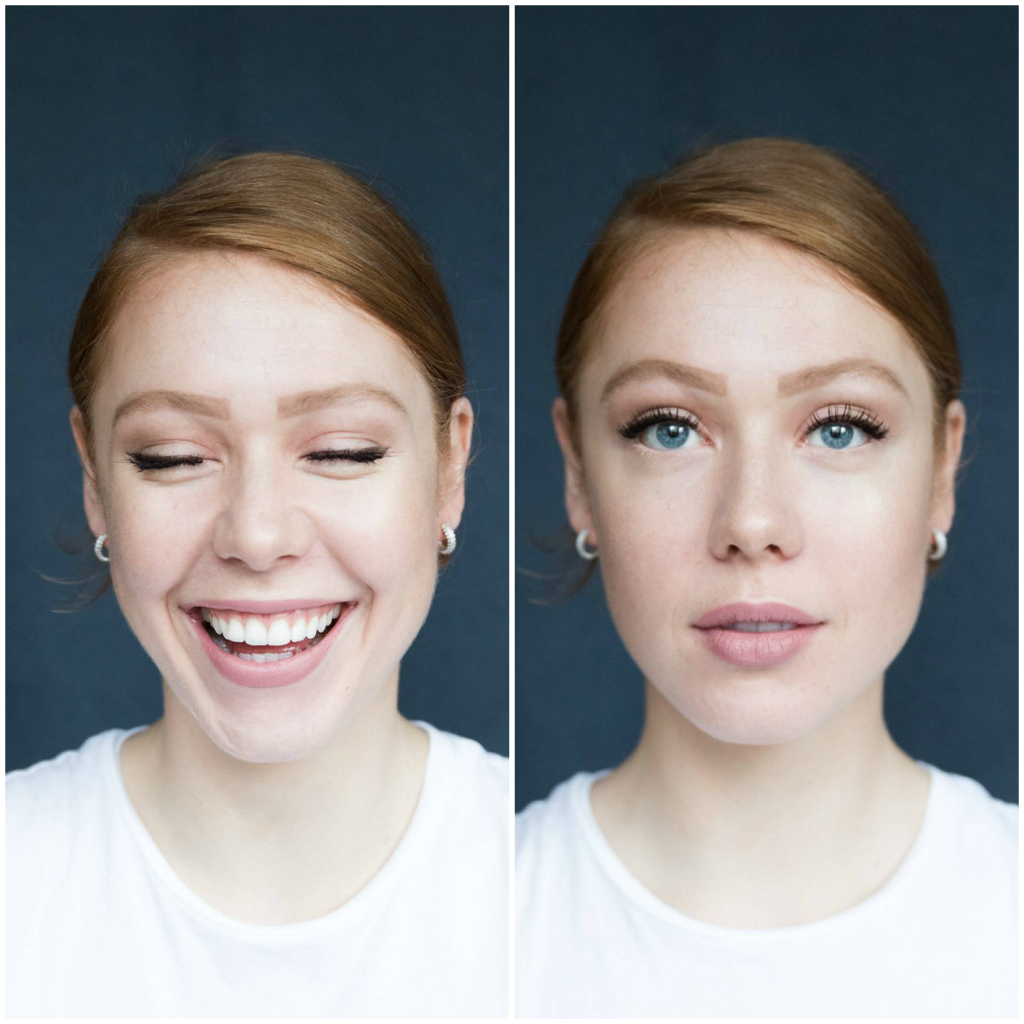
Step 10
SMILE and greet the day, I hope you enjoyed this makeup tutorial.
Thank you for watching!
X M
This content is sponsored
Discussion about this post