MAKEUP TUTORIAL | SUMMER FRECKLES
Location: Copenhagen
Photo by Sebastian / Jesuissebastian.com
Photos taken with Canon 7D mark II
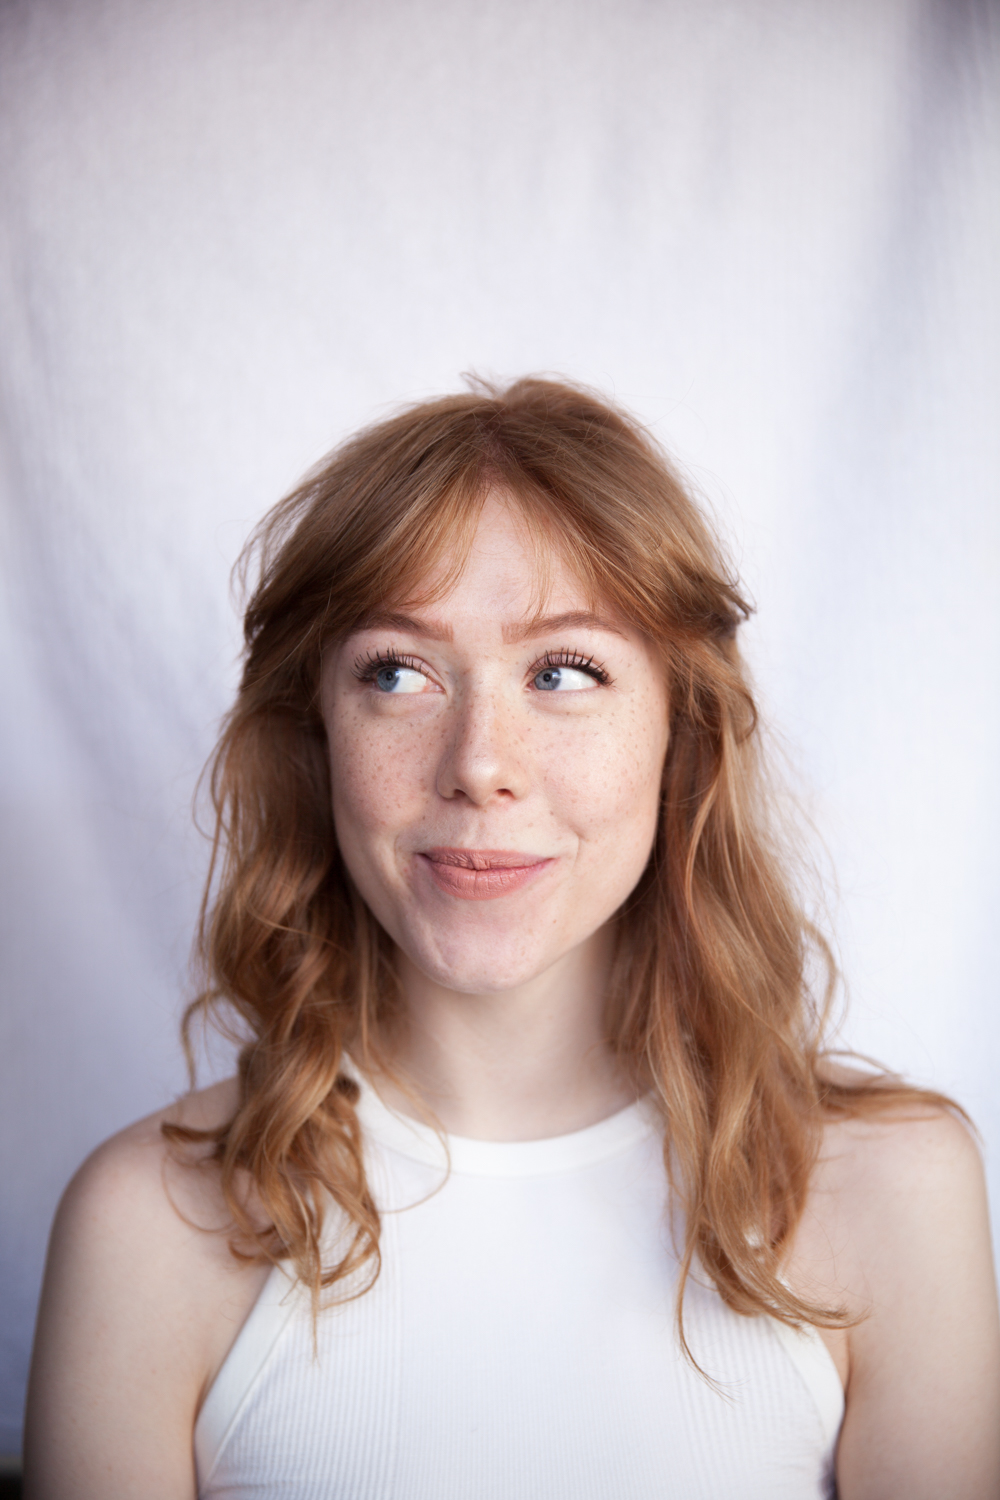
Hej I dejlige! Det smukke sommervejr fortjener en kommentar herfra i form af et makeup look. Mine ideer til makeup looks opstår oftest fordi jeg selv skifter min routine og derfor føler jeg har noget nyt at dele. Når det er sommer tilsættes hele min midterste ansigts region med fregner som løber fra det ene øre, hen over næsen og til det andet øre. Jeg er meget glad for mine fregner, i nogen perioder er de meget fremtræden og i andre, knap så fremtræden og derfor kan jeg godt lide at hjælpe dem lidt på vej. Så til dig der måske slet ikke får fregner, det her er også til dig! Alle steps vil blive skrevet på engelsk så alle kan følge med, god fornøjelse!
english: Hello lovelies! The wonderful sommer weather deserves a little shoutout from here in the form of a makeup look. My ideas for tutorials often appear when I change my daily makeup look and then I feel like I have something new to share with you guys. When the sun hits the sky I get a ton of freckles. Running from one ear, over the nose and to the other ear. The strength of the color in my freckles vary a lot from day to day and therefore I love to give them a helping hand sometimes. So if you don’t get any freckles at all and you want some, this is for you too! All the steps will be done in english below so everyone can follow, enjoy!
Step 1
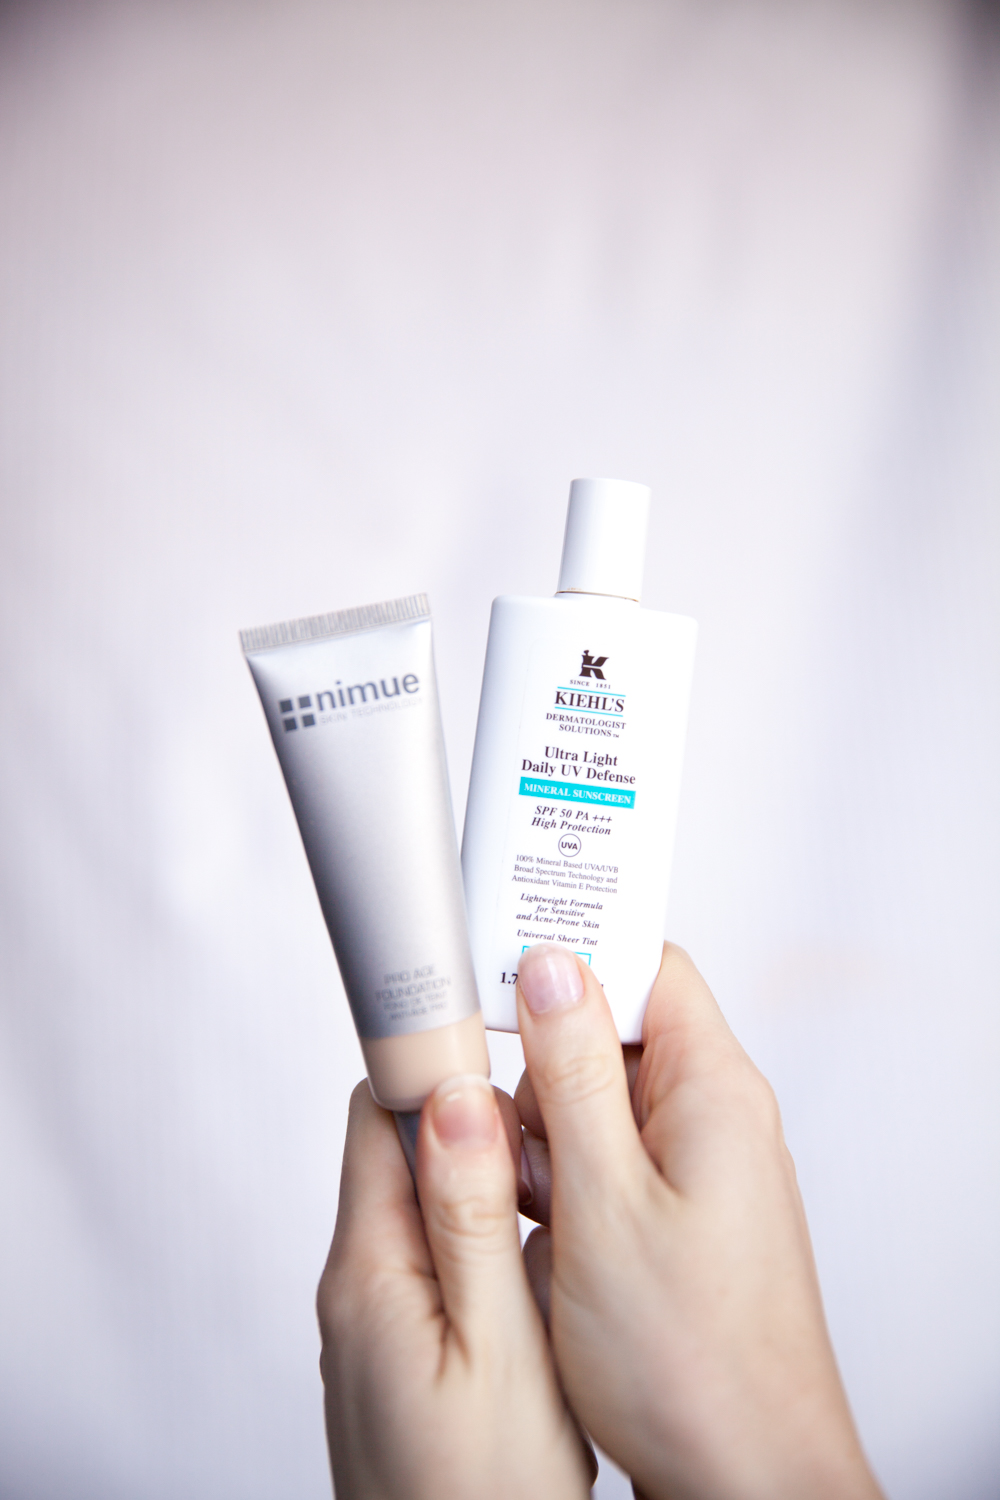
In the summer I like to wear a very natural and almost transparent base. I mix one of my all time favorite foundations from Nimue with a great sunscreen from Kiehl’s. It’s a very light, dewy base that fits the hot days perfectly. If you only wish to wear sunscreen this one from Kiehl’s also has just a touch of color to it so you can use it to cover any uneven areas you might have. But I like to mix it, for me it gives the best result.
Here using:
Foundation / Nimue (call for retailer +45 33 32 33 22), Sunscreen / Kiehl’s (shop here)
Step 2
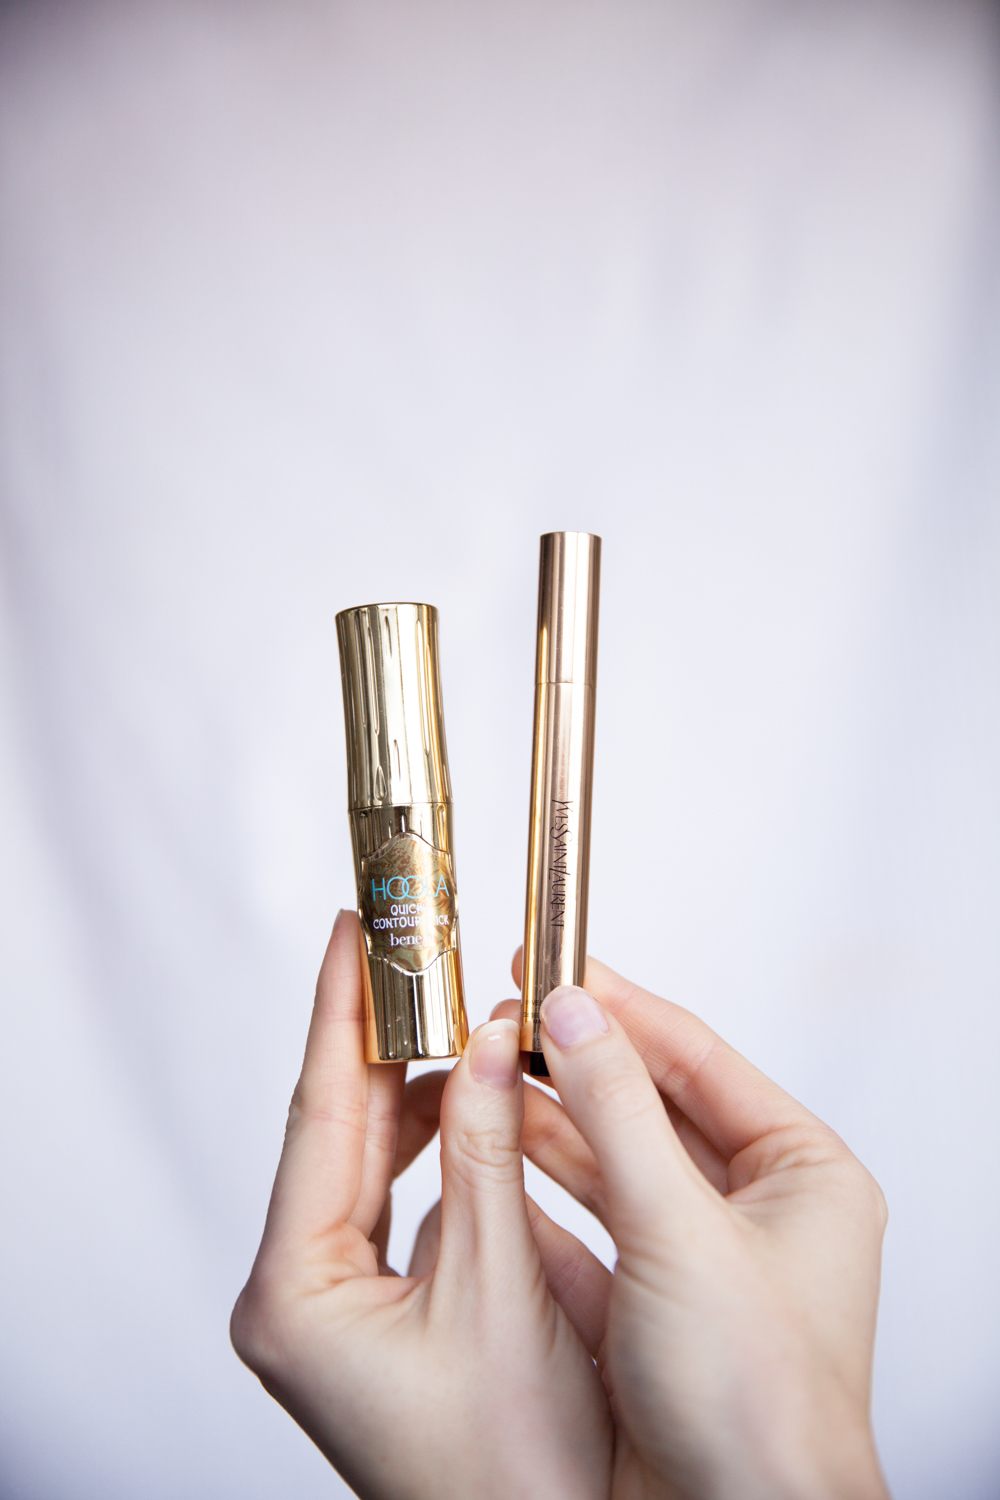
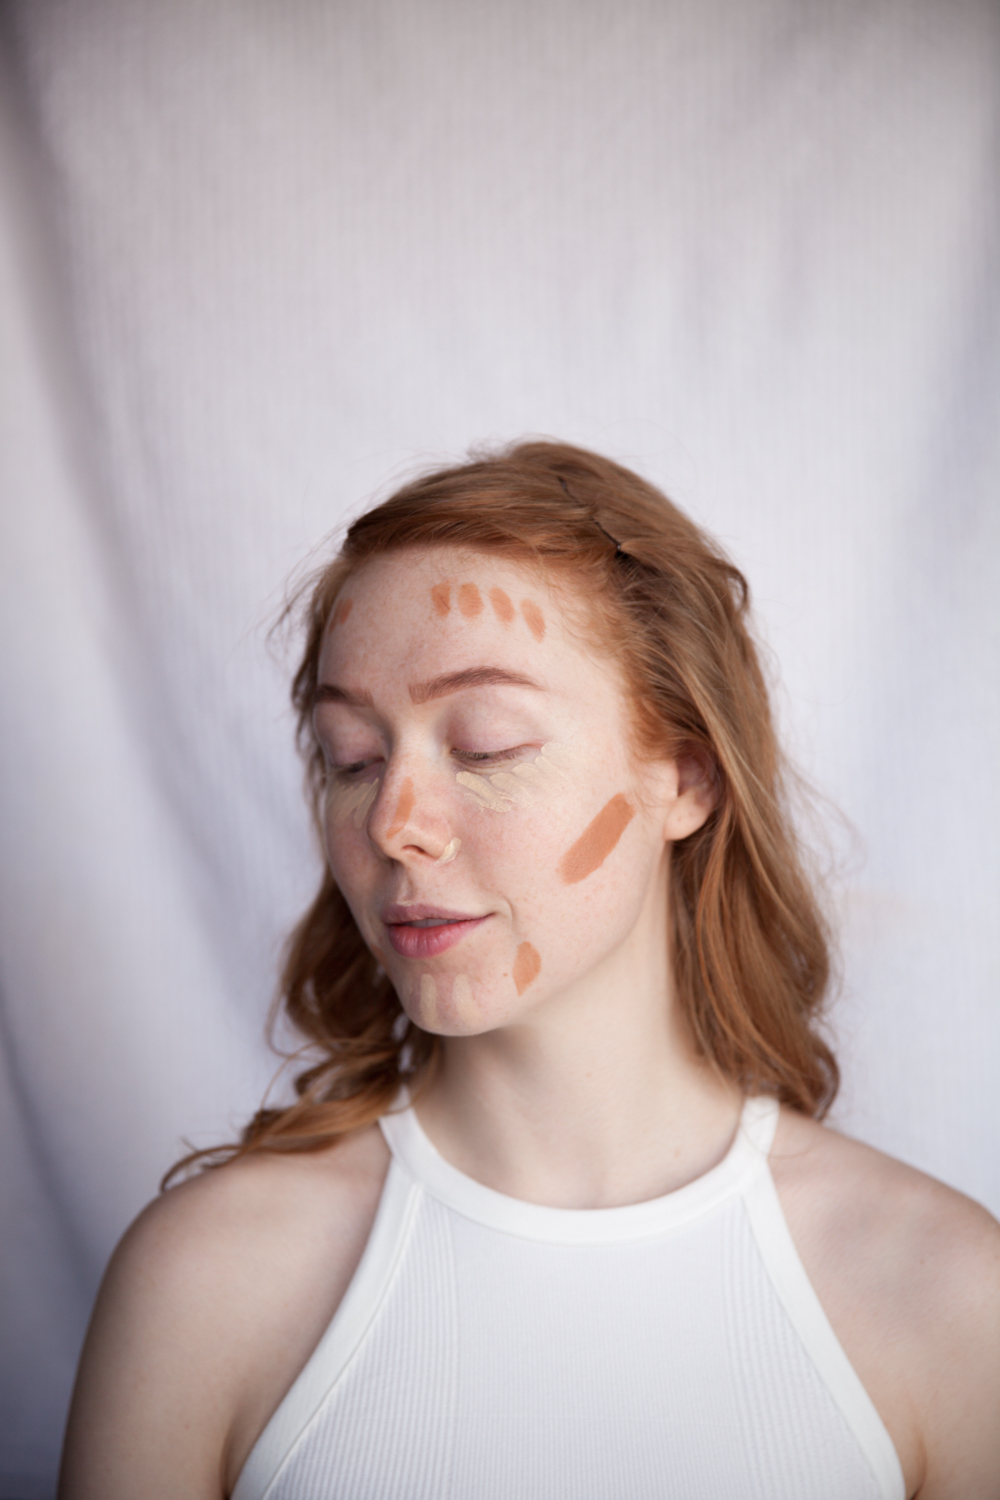
Let the light meet the dark! Sounds so dramatic but it’s kinda true in this scenario. To lightly conceal my under eyes I am using the YSL beauty touche éclat and to enhance my features I use the Benefit’s hoola contour stick. I love how it’s like sun on the face but shaped as a stick! I start with concealer to map out the light on my face and then I go in with the stick where I feel I need it. You know your own face best so do it as you feel fits your features. Bronze away my queens!
Here using:
Concealer / YSL beauty (shop here), Contour stick / Benefit (shop here)
Step 3
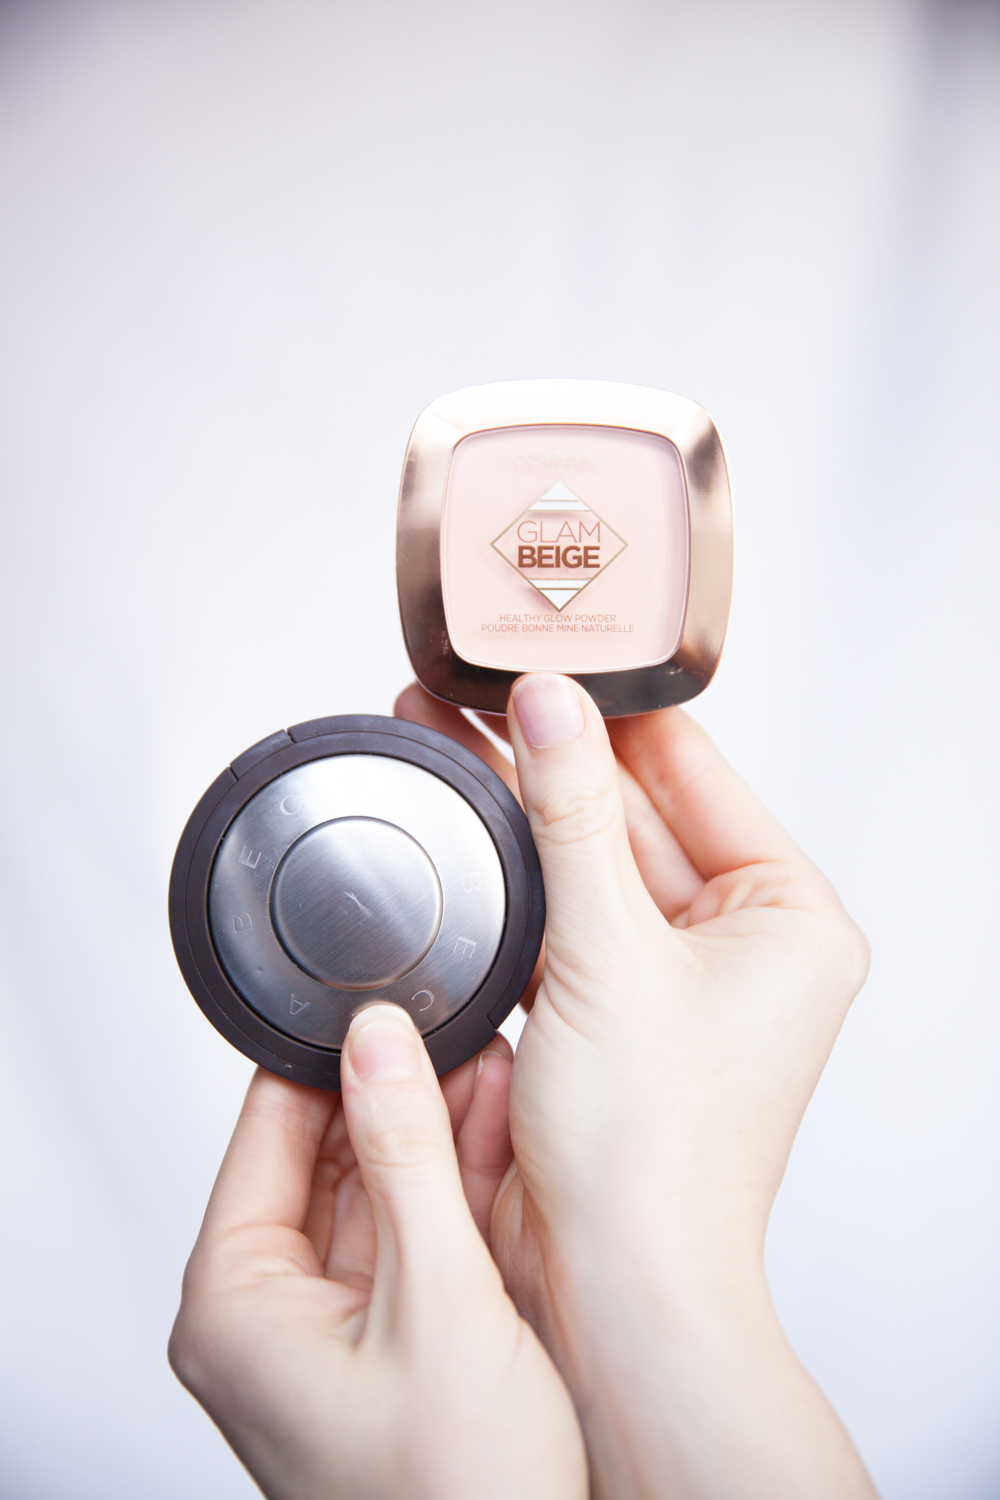
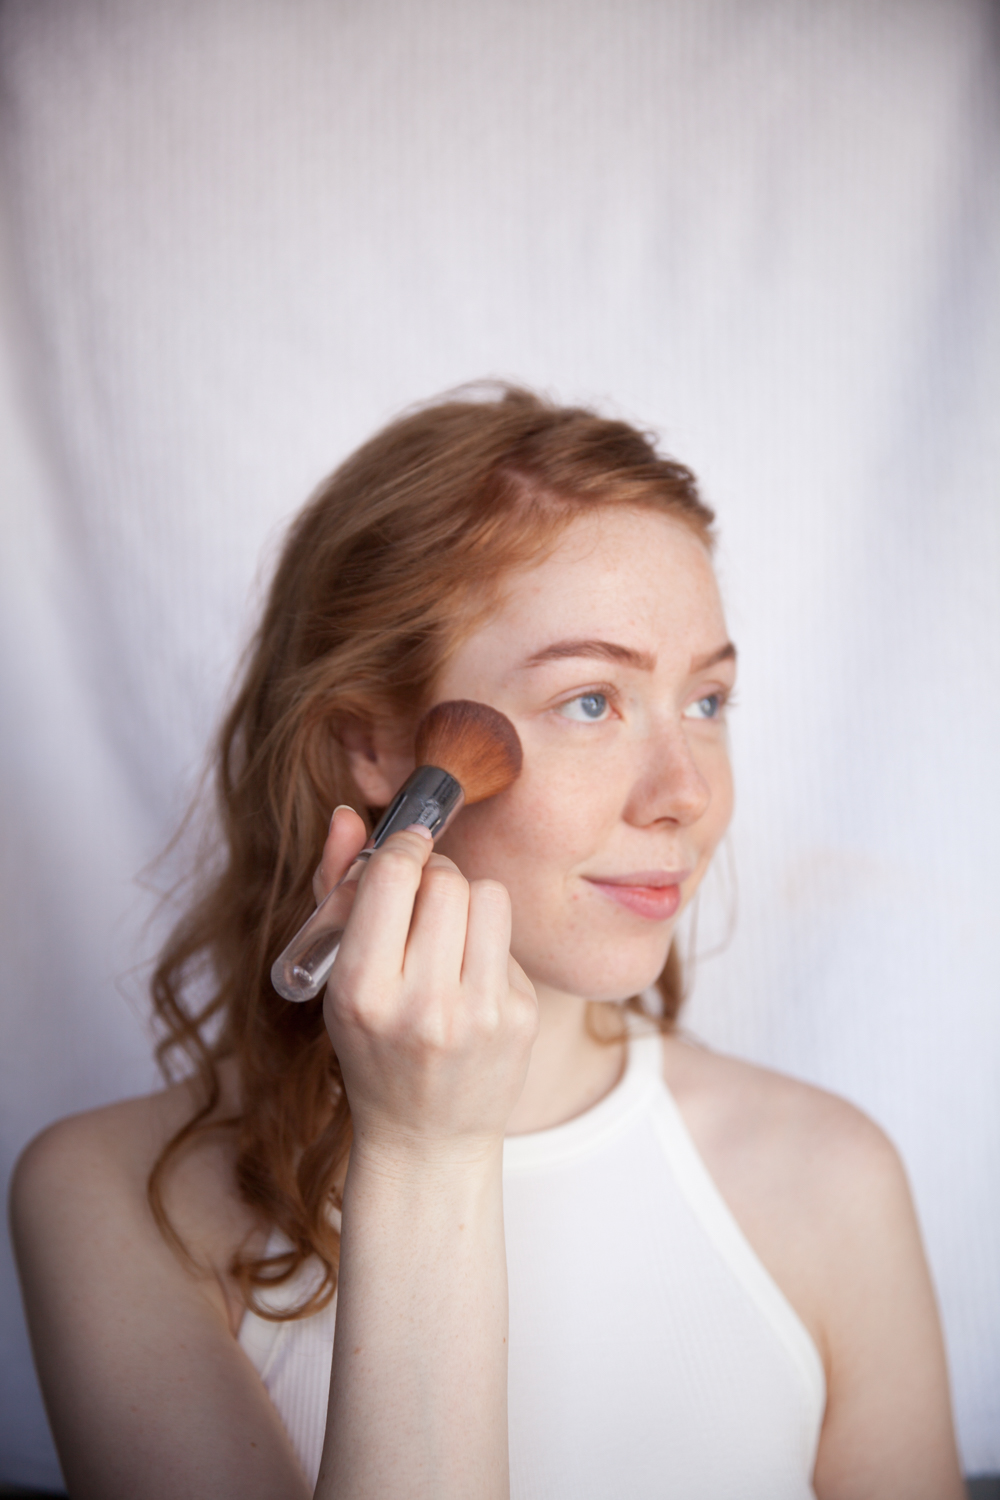
It’s it wonderful how you can buy glow? I am a huge fan of that concept – it’s pure genius. On my brow bone, the bridge of my nose and my chin I use L’oréal’s glam beige healthy glow powder and to create a killer combo I finish the skin of with a generous amount of pearly highlighter on my cheekbones. This one is from Becca.
Here using:
Glam beige healthy glow powder / L’oréal Paris (shop here), Pressed highlighter in pearl / Becca (shop here)
Step 4
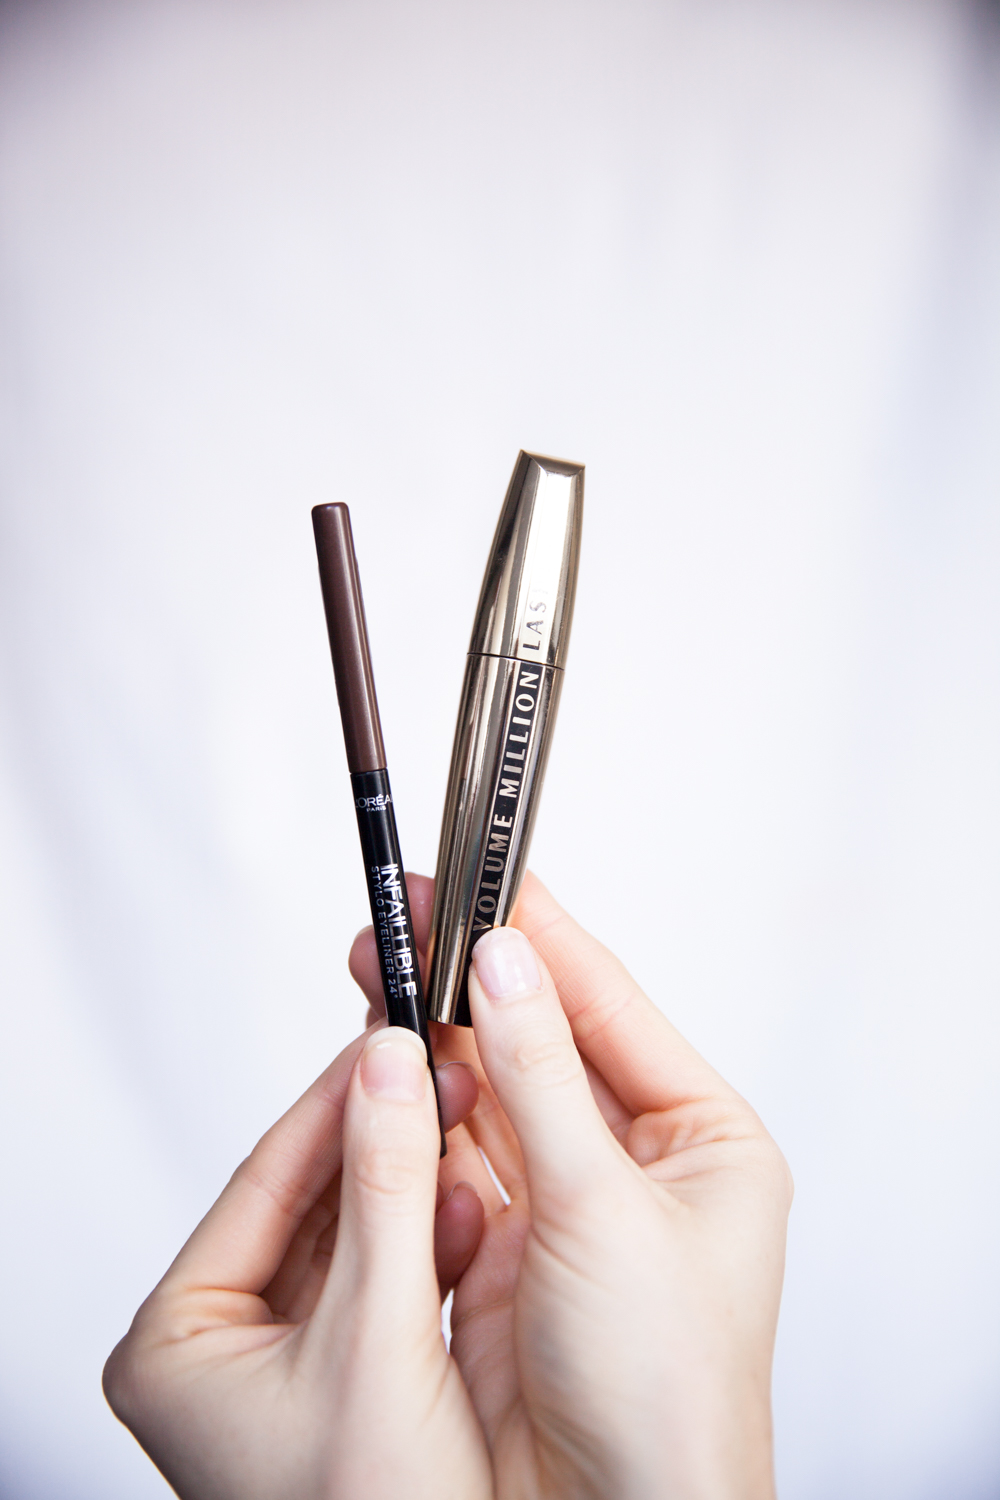
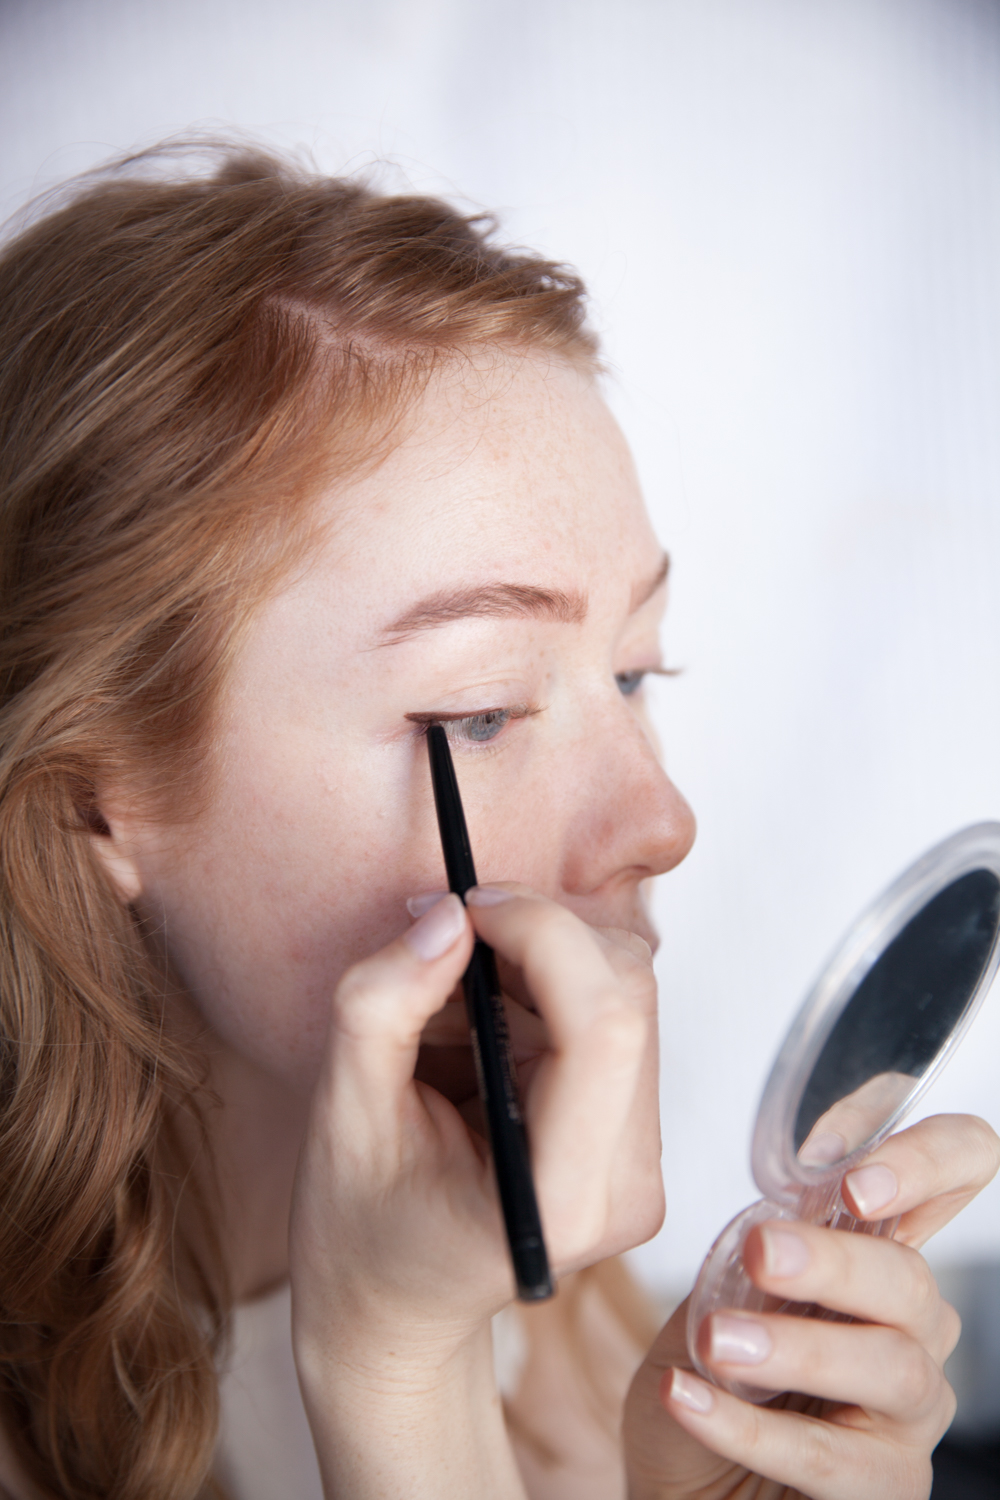
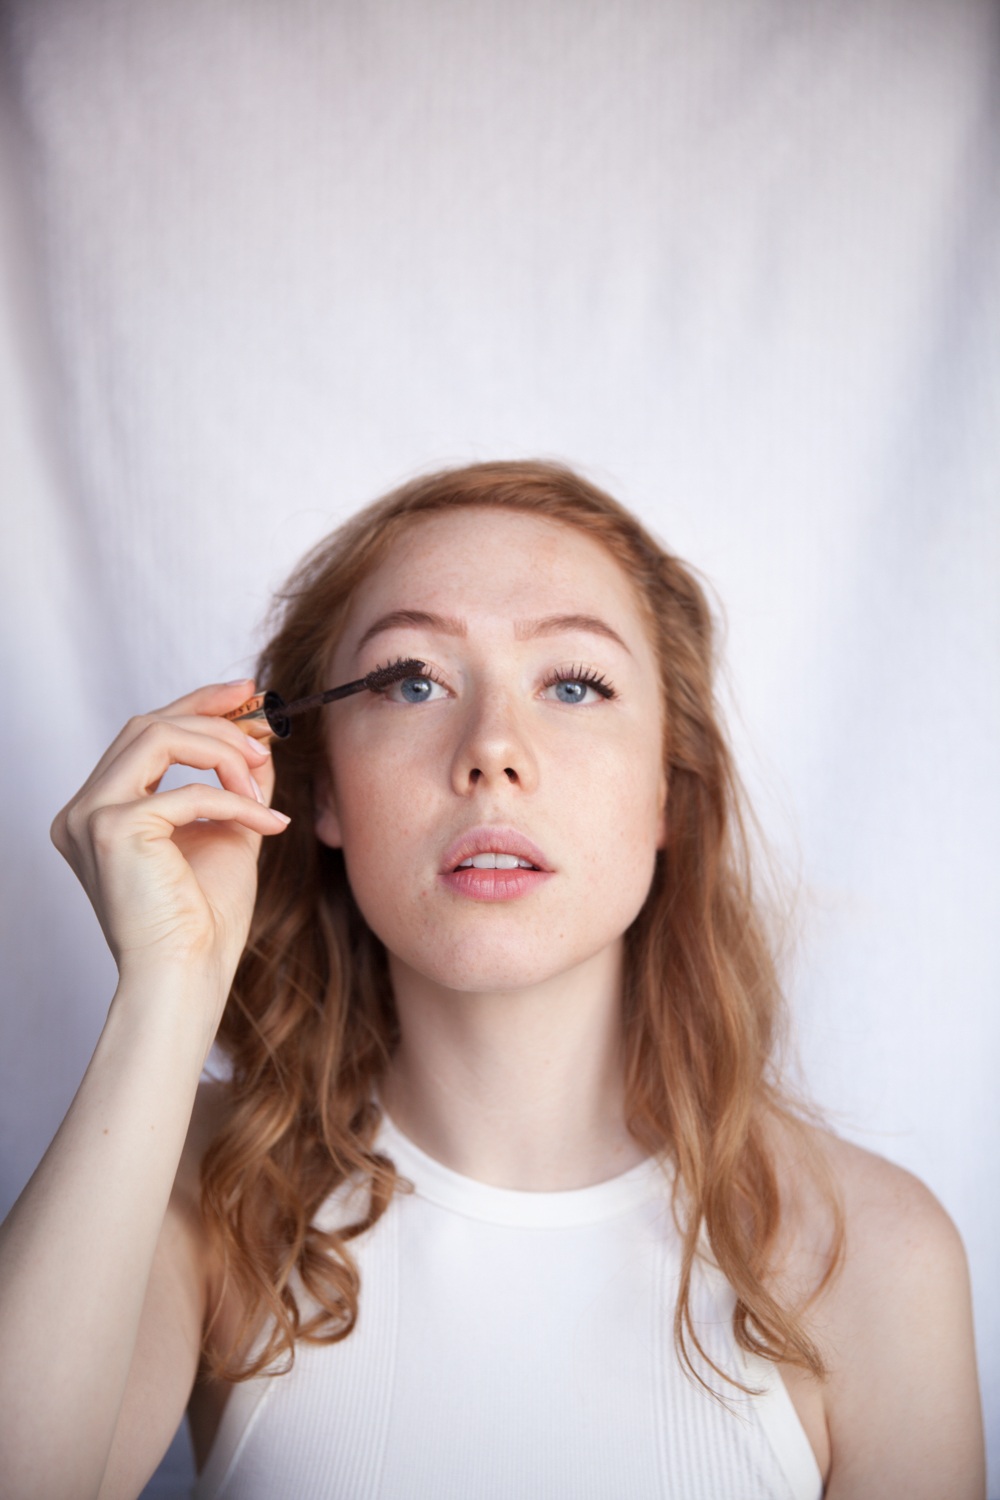
Eyes, eyes and more eyes! It makes all the difference, especially for me who has blonde eyebrows and lashes. For this look I went all brown, using two L’oréal favorites of mine. The volume million lashes in brown and the Infallible eyeliner (also in brown). The reason why I choose to go all loco with the coco is because freckles will always have a brown and/or golden undertone to them and I wanted to match them with the rest of the makeup. It also creates a much softer look in the summer sun.
Here using:
Mascara and Eyeliner / L’oréal Paris (shop here and here)
Step 5
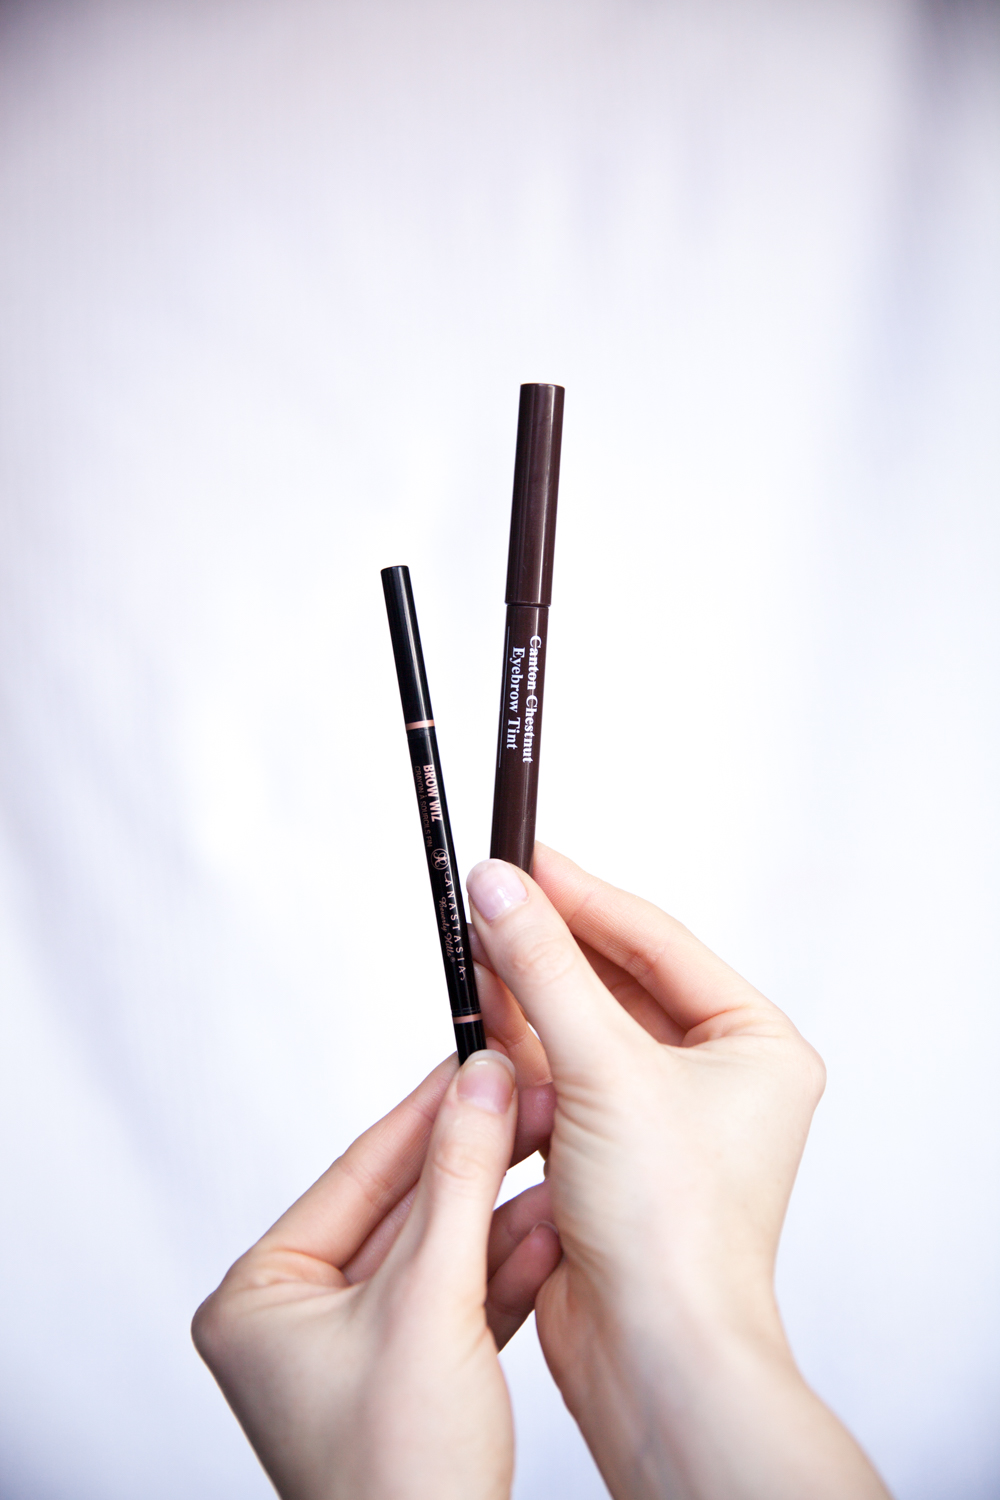
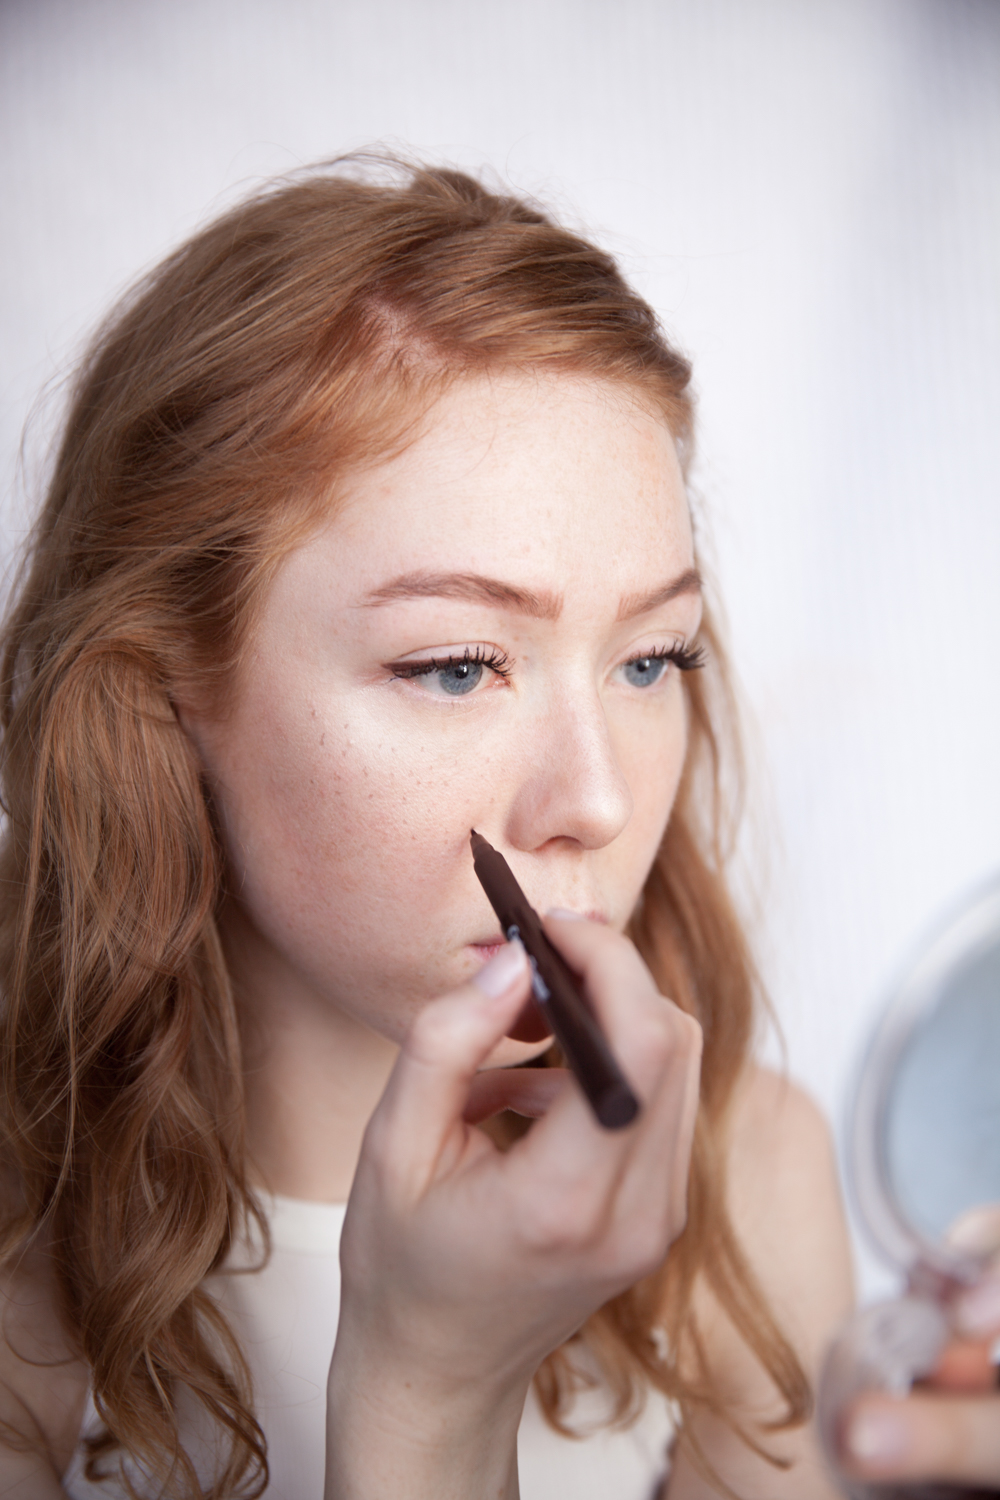
I know it’s actually possible to buy “freckle sticks” in stores but I don’t see why you can’t just use something you already have in your makeup bag. I like to use my eyebrow pencils to create the extra freckles. Not just because I already have them and therefore don’t need to buy yet another product but also because I know they will match my skin tone. Because they kinda already do, I mean the color sits above my eyes. I use two different colors, first I use the liquid eyebrow tint from & other stories and make tiny dots from one ear to the other. This tint is slightly darker than my own freckles and creates a nice base. Next I take my Anastasia brow wiz pencil in taupe and I make slightly bigger dots right next to the other dots I just made. If you don’t know where to place the freckles, find a photo of someone who has freckles and notice how randomly their freckles are placed. It’s important to create a mess – a natural mess. If the freckles are too perfect it will look fake. I also tap a few on the side of my nose between my eyes because I also have freckles on my eyelids and I want them all to melt together into a non perfect but perfect mess. You know what I mean?
Here using:
Eyebrow tint / & other stories (shop here), Brow wiz / Anastasia Beverly Hills (shop here)
Step 6
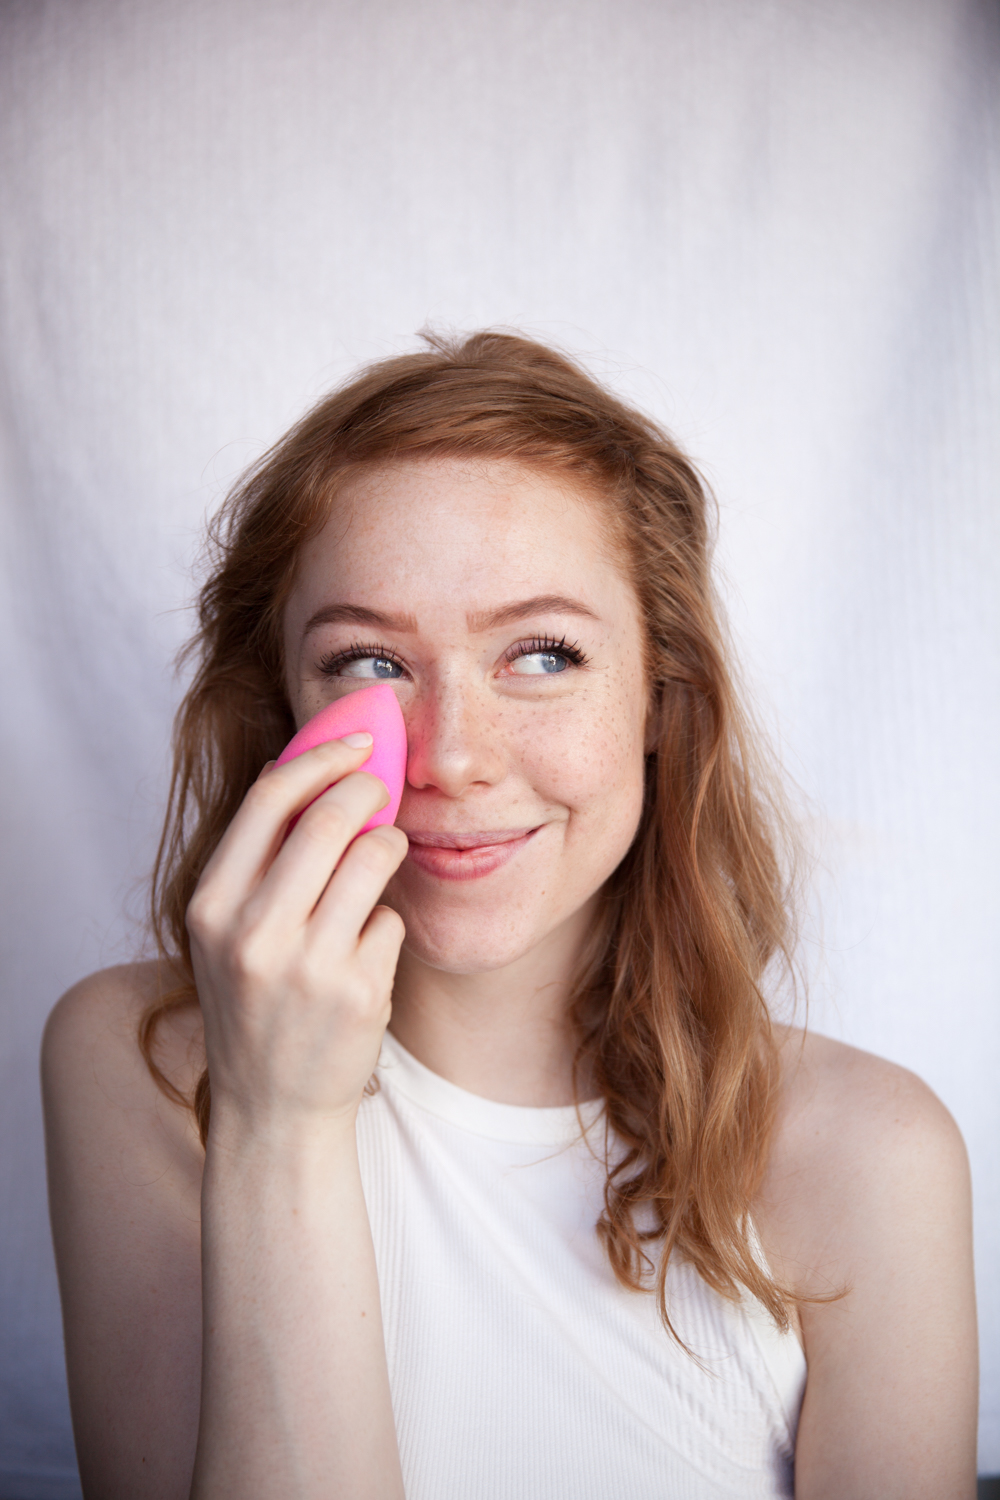
Dab, dab, dab! For this look I like to gently dab over my new freckles when I am done drawing them. This makes them a little matte, instantly appearing more natural. Don’t over due this step though or you might just have to draw on all of the freckles again. Carefull roll the beauty blender over your nose and press on the cheeks – it helps to smile while you do it!
Here using:
Beauty blender (shop here)
Step 7
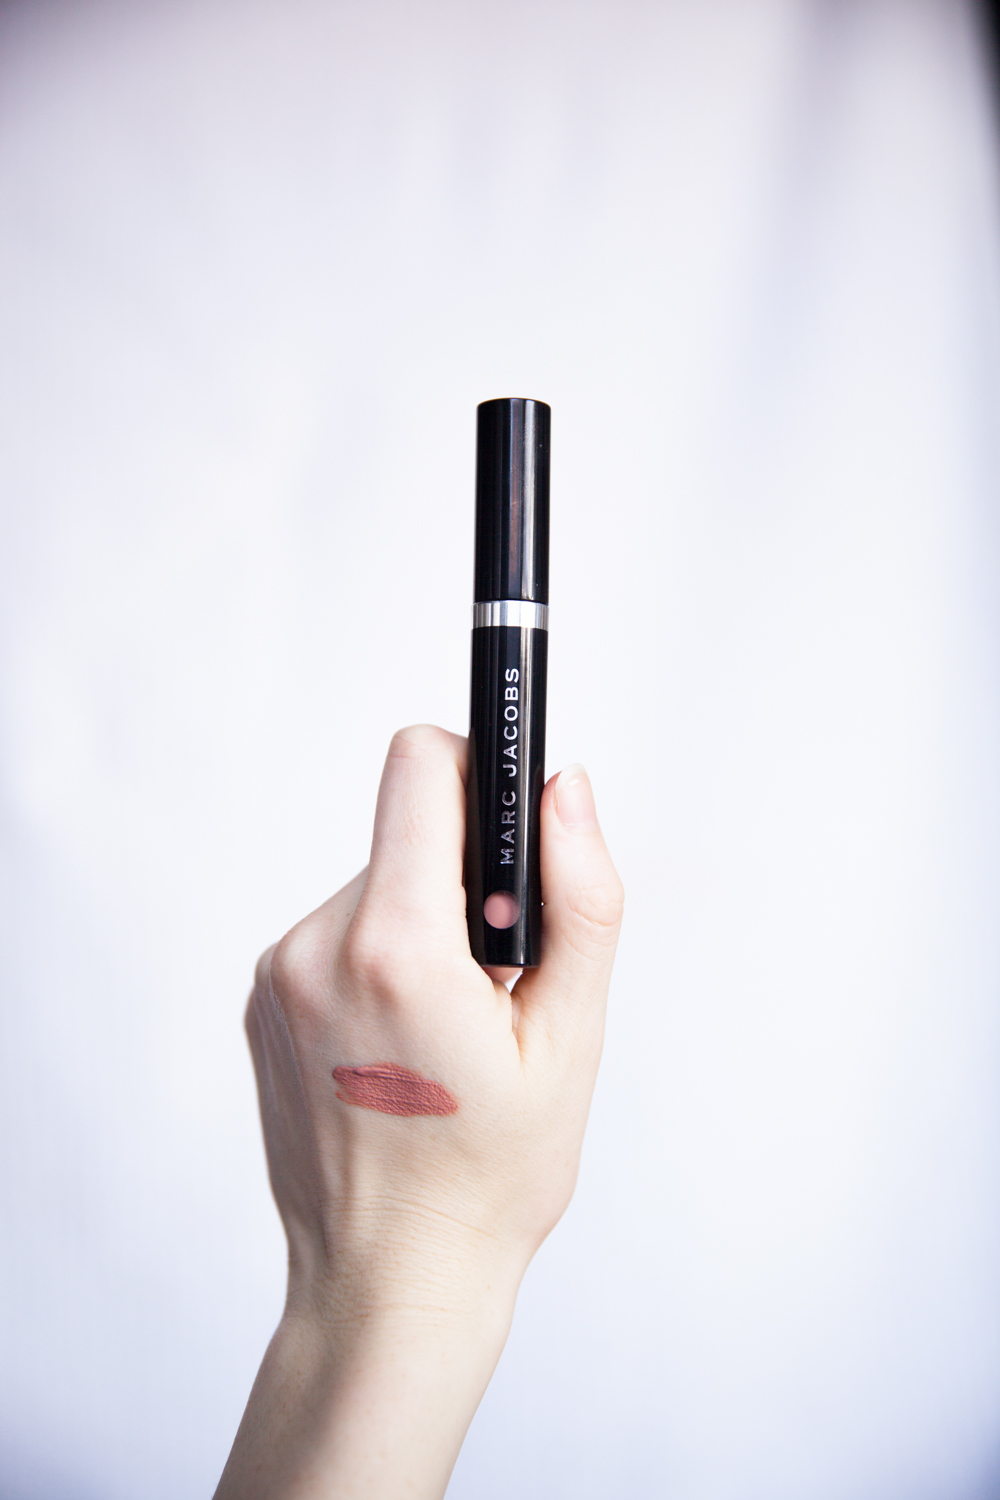
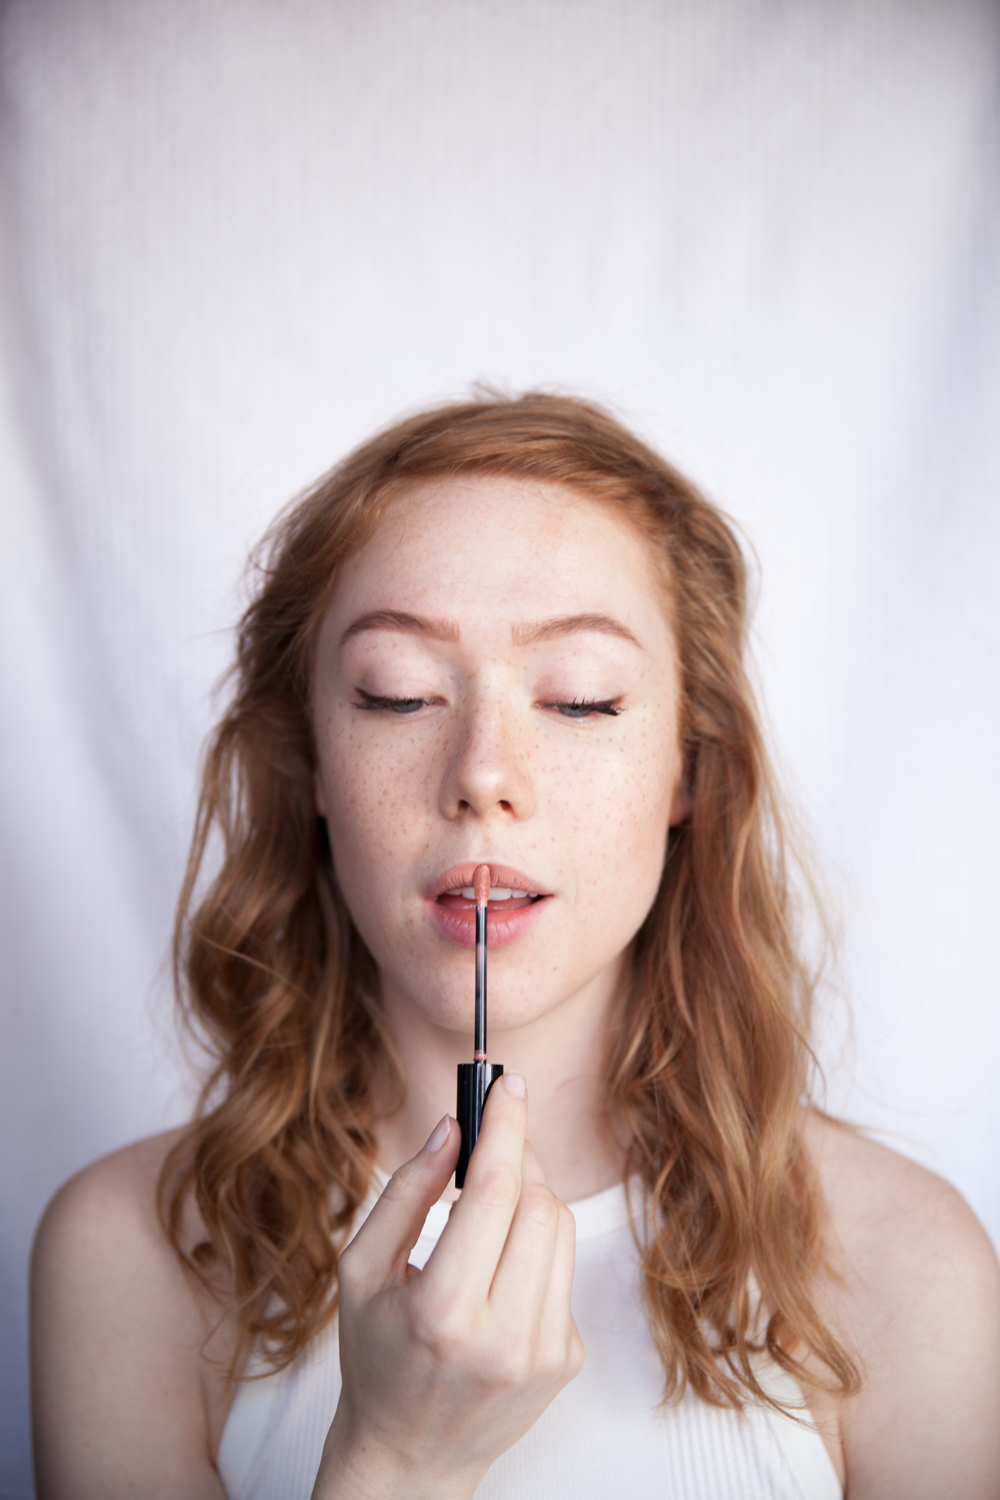
Ahh the lips, perhaps the most important! It’s kinda like putting a perfect bow on a perfect present! I choose a orangy nude’ish color for this look. I love these liquid lip cremes from Marc Jacobs beauty – such a nice finish. I am crazy about this color! I think it would be lovely on all girls, regardless of skin or hair color!
Here using:
Le Marc liquid lip crème in Yours to try / Marc Jacobs beauty (shop here)
Step 8
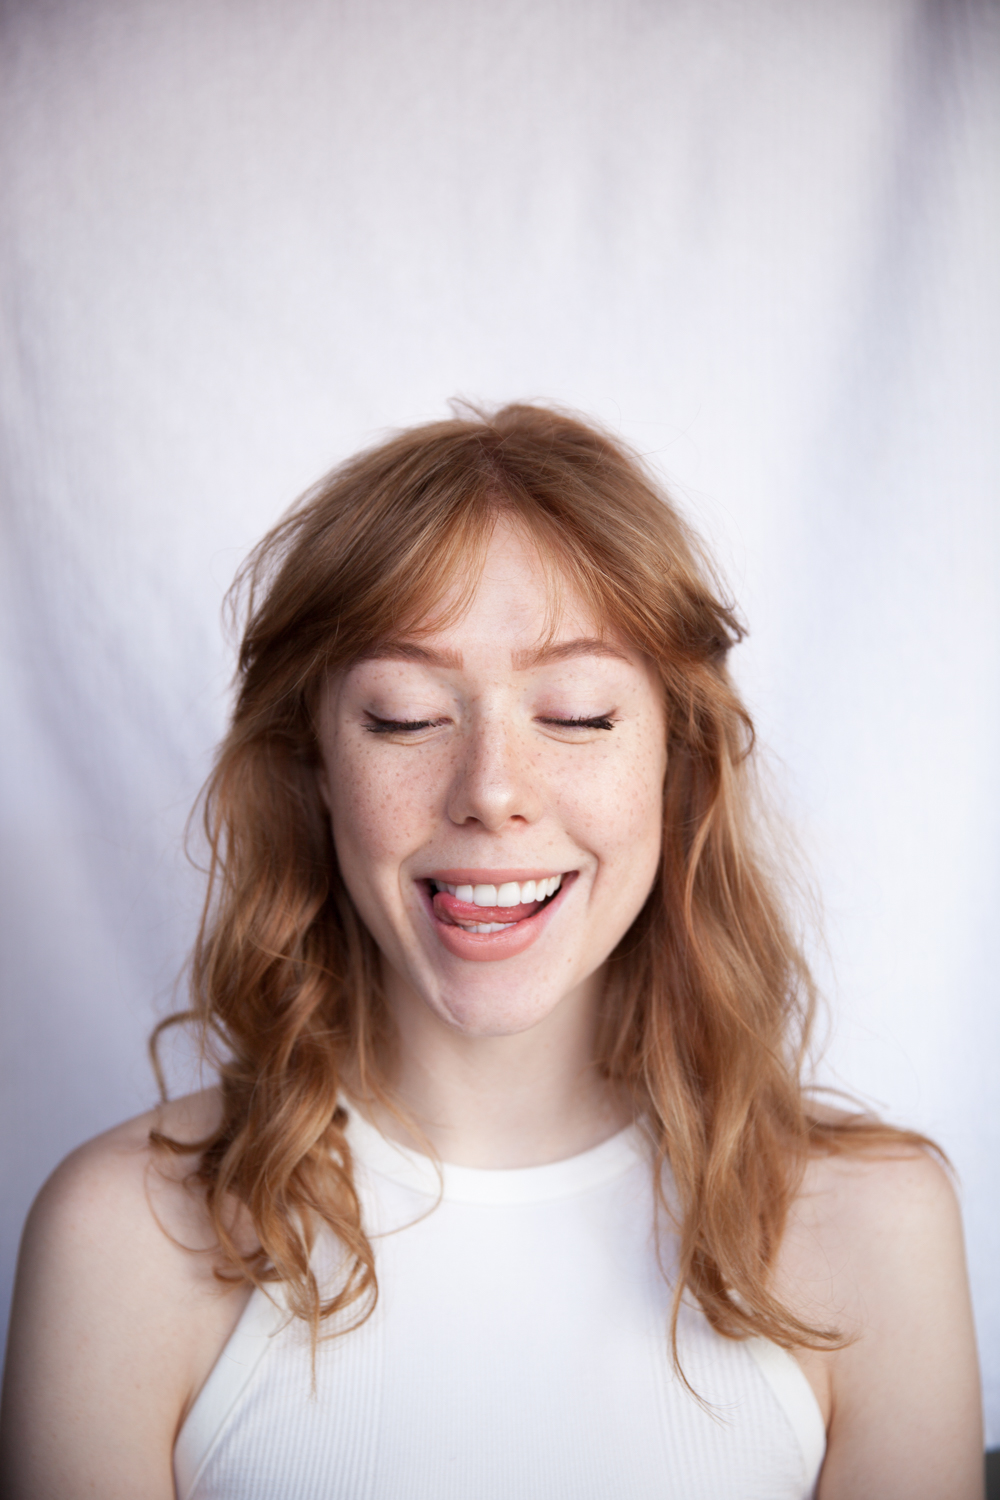
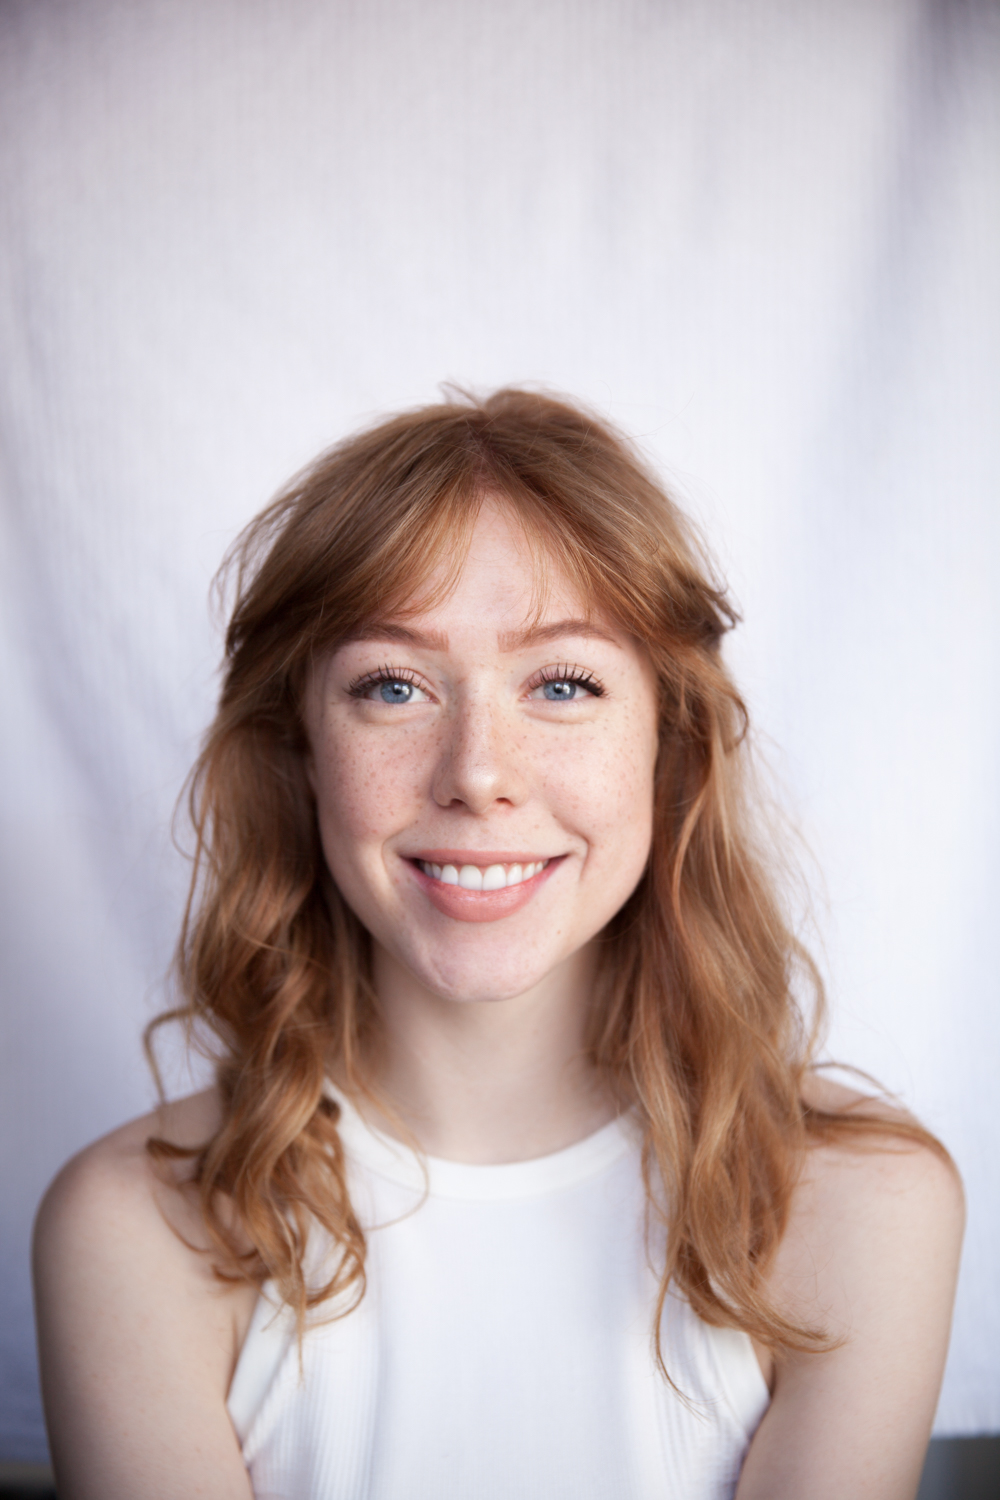
SMILE! You look wonderful!
Thank you for tuning in.
X M
This content is sponsored
Discussion about this post