HAIRGUIDE | MY ROUNDBRUSH BLOWOUT
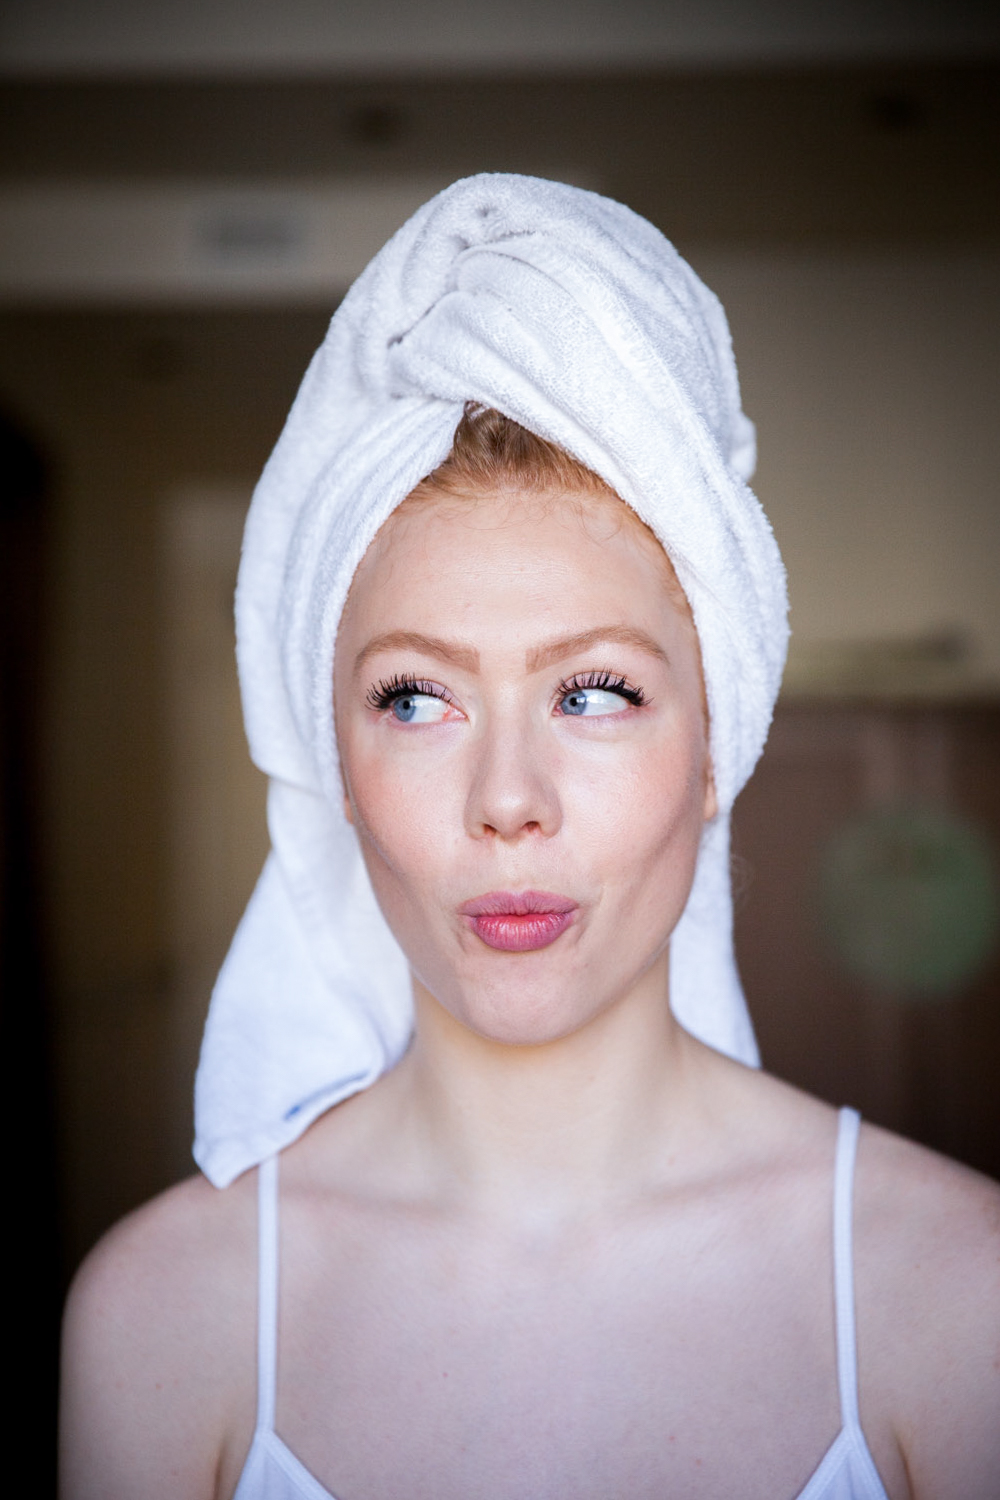
Location: Milan
Photo by Laura / Couturekulten.dk
Photos taken with Canon 5D
Jeg troede altid at man kun kunne få føntørret hår med en rundbørste hos frisøren. “Der er da ingen som kan gøre det der hjemme” tænkte jeg. Men så prøvede jeg det. Nøglen til at gøre det der hjemme er ikke at gå i panik halvvejs. Det kan godt virke som en uoverskuelig process. Men fat mod! Bouncy, silke agtige lokker er lige om hjørnet hvis du bare tør springe ud i det. Efter jeg startede med at lave den her type hårstyling for ca et halvt år siden har mange spurgt mig om jeg har været ved frisøren. Men nej, det kan snildt gøres hjemmefra! Bare følg de forskellige steps nedenfor, de er skrevet på engelsk så alle kan være med.
english: I always thought that the round brush blowout was a salon thing. Nobody can do it at home was always my statement until I just went ahead and did it. The key is really just not to panic. Yes the brush will get tangled in your hair the first (and maybe the second time) you do it – but be brave! Great, silky, bouncy and beautiful hair is just around the corner. After I started doing this hairstyling about 6 months ago, people tend to ask me if I have just been at the salon. But nope, it’s all do able from your home office. Just follow the steps below, I hope you enjoy!
Step 1
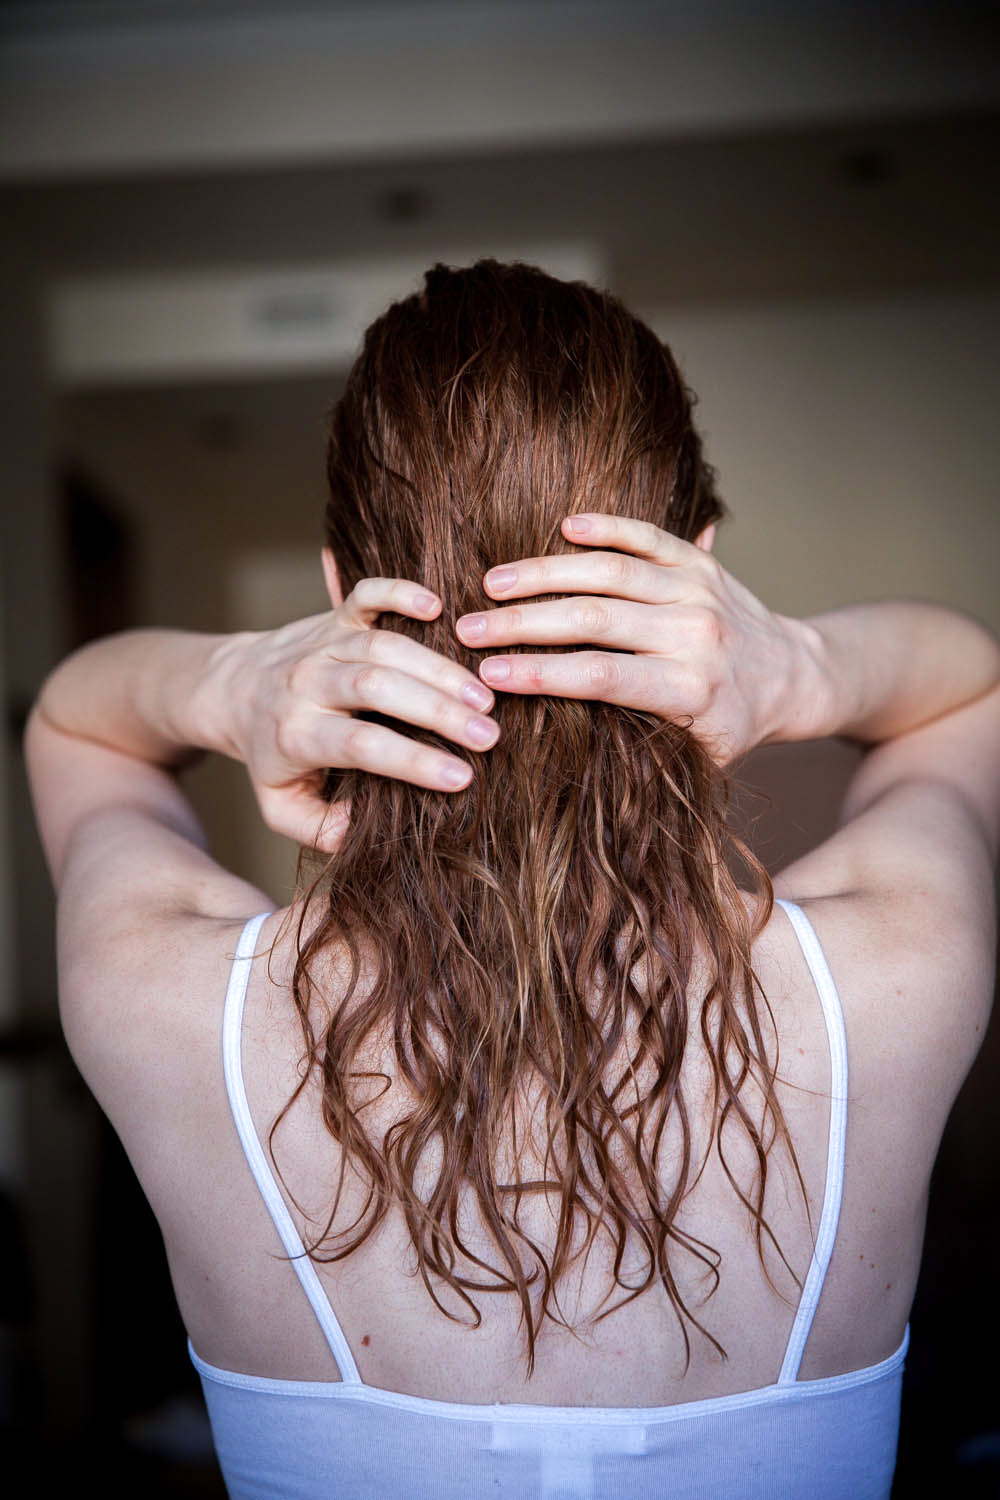
Always apply some sort of product before blowdrying (I mean ALWAYS). It’s important for the hair to have some sort of “help” when you apply heat. When I blow-dry my hair into a style I like to use a product that is specifically made to shape the hair during heat. Here I am applying the Moroccanoil Blow-dry Concentrate. Made specifically for frizzy unruly hair (like mine) making it easier to blowdry and brush through.
Step 2
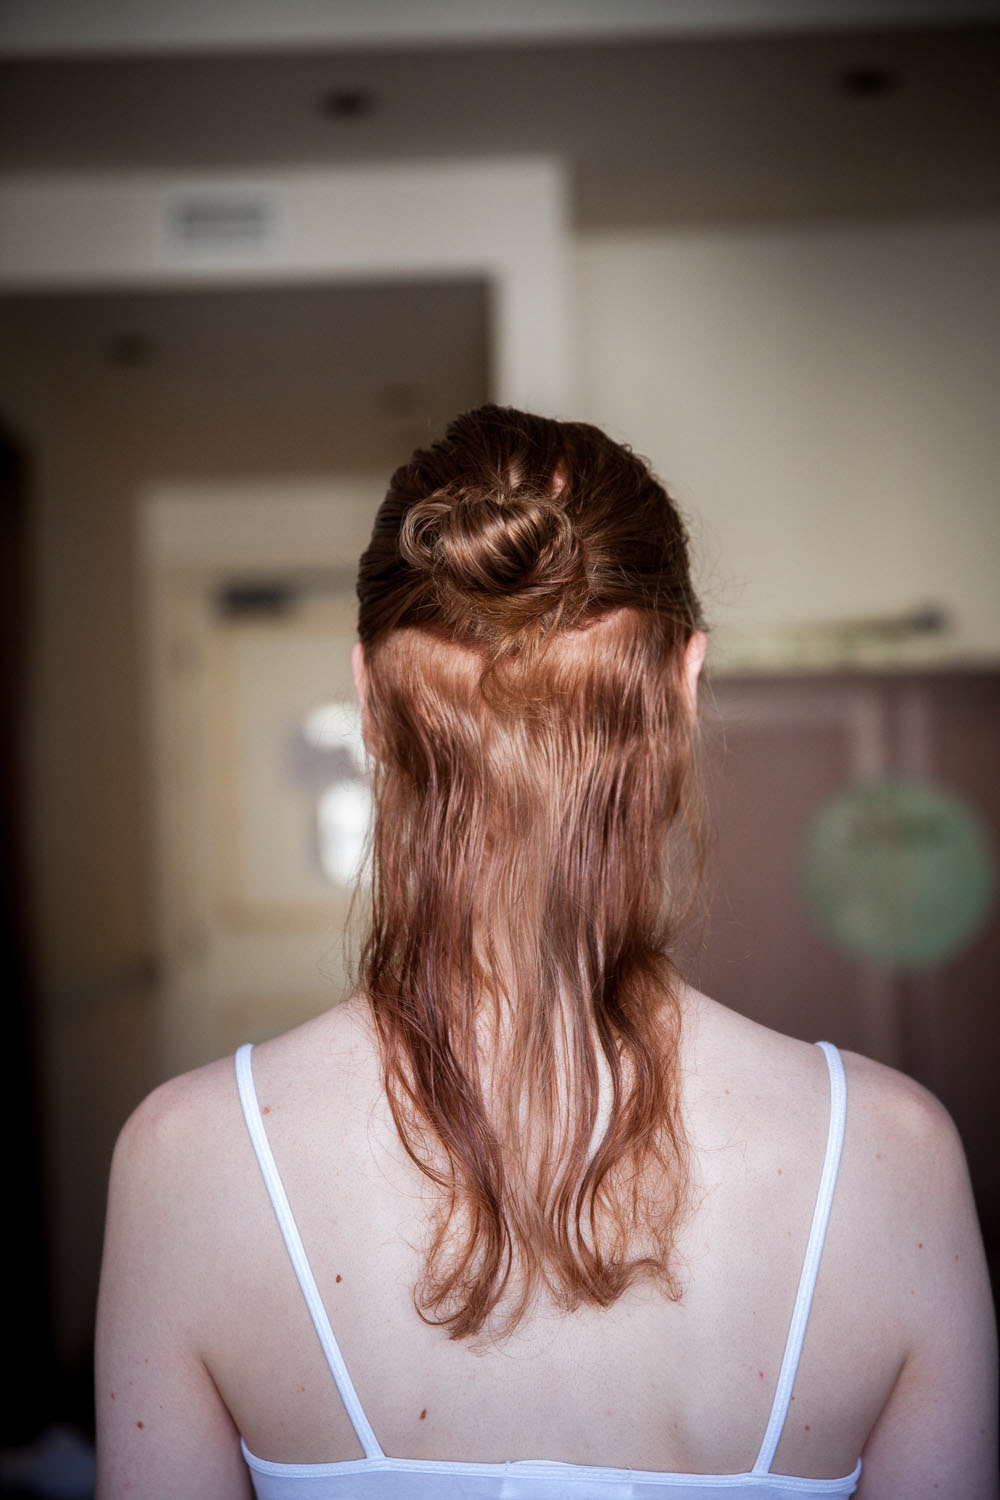
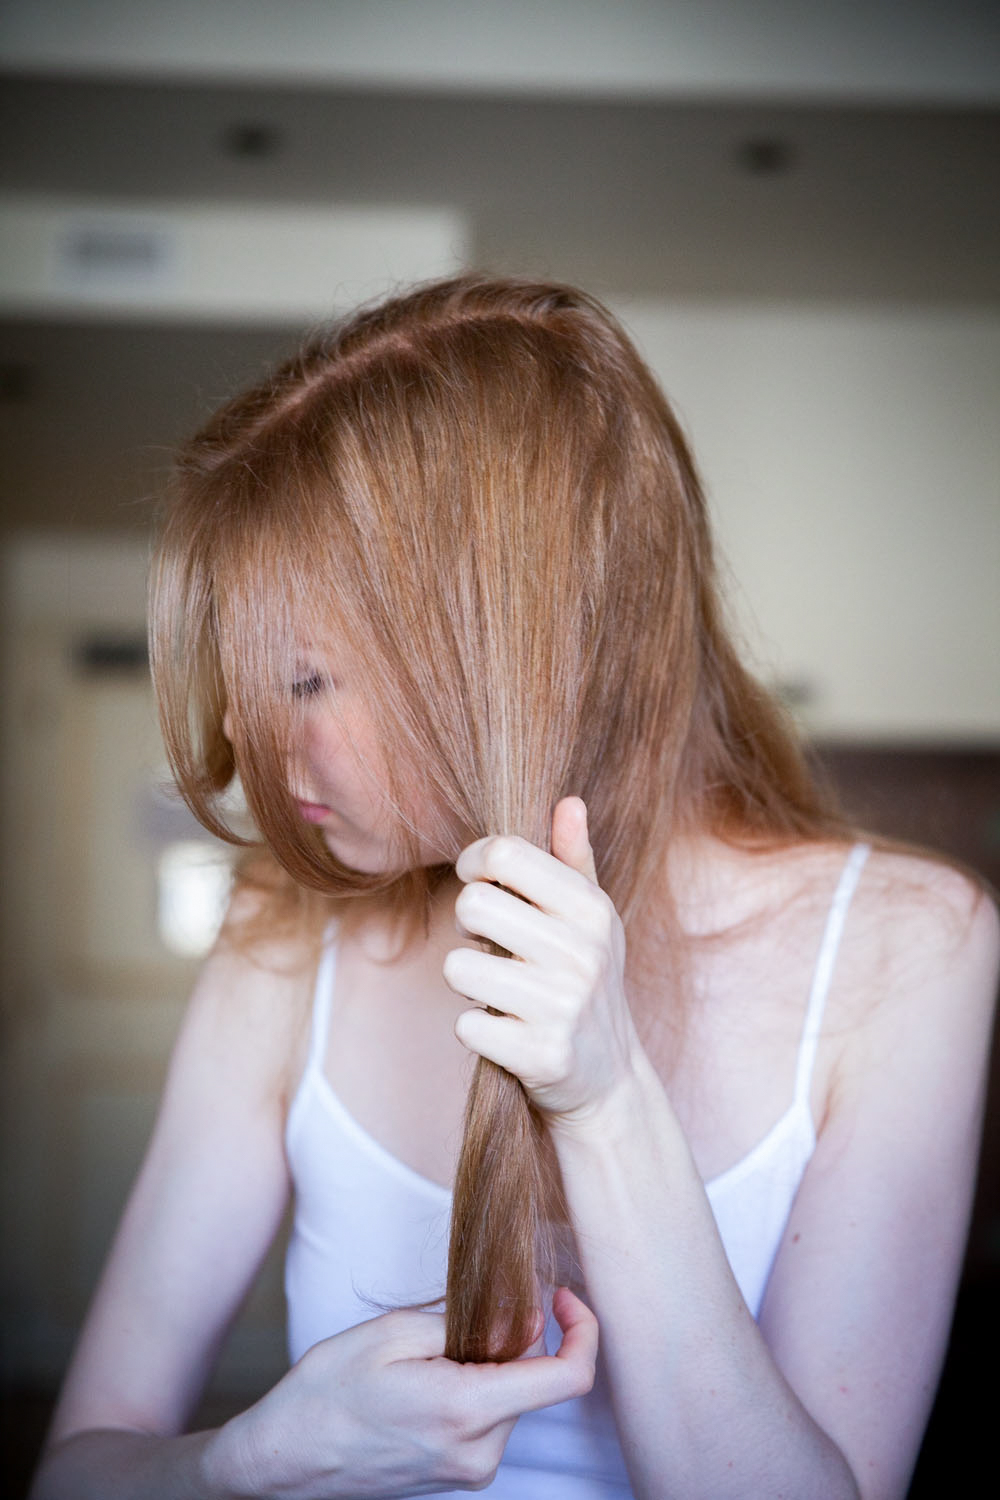
I find it way easier to do my hair when I part it. It takes longer yes, but there is no time to be lazy with your hair. A great styling can last up to five days if you do it right the first time. Make it easy for yourself! I part my hair up to 8 times when I do this blow-dry routine and the end result always makes me happy I didn’t take the easy way out. If you don’t part your hair it will be less manageable.
Step 3
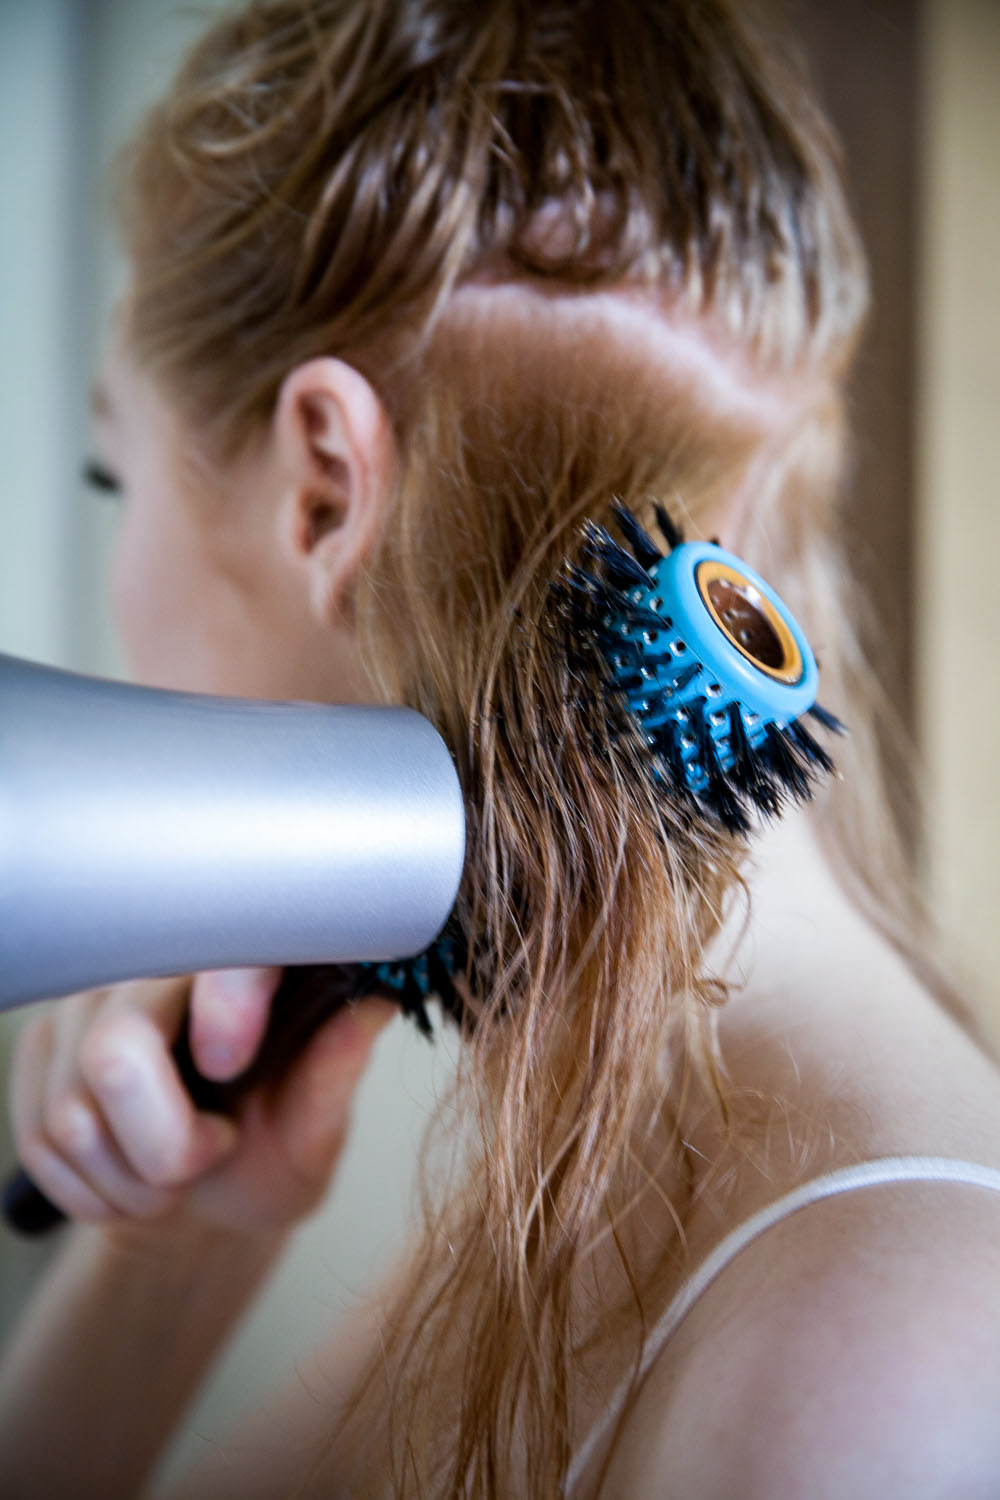
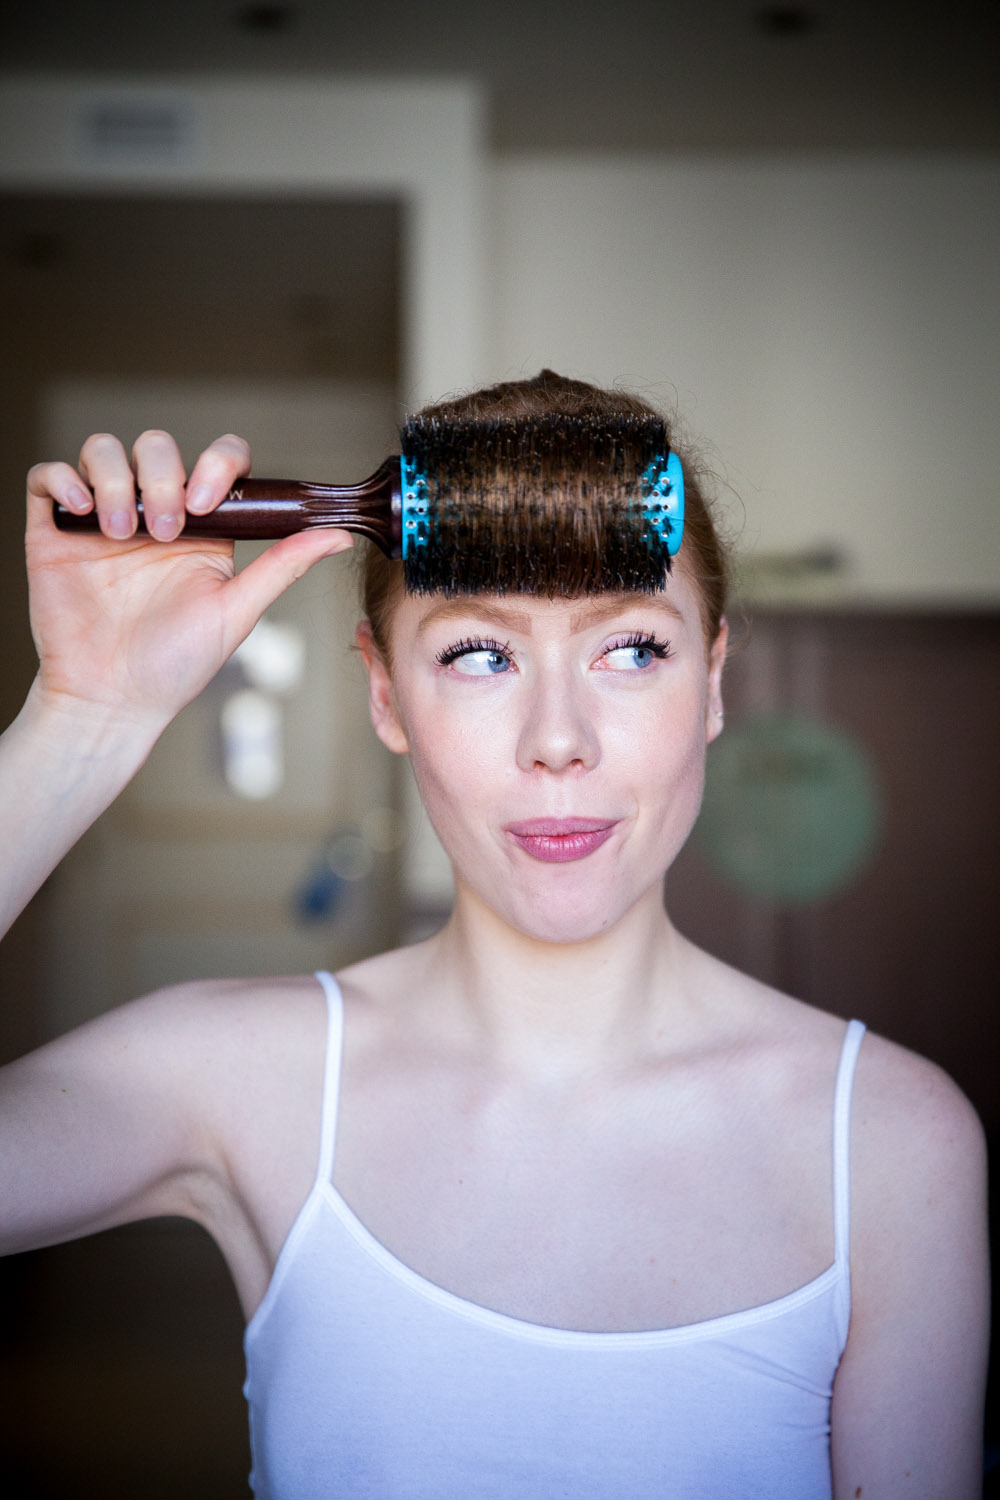
Ah yes, the most important step indeed. The blow-drying. First make sure to get yourself a killer brush. This is not where you want to save your money. You can have it for a very long time if you are good to it and it will make your job much easier. I use the 45mm Moroccanoil round brush made with wild boar hairs. It’s easy to use, it looks great and the ceramic center of the brush gives a 360˚ heat distribution. Genius. I always start from the roots and work my way down paying extra attention to the ends of my hair as I like that little swing at the end.
Step 4
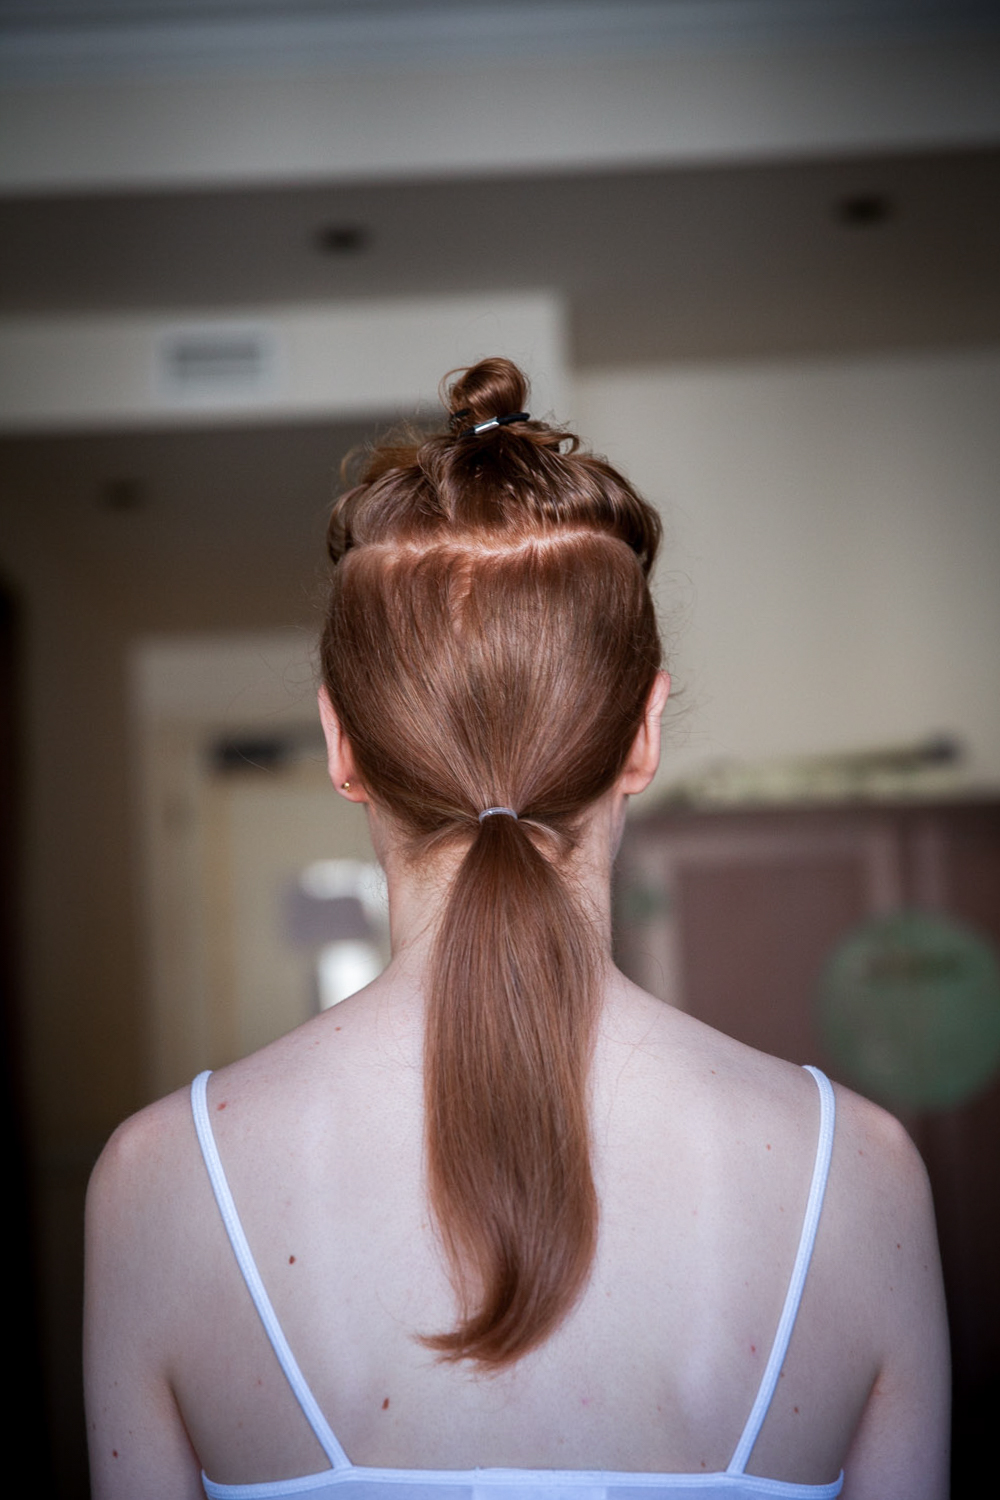
Yes we are at that parting of the hair thing again. I always separate the dry hair from the wet hair. If you use a small plastic hair tie like this one it doesnt leave a mark your hair. Tying down your dry hair also makes it easier for you to keep on working on the wet areas.
Step 5
This step also applies if you dont have parted bangs like I do. Framing the face is key to this hairstyle. It’s what really gives that bouncy, beautiful shape to the hair. Part your front hair from the rest and brush it forward. Curl the brush up under it and onto your forehead. Don’t worry you won’t get a big curl in the middle of the face, not with this size brush. Apply heat from the root and out rolling the brush away from your face until you are satisfied.
Step 6
Let your hair loose and give it a break. Apply a styling cream with hydration if possible. The heat is tough on your hair, hand it a drink. I use the Hydrating Styling Cream from Moroccanoil starting at the roots of my hair and working my way down. I have a tendency to flyaways after a blow-dry but this cream really “calms” my hair down.
Step 7
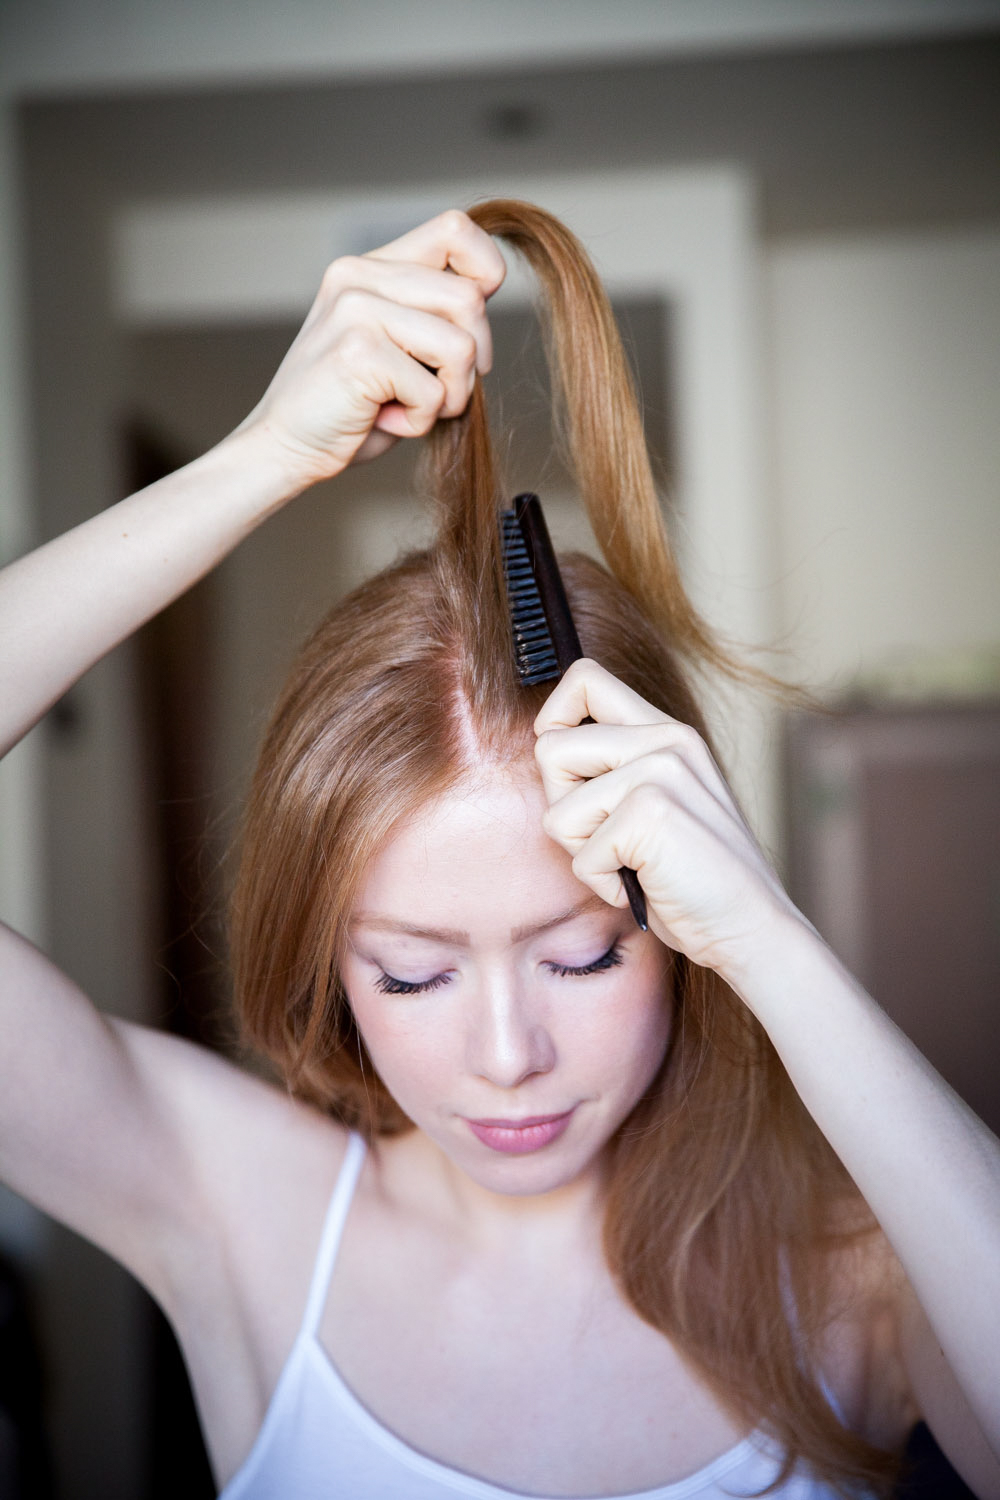
Now this step is totally optional but I don’t think you can get enough volume so I like to tease the roots on top of my hair. Just to give that extra glam a shoutout. I use a fine teasing comb from Moroccanoil that also has a full head of wild boar hairs. Be aware though, this comb can really tease.
Step 8
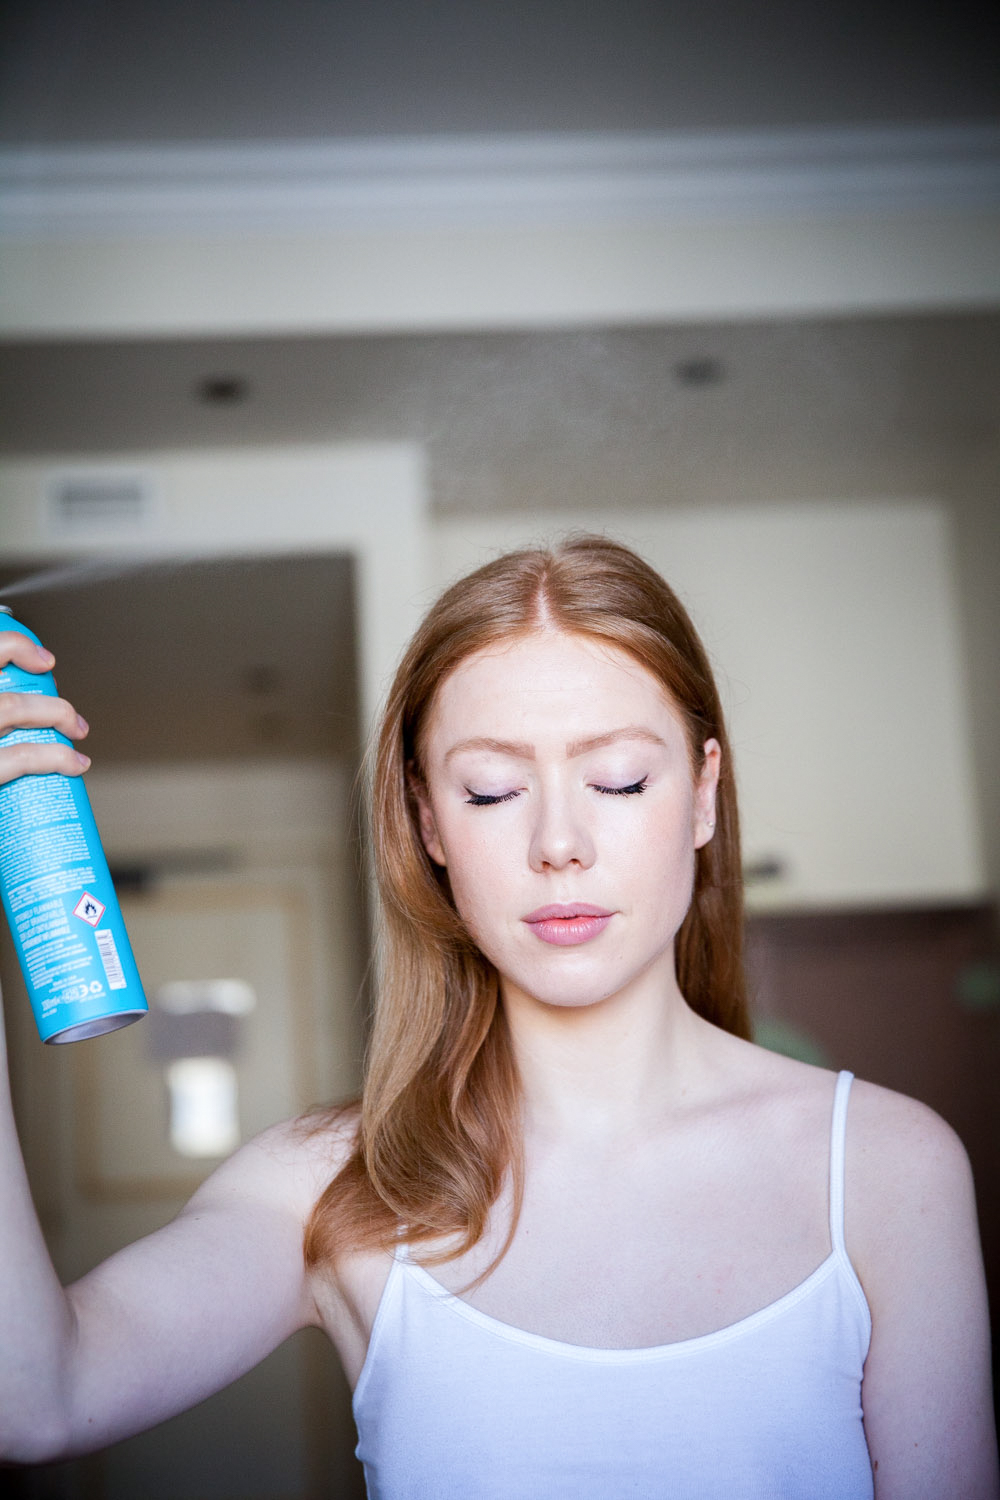
For smoothing down flyaways and keeping the hair in check I use the Moroccanoil Luminous Hairspray in strong. I am really not a hairspray girl I have to admit. I don’t like the stickiness, the smell or the final look of the hair. It’s always almost crunchy. But this hairspray leaves my hair smooth, soft and not on lock down. Finally!
Final look
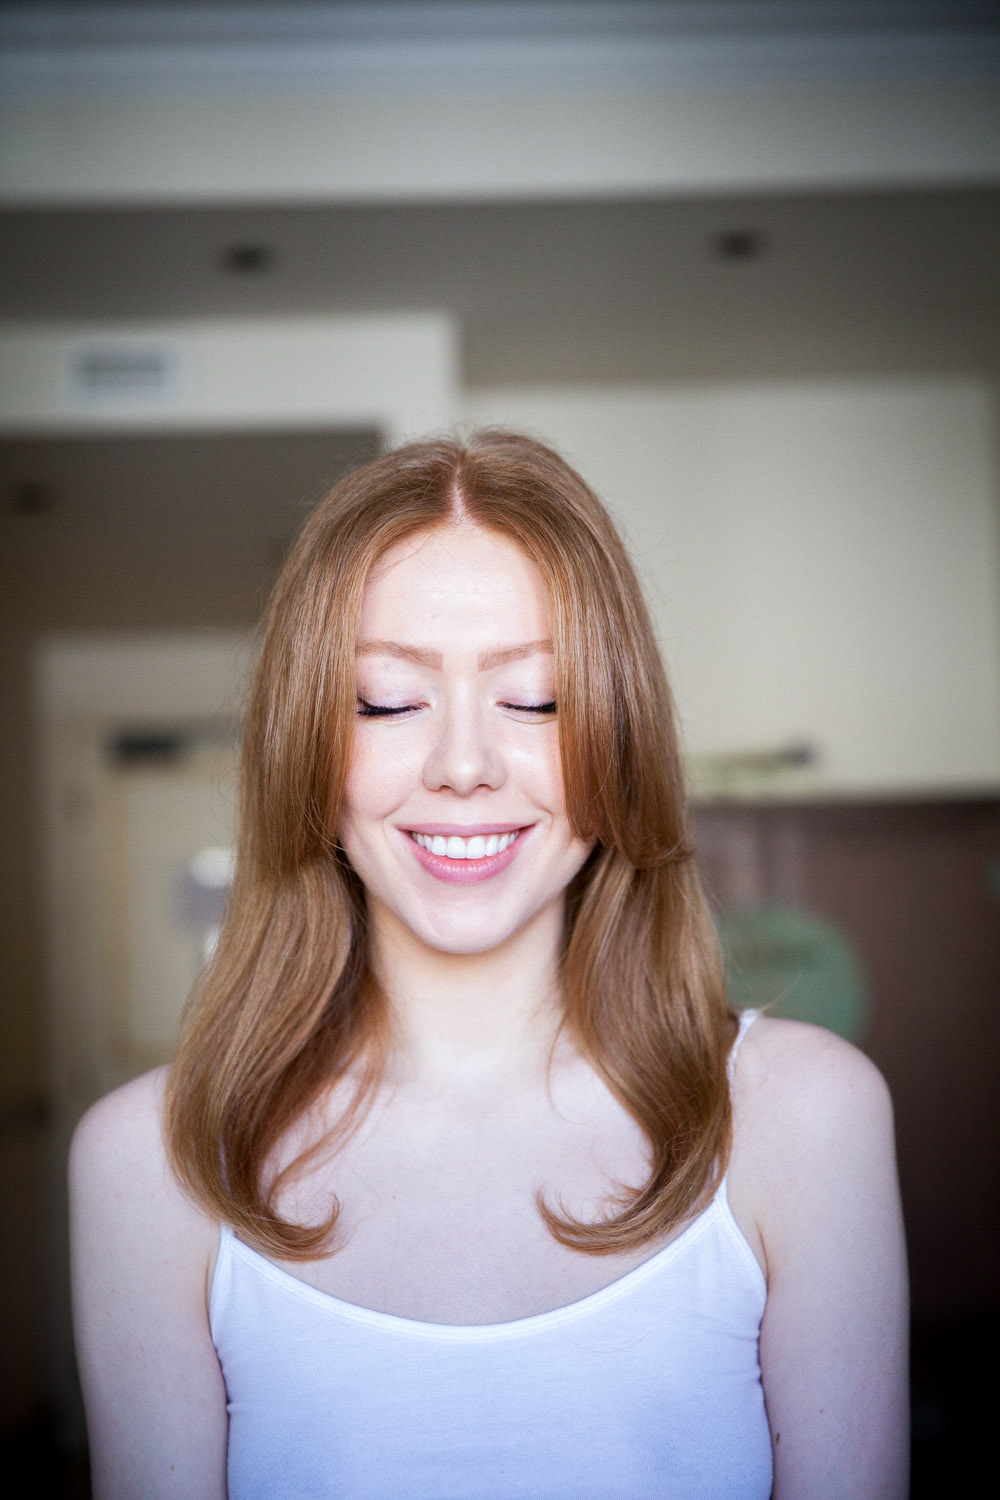
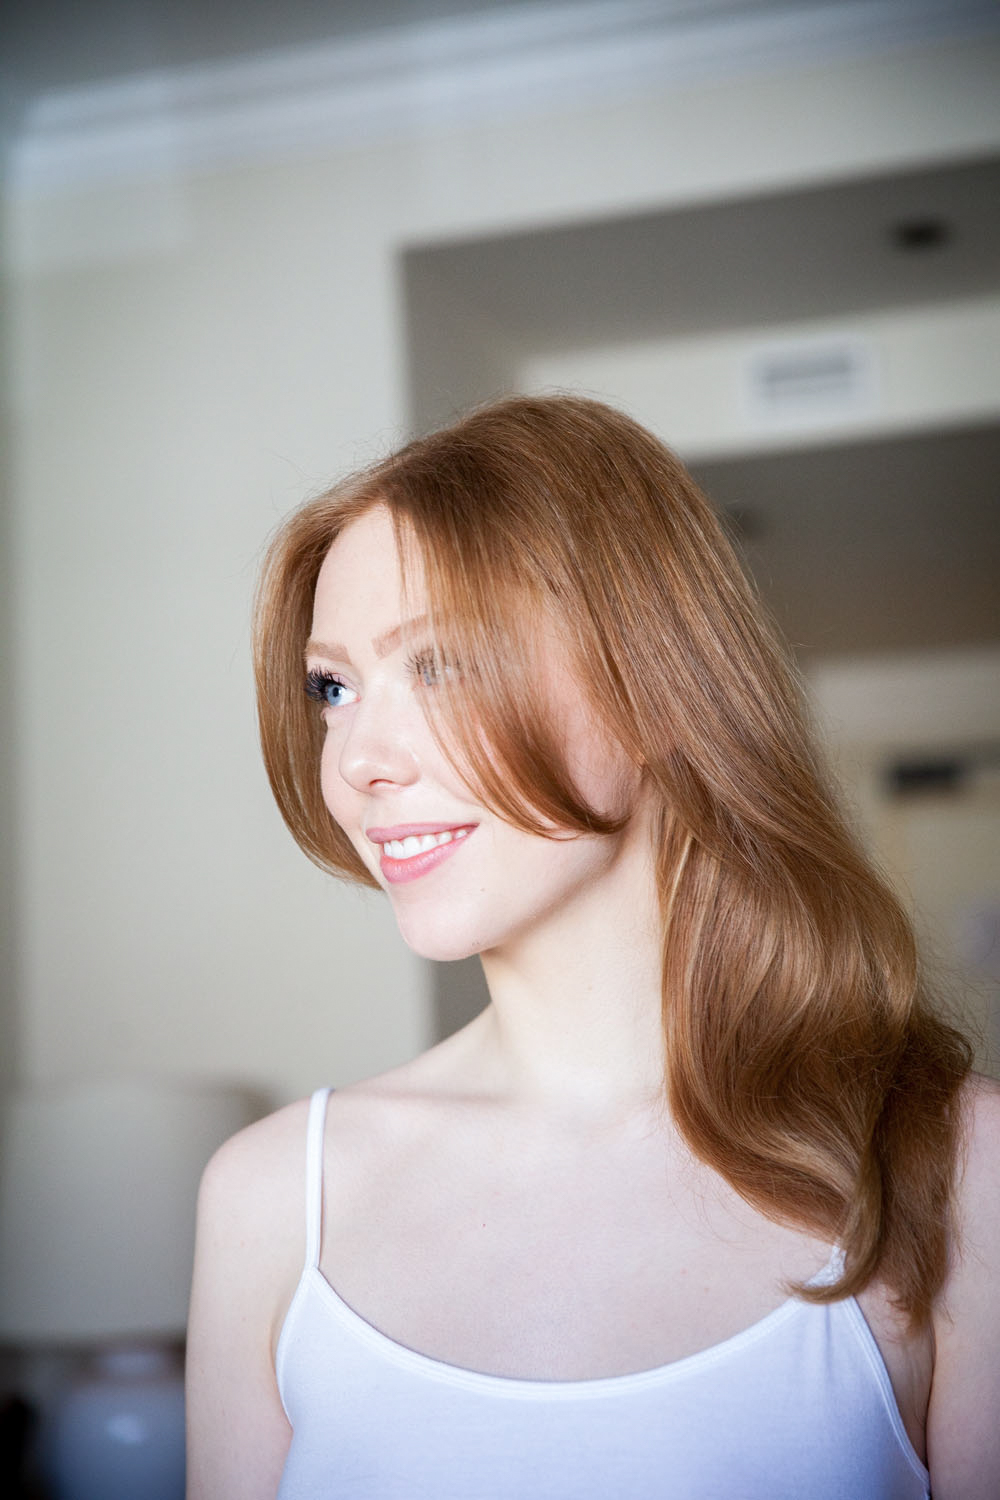
Voila, the final look! Shake your head (and your booty) and let your hair have it’s own life. What I really love about this hairstyle is that even though it has a very “perfect” finished look, it just gets better and better during the day as it gets a little rough around the edges. I can have this hair for many days, it also looks great in a long silky ponytail. Remember to apply product during the days to smooth down or if you need a bit of a tease. I hope you liked this little step by step guide! Please find all products (with links) down below.
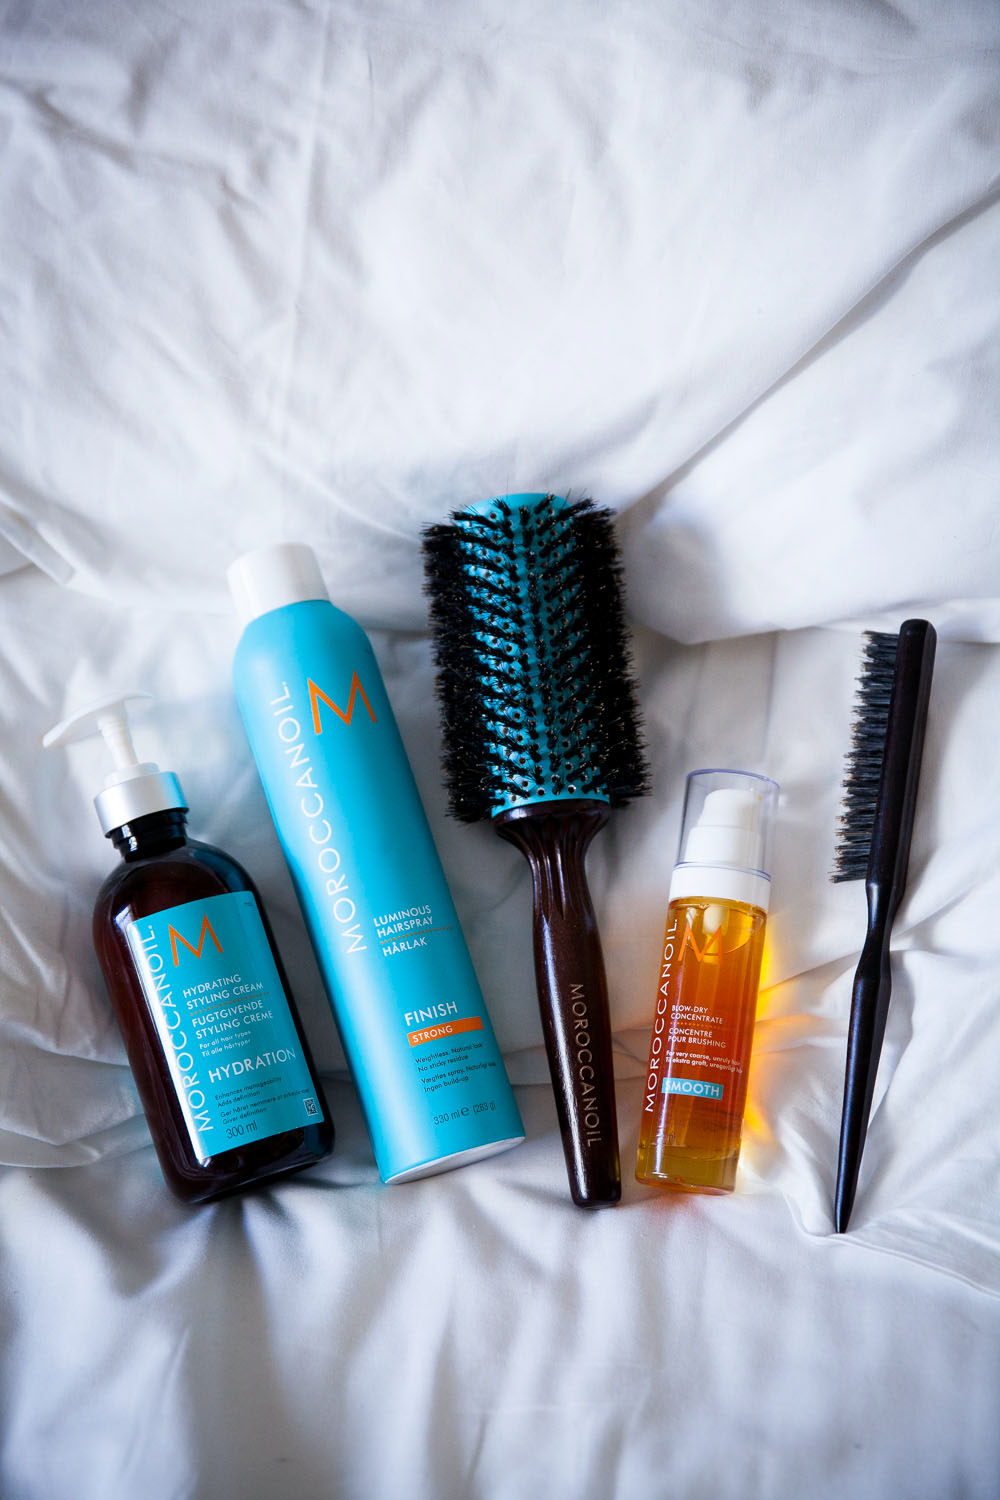
Products used:
Blow dry concentrate/ Moroccanoil (shop here, read more here), 45 mm round brush / Moroccanoil (shop here, read more here), Hydrating styling cream / Moroccanoil (shop here, read more here), Teasing brush / Moroccanoil (shop here, read more here), Luminous hairspray / Moroccanoil (shop here, read more here)
X M
This content is sponsored
Discussion about this post